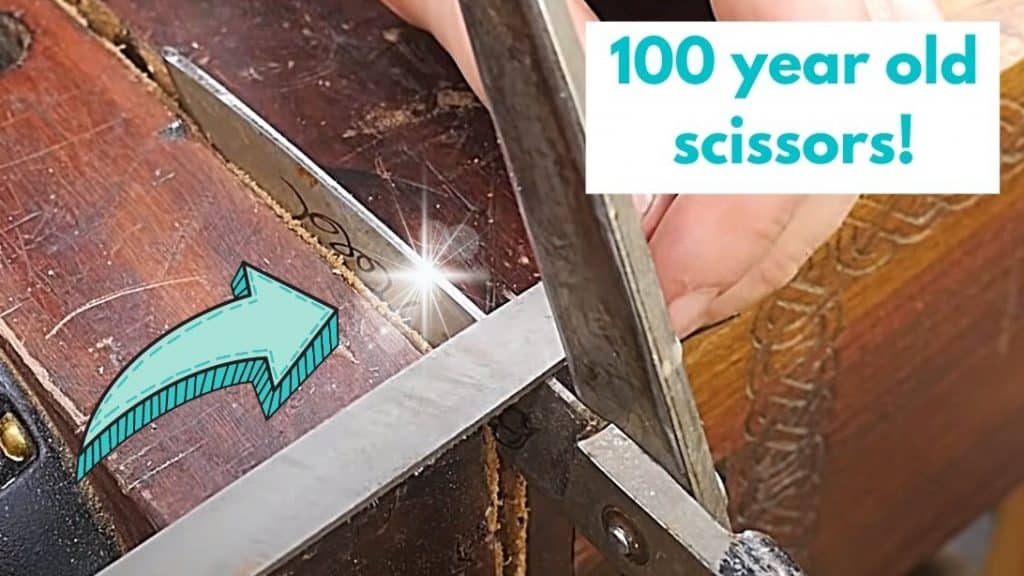
As a crafty person, I use scissors daily to cut papers, cloth, and different materials for projects that I create. But we all know when we use them often, it gets sloppy and dull. We have a 60-year-old pair of scissors here at home that my grandma used for all of her sewing crafts when she was still alive. She loved sewing and used it almost every day. It’s really a good pair of fabric scissors, but it needs a bit of sharpening. Good thing Wood By Wright created this video tutorial on how to sharpen scissors like a pro at home! We don’t need to throw old ones away or buy a new pair. If you are just like me and want to preserve and create memories of these shears, you should watch the full instructions below.
Materials:
- diamond plate 1200 grit diamond plate
- diamond paddle (optional)
- file
[social_warfare buttons=”Pinterest,Facebook,Twitter,WhatsApp”]
Directions:
For the back:
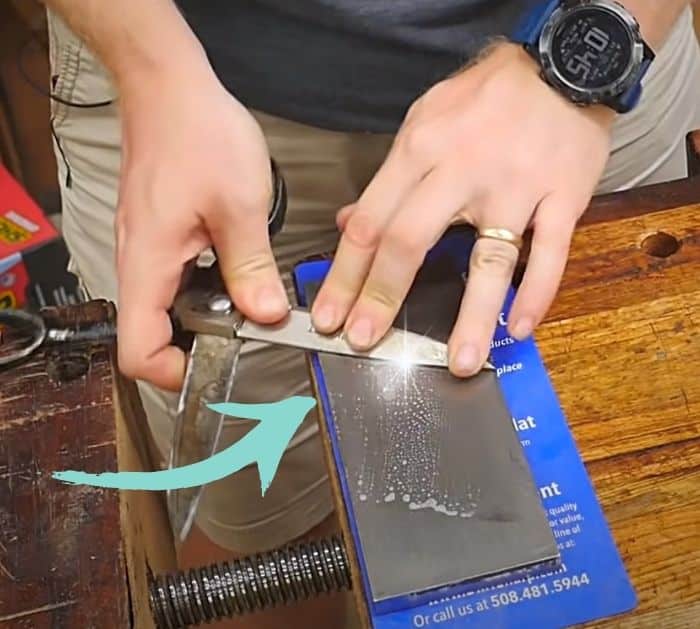
Wet your plate a little bit. Then stroke the back of your scissors on the diamond plate. After a few strokes, you’ll see some black stuff coming out – those are the steel getting removed from shearing. Flip it over; you can see some shiny areas on the cutting edge. Do the same process with the other side.
For the bevel:
Using the diamond plate:
Do the same process by stroking the plate on the bevel of the scissors.
Using a file:
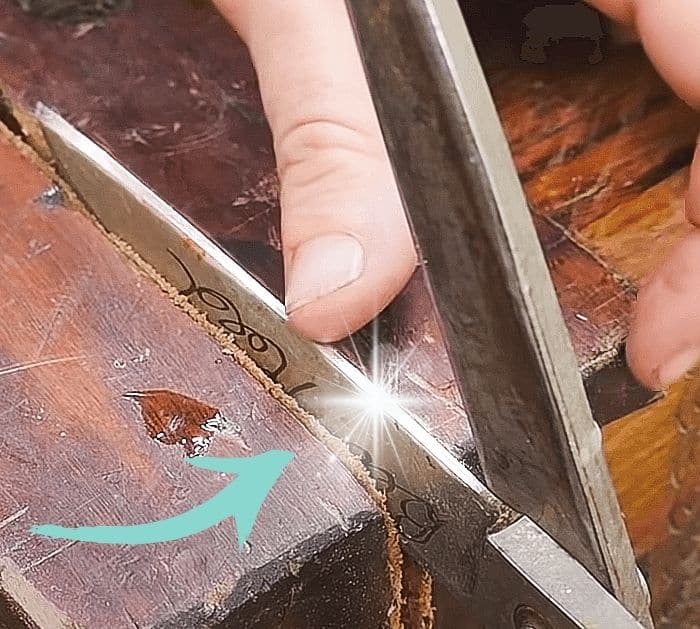
If you want a consistent surface, use a file. Put one of the two jaws in a vise, then grab your file. Draw file from the back to the front of the bevel of that jaw. (Draw filing meaning: dragging forward and backward along the length of the bevel with a little bit of movement from side to side) After a few passes, you’ll see the shininess of the edge. Grab a diamond paddle and smoothen the edge. The diamond paddle gives the finishing touch for an extra sharp edge. Flip it over and repeat the process.
Now you can test your freshly sharpened scissors. You’ll notice a big difference.
For the sloppiness:
Using a screw, tighten it a little bit.
