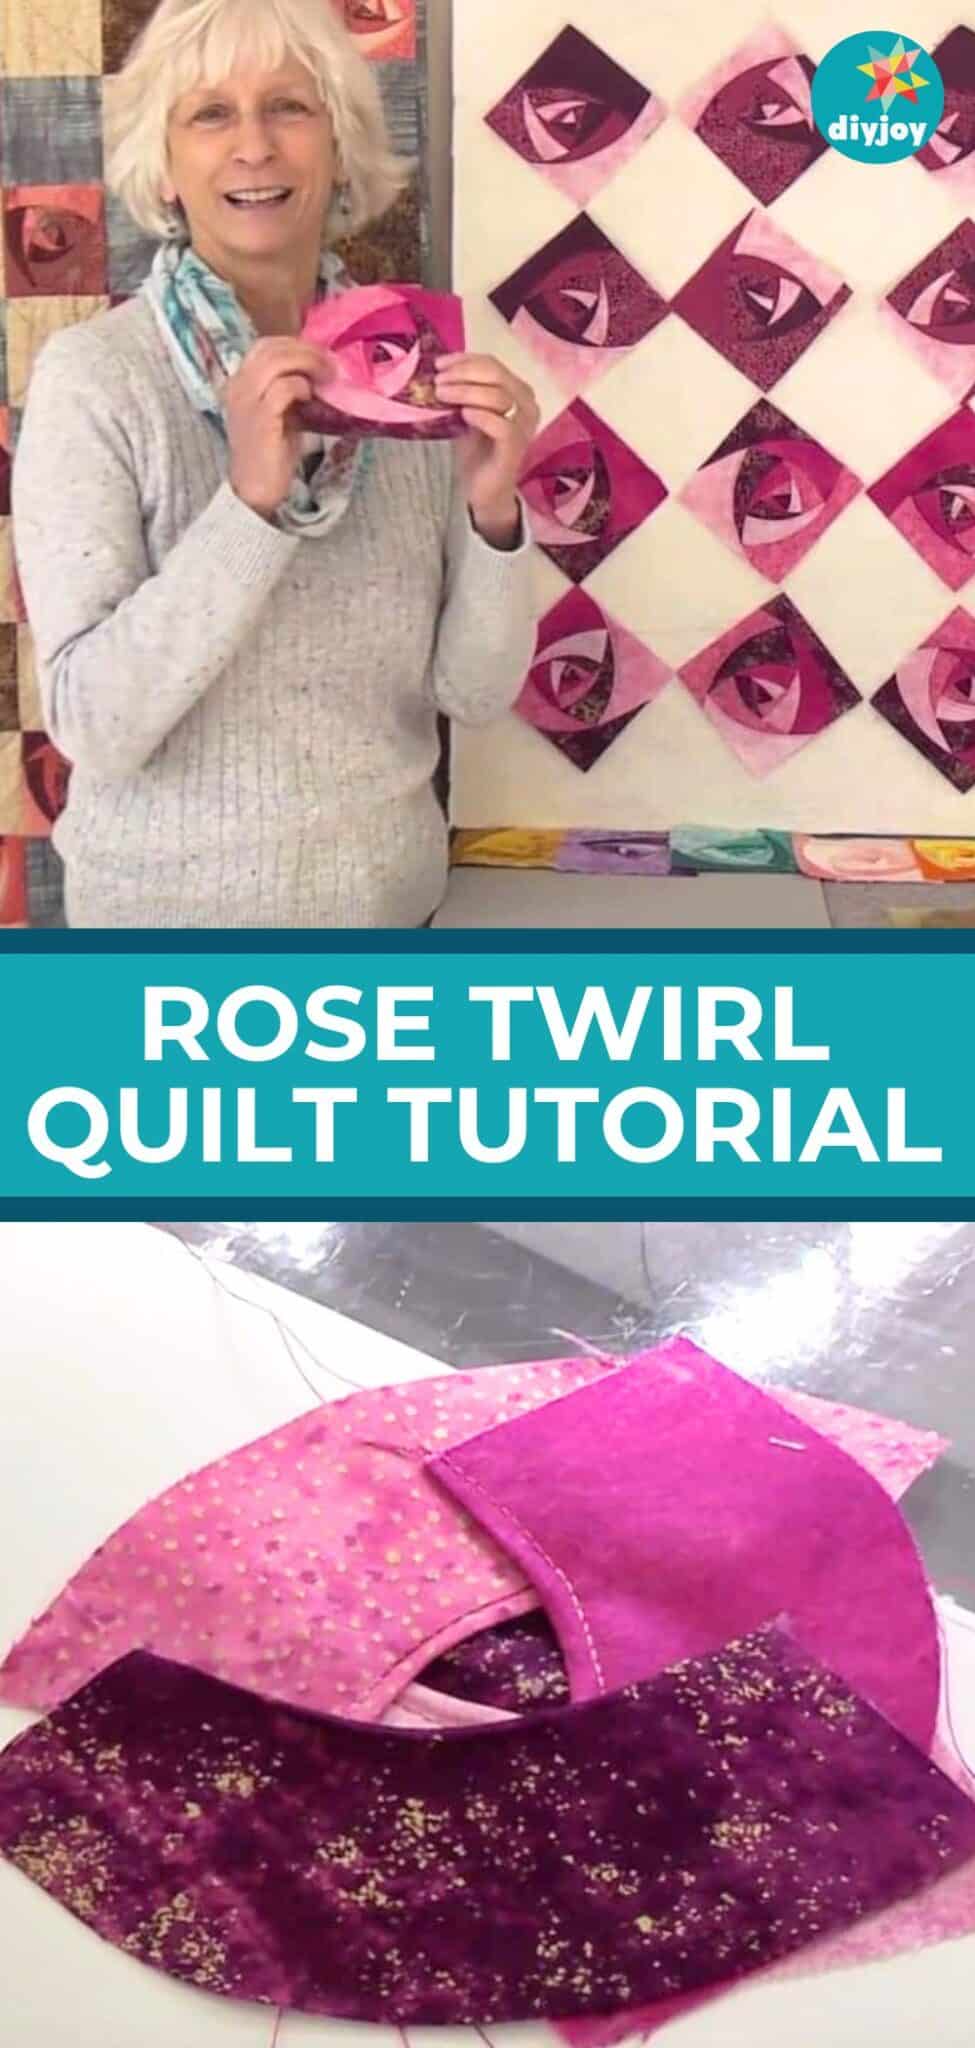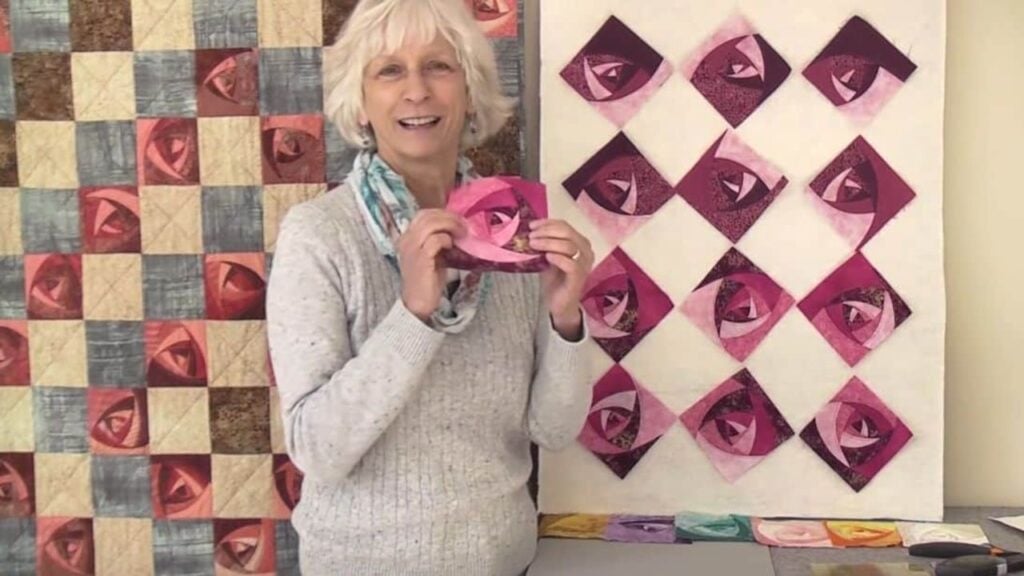
I love flowers, especially roses, so I want to make them for my next project. Luckily, I have found this amazing and beautiful rose twirl quilt tutorial by Karen Eckmeier. I can’t wait to sew different color variations. It’s made from freeform curves which make every finished piece unique. Go ahead and watch the video below for the detailed process of this lovely block.
Materials:
- 4 pieces of 6-1/2 inch squares (1 dark, 2 medium, and 1 light of the same color)
- rotary cutter
Instructions:
Step 1:
Stack the 4 pieces on top of each other right sides facing up. Mark 1/2, 3, and 5-1/2 on the bottom and one side edge.
Step 2:
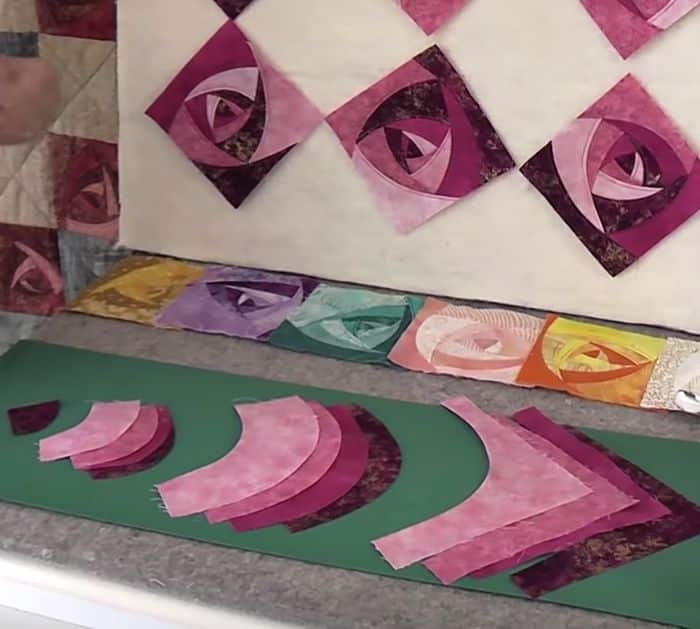
Connect the dots by cutting an arc using a rotary cutter. Flip the 3 bigger parts so the wrong side is facing. Grab one piece of the stack. Fold a quarter inch on the concave part of the fabric and press using an iron. Do the same for the remaining pieces.
Step 3:
Group the same sizes and arrange them by size from smallest (1) to biggest (4). You can also arrange them in your preferred color order.
[social_warfare buttons=”Facebook,Pinterest,Twitter,WhatsApp”]
Step 4:
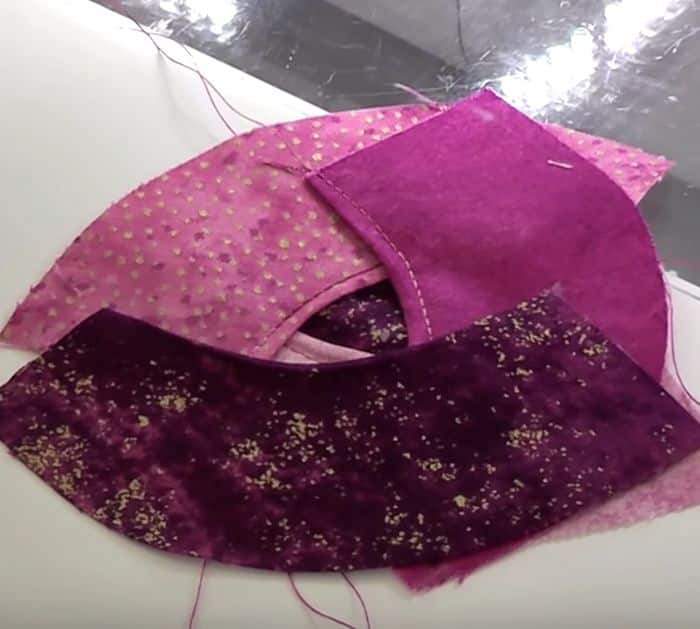
Get one piece from the smallest size and rotate it, so the arch is in the upper right quadrant. Take one from the second size and place the concave part above the arc of the first piece. Overlap a little bit and sew 1/8 inch from the edged curve.
Step 5:
Take another from the second size and place it on the other side, but leave an opening. Sew 1/8 inch from the edged curve. Next, take another with the same size and sew on the opening bottom. Get the last piece and arrange it so only a small curve triangle will only appear on the first piece of fabric you sew. Sew 1/8 inch from the edged curve.
Step 6:
Turn it around a little bit and do the same process as the last one with the next size. Place it so that a small curved triangle will show from the previous one. Continue doing the process until the last pieces. Make sure that the block is more than 5″ x 5″.
Step 7:
Once done with the pieces, press the block with an iron. Flip it around and cut the excess fabric from the first layers of fabric. Make sure to not cut the front. Next, cut it to a 5-inch square.
Rose Twirl Quilt Tutorial