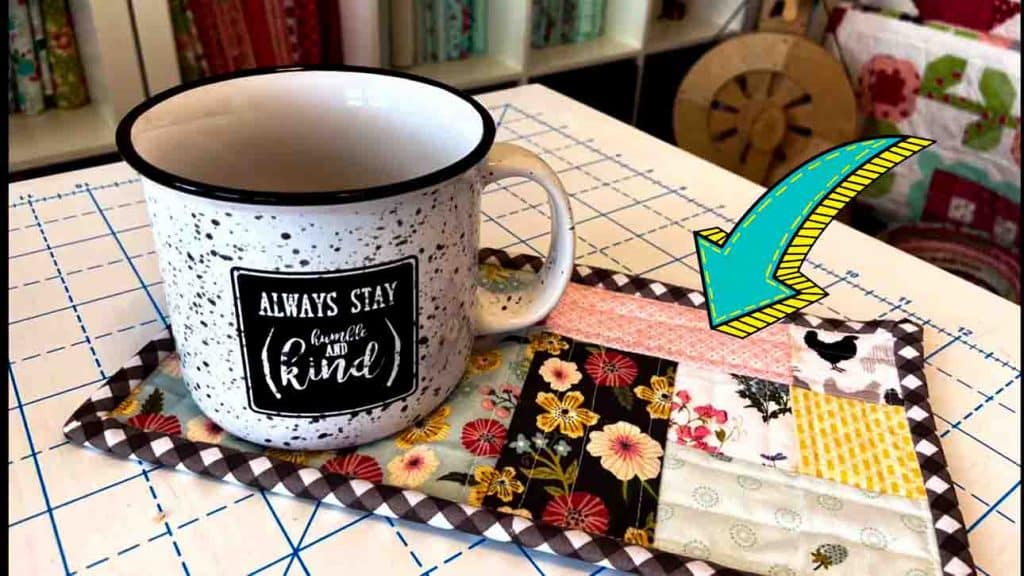
If you’re just a beginner in quilting, this quilt-as-you-go mug rug from Erica Arndt on Youtube is a great project for you to practice your skills. It’s a fast and easy project you can do on a weekend that requires scrap fabrics only! Try making one today by watching the video tutorial below.
Materials:
- lots of fabric scraps of various sizes
- 1 pc. QAYG panel: 5.5″ x 10.5″
- 1 pc. backing piece: 5.5″ x 10.5″
- 1 pc. 2.25″ x 40″ piece for the binding
- 1 pc. cotton batting: 5.5″ x 10.5″
- 505 basting spray
- rotary cutter
Directions:
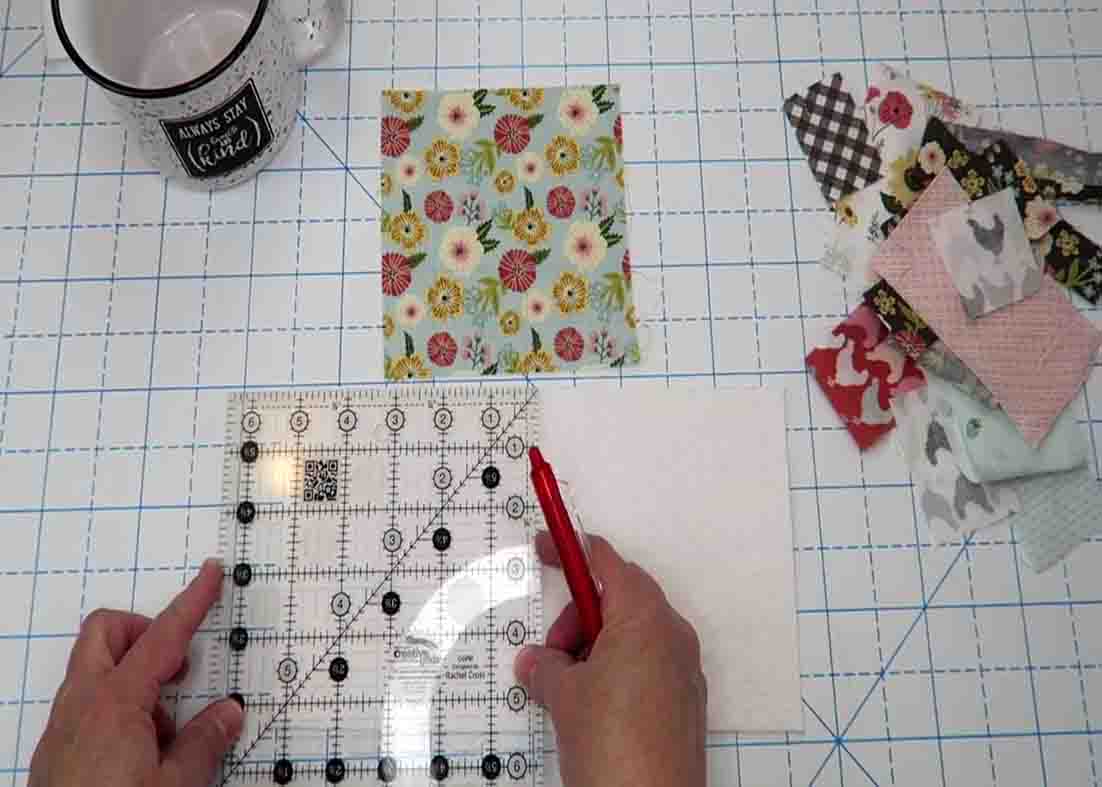
Step 1
First, take your 505 basting spray, then lay your backing over your batting and spray. If your fabric has excess, trim it down and make sure that the final size is 5.5″ x 10.5″. Next, take your ruler and mark the fabric at 5 & 1/4″. (You can also make 5″ just make sure you’re going far enough with your scrappy section so when you go add a larger piece, it will overlap by a 1/4″.) After this, take it to the sewing machine and start adding your quilt as you go scraps on the other half. Grab one of your scraps, place it in the middle and run a couple of straight stitches down to secure it. Grab another scrap, place it right side down to the other scrap, lining the edges, then sew 1/4″ down. Finger press it open, then run some stitches down to the second scrap as well. Keep adding scraps in that same manner as you go. After this, grab your larger piece of fabric and line it up right on the edge, then sew it. Now, trim up your project from excess fabric.
[social_warfare]
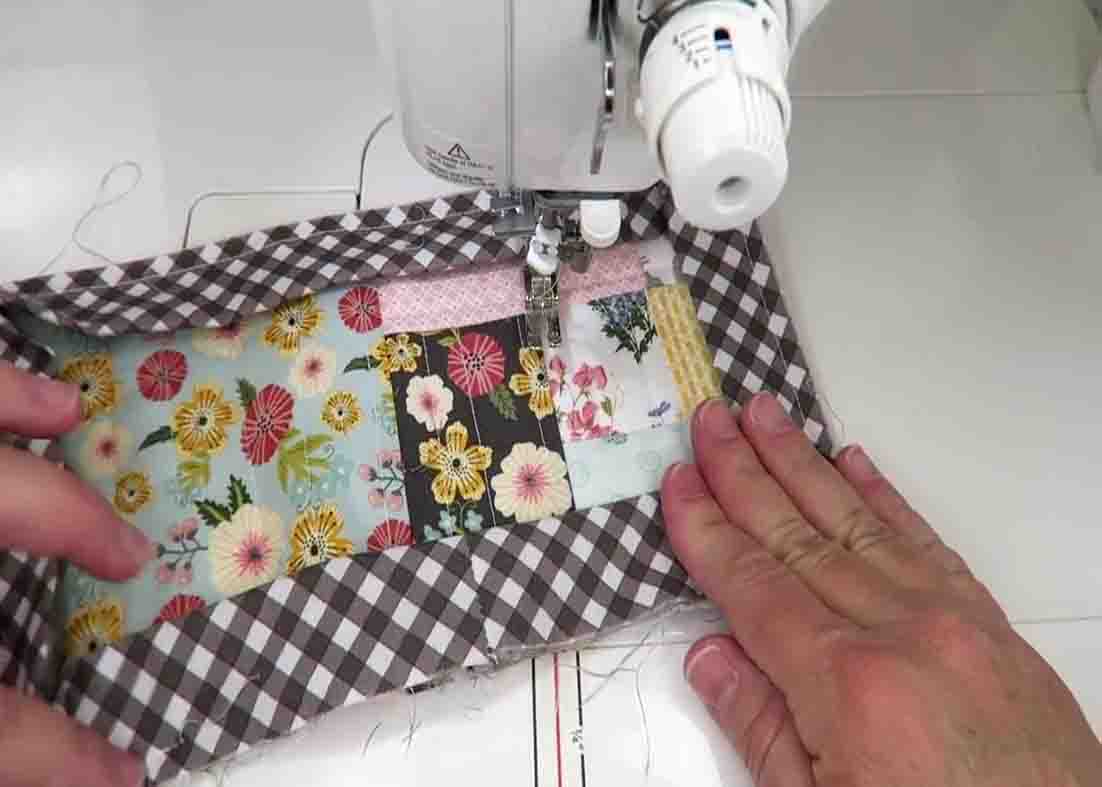
Step 2
(Now, for the binding, you can either use your scraps or cut a special piece for it.) Cut a couple of strips from a fat quarter, place it right sides together, sew it, and press this whole thing in half lengthwise. Next, take it to the sewing machine and start on one of your longer edges. Lay your binding down, and line it up with the raw edges of your binding with the raw edges of the project. Star sewing your binding down using 1/4″. Before reaching the corner, lift your presser foot, turn the project diagonal about 45 degrees, do a little backstitch and cut your thread. Sew in this manner, repeating the process on all four corners. ow, to line up the edges, grab the starting spot and the extra flap, and line those up so they overlap by 1/4″. Lay them together, open them up, and take them over to the sewing machine and sew with 1/4″. After sewing, finger press the seam open, fold it in half, then finish attaching it to the project.
Quilt-As-You-Go Mug Rug Tutorial


