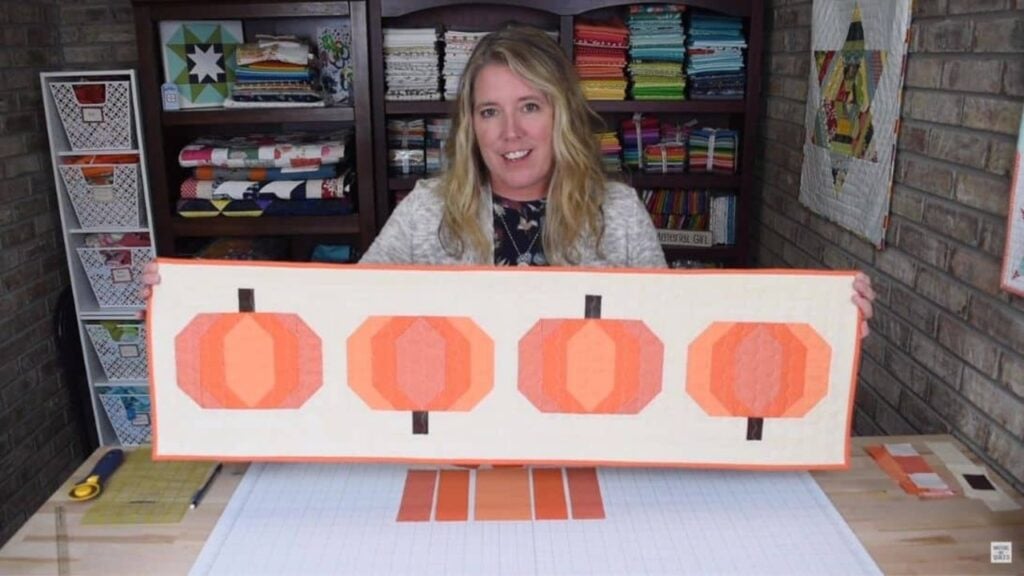
You can make this beautiful table runner with this pumpkin patch quilt block tutorial by Material Girl Quilts on Youtube. The steps are very easy to follow and beginner-friendly. If you have fabric scraps, now is the time to use them for this sewing project. It’s a wonderful design, perfect for this fall season. Watch the video below for the full instructions.
Materials:
- 3 pieces of 1/4 yard orange fabrics in different shades (Label them A, B, and C)
- 1/2 yard of background fabric
- 5″ square scrap stem fabric
- ruler
- pencil
[social_warfare buttons=”Facebook,Pinterest,Twitter,WhatsApp”]
Instructions:
Step 1:
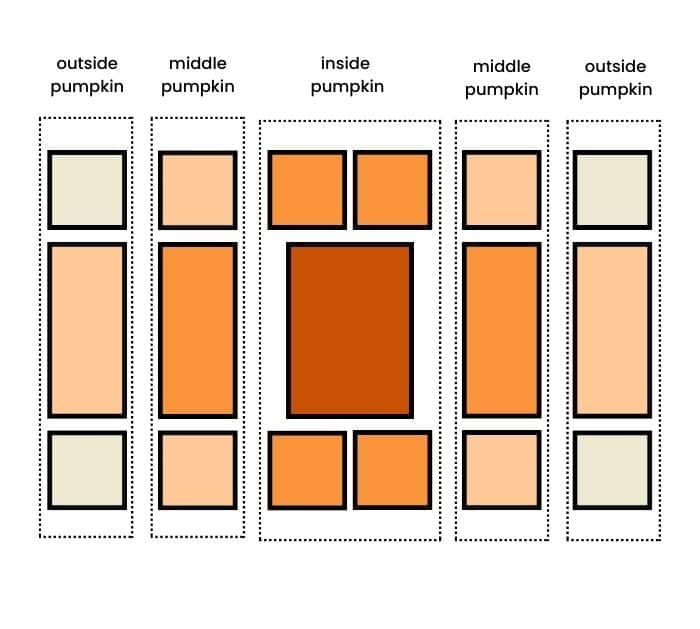
Cut the fabrics in these measurements for each block:
Inside pumpkin: 1 piece of 3-1/2″ x 6-1/2″ rectangle from fabric A and 4 pieces of 2″ squares from fabric B
Middle pumpkin: 2 pieces of 2″ x 6-1/2″ rectangles from fabric B and 4 pieces of 2″ squares from fabric C
Outside pumpkin: 2 pieces of 2″ x 6-1/2″ rectangles from fabric C and 4 pieces of 2″ squares from the background fabric
Background and stem:
From the background fabric: 2 pieces of 2″ x 4-1/2″ rectangles, 1 piece of 2″ x 9-1/2″ rectangle
From the stem fabric: 1 piece of 1-1/2″ x 2″ rectangle
Step 2:
Start with the outside pumpkin. Place the background squares right sides together on each end of the rectangle. Mark a diagonal line from one corner to the opposite corner of the square. Do the same for the other square but switch directions. Once done, sew directly on the lines. Trim a 1/4″ outside the sewn line to cut off the triangle. Press the seams open. Repeat the same process with the middle pumpkin. Then do the whole process for the other side of the pumpkin.
Step 3:
For the inside pumpkin fabric, get the two squares and start on one side by placing them on the ends of the rectangle. Draw the diagonal lines and trim. Press the seams open. Repeat on the other side of the rectangle.
Step 4:
Place the outside and middle together on both sides then sew along the edges. Press the seams allowance towards the rectangle. Once done, sew them on the middle fabric.
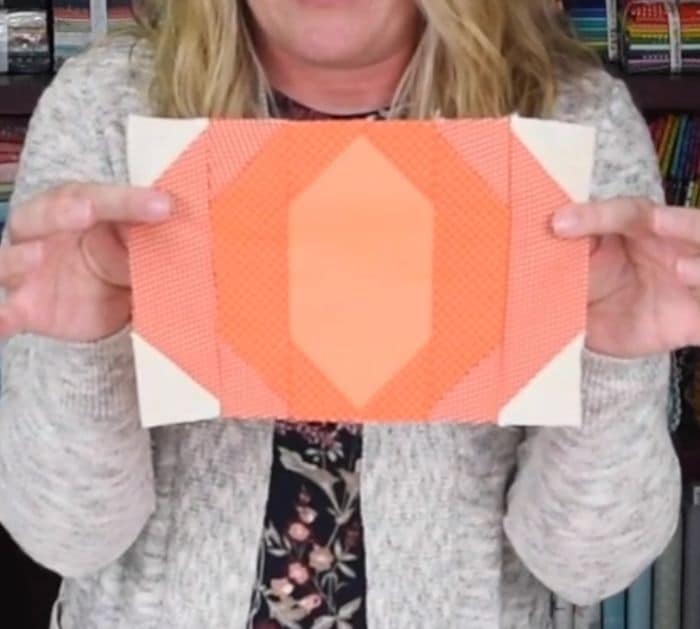
Step 5:
Take the 2 pieces of 2″ x 4-1/2″ background fabric and place the stem rectangle in the middle. Sew them together and place them on top of the pumpkin. Lastly, sew the 2″ x 9-1/2″ on the bottom of the pumpkin.
Pumpkin Patch Quilt block


