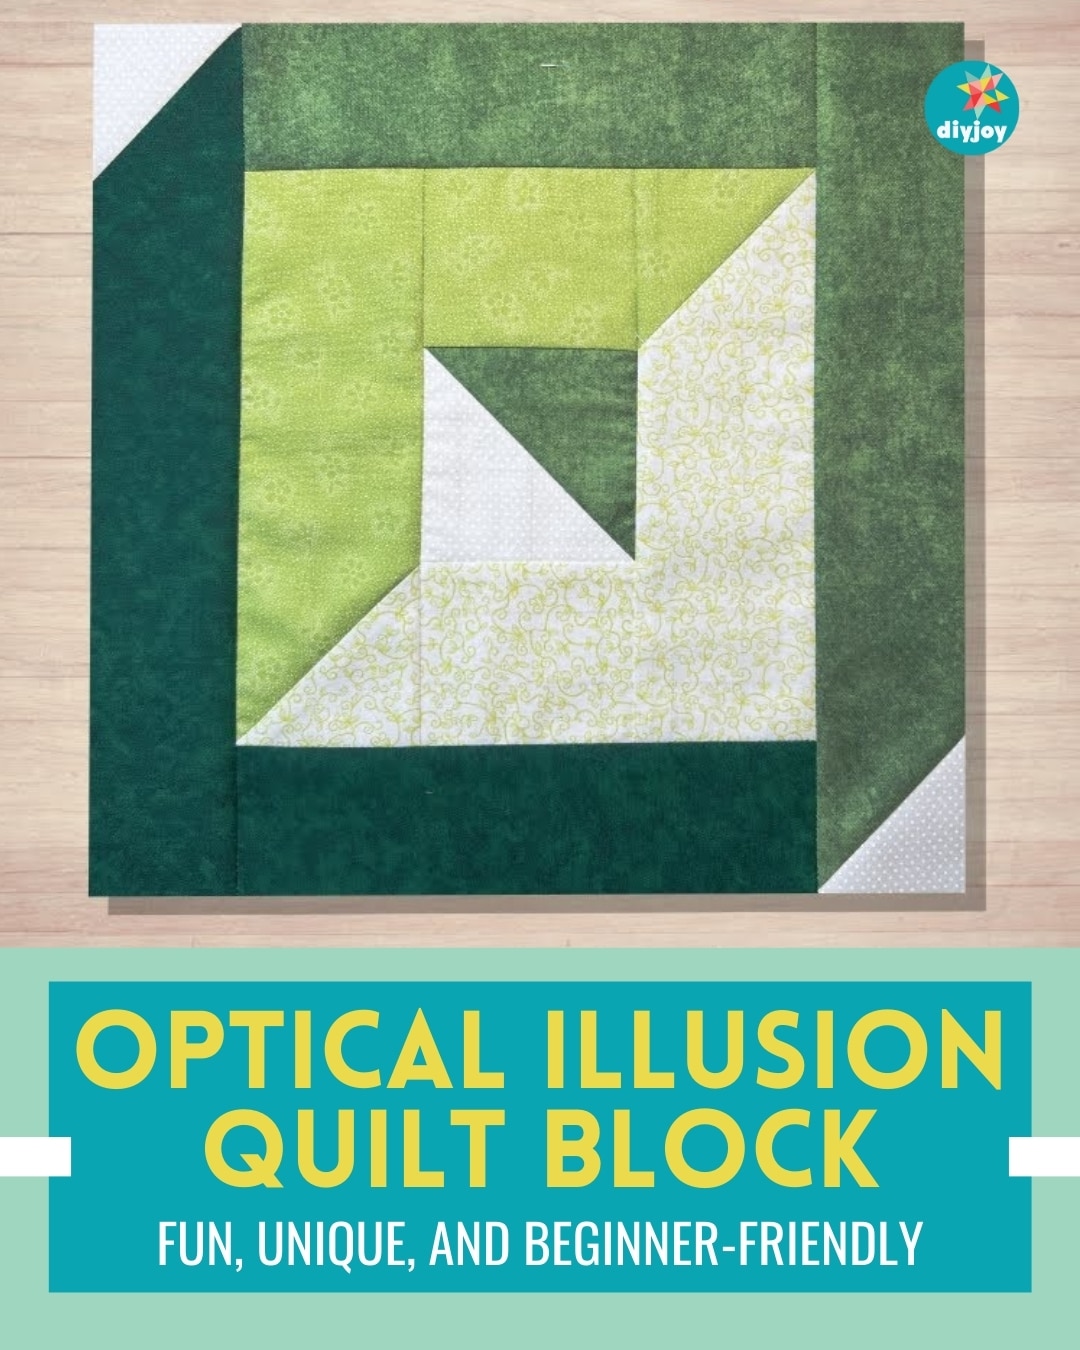
Are you looking for a unique quilt block that is easy enough for beginners? This optical illusion quilt block from Tulip Square on YouTube is just perfect! This pattern may look hard at first, but it’s actually one of the easiest patterns you’ll ever do – and it’s definitely for beginners!
RELATED: Impossible Spiral Quilt Block Tutorial
I’ve been quilting for quite some time now, and this pattern is easily one of my favorites to make. It’s fun and simple to do, and it’s a nice break from all those traditional quilt patterns. So, if you’re looking for a unique pattern for a change, give this one a try!
Fabric Requirements:
- (click here for the free pattern)
White Background Color:
- Cut 2: 2 1/2″ x 2 1/2″
- Cut 1: 3 1/2″ x 3 1/2″
Palest Color:
- Cut 1: 3″ x 3″
- Cut 1: 3″ x 3 1/2″
- Cut 1: 3″ x 8 1/2″
Medium Light:
- Cut 1: 3″ x 3″
- Cut 1: 3″ x 3 1/2″
- Cut 1: 3″ x 8 1/2″
Medium Dark:
- Cut 1: 3 1/2″ x 3 1/2″
- Cut 1: 2 1/2″ x 8 1/2″
- Cut 1: 2 1/2″ x 12 1/2″
Darkest Color:
- Cut 1: 2 1/2″ x 8 1/2″
- Cut 1: 2 1/2″ x 12 1/2″
Directions:
Step 1
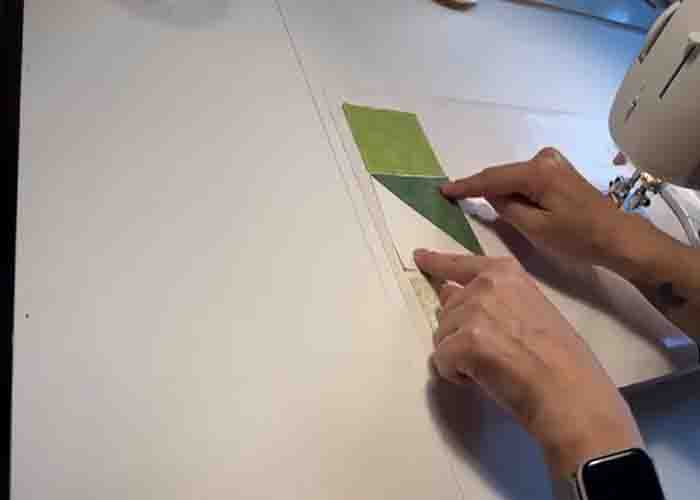
Take one white square and one medium dark. Put them right sides together, draw a line diagonally, and sew on both sides of that line. Cut it right in the middle afterward and press open. Next, take the palest color, place it at the bottom, then a medium-light at the top. Sew these three pieces together, then press open. After this, take one long medium-light and pale fabric, line up the contrasting pale and medium-light on each top, then sew them diagonally. Cut the two corners off, then press them open.
Step 2
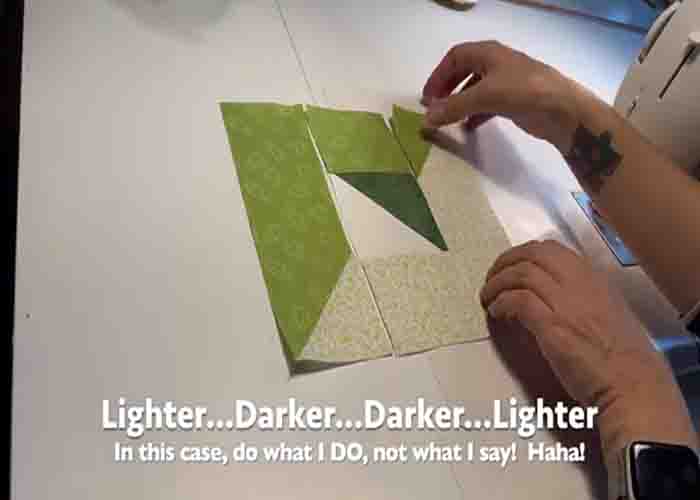
Now, lay the pieces according to the image below. Once done, sew these pieces together with a 1/4″ seam, then press towards the outside. Place the remaining medium and dark fabric on top and bottom, sew them together, then press. Set it aside. For the corners, take the last two pieces, then add a white square on each. Sew these white squares diagonally, cut the corners off, then press. After this, Add the two units on each side, then sew them together to complete the block.
Optical Illusion Quilt Block Tutorial