
This cute one-sock DIY gnome can be used as decor in any season – just change the color of the socks and be creative. You can add small designs that fit the occasion, like spiders for Halloween, orange leaves for fall, or candy cane for Christmas. This is a super easy and fun craft project you can do with the kids. Learn how to make these through this wonderful tutorial by Patti J. Good on Youtube.
Materials:
- sock with fur lining
- 2 pieces of string
- pompom
- wooden bead
- faux fur
- weight beads, beans, or rice
- glue gun
- stuffing
- scissors
[social_warfare buttons=”Facebook,Pinterset,Twitter,WhatsApp”]
Instructions:
Step 1:
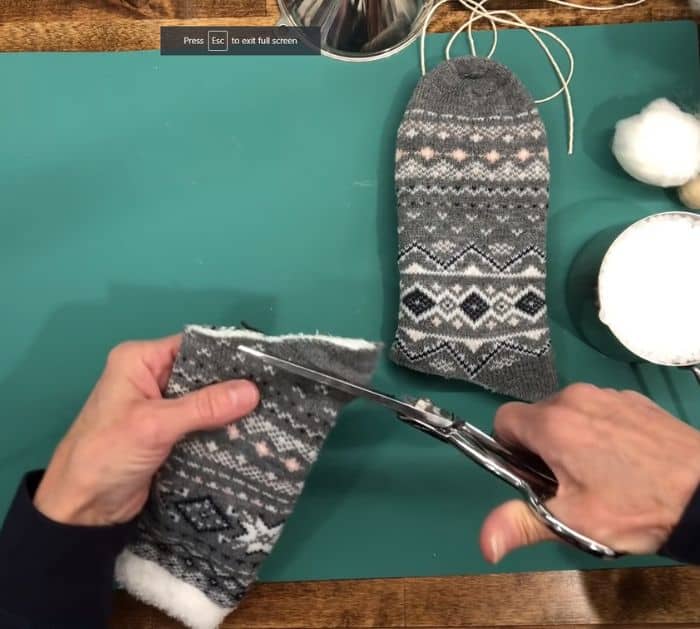
Cut the sock straight across where the heel is. The bottom part is for the body, and the top part is for the hat. Even out the top part.
Step 2:
Fill the body with the beads. Stuff them at the bottom to make the base, then fill the rest of it with a polyfill.
Step 3:
Take the string and tie it off so the beads won’t fall out. Add the hot glue in the middle to close it, then glue the top to the body. Set aside and let it dry.
Step 4:
Take the top part of the sock and pull the inside out. Take the other string and tie the top. Once done, pull the right side out.
Step 5:
Stick the pompom at the very end using a glue gun.
Step 6:
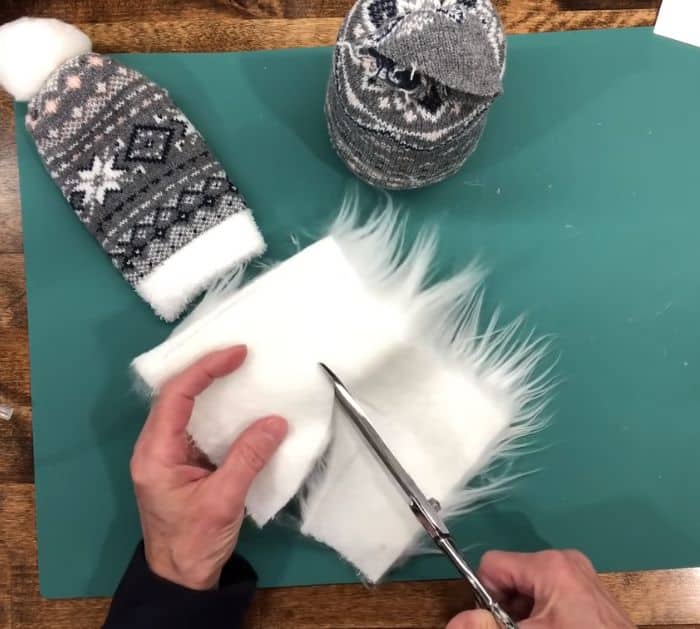
Trace a 4-1/4″ x 3″ rectangle into your faux fur. Cut one long side into a curve. Do not cut the fur just the backing. Attach it half an inch down around the edge of the body.
Step 7:
Turn your hat up and put on your gnome. Add glue to the wooden bead and stick it to the fur. Pull the hat down a little bit to cover the nose, then add glue to secure it. Add more glue around the hat, so it will stay in place.

