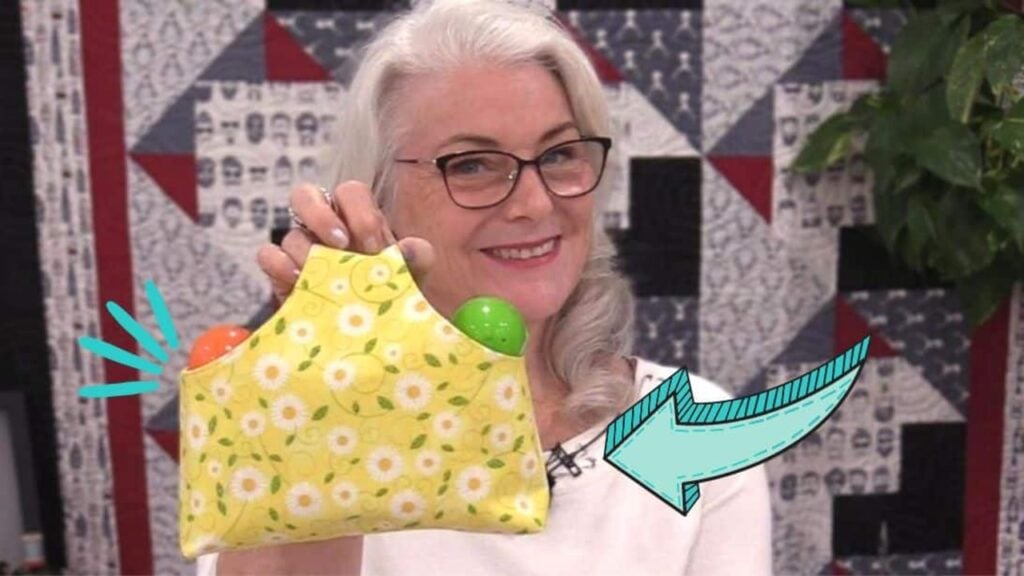
Small projects like this are very fun and refreshing to do. If you have a bunch of fat quarters at home, make tons of this basket and gift them to your sewing friends or kids. You can also put small items or treats inside. Learn how to make this one fat quarter bag with this wonderful tutorial by SewVeryEasy. Watch the video below for detailed instructions.
Materials:
- 7 1/4″ circle pattern or bowl
- one fat quarter fabric (22″ by 18″)
- fusible interfacing (lightweight or medium weight)
[social_warfare buttons=”Facebook,Pinterest,Twitter,WhatsApp”]
Instructions:
Step 1:
Place your fat quarter fabric right side down and iron fusible interfacing.
Step 2:
Fold the fabric in half crosswise and cut. Make sure they are the same size. Place the two pieces of fabric together right side facing. Fold the top fabric in half on both sides just to make a crease. Once done, draw a line using a pencil and ruler to find out the center of the fabric.
Step 3:
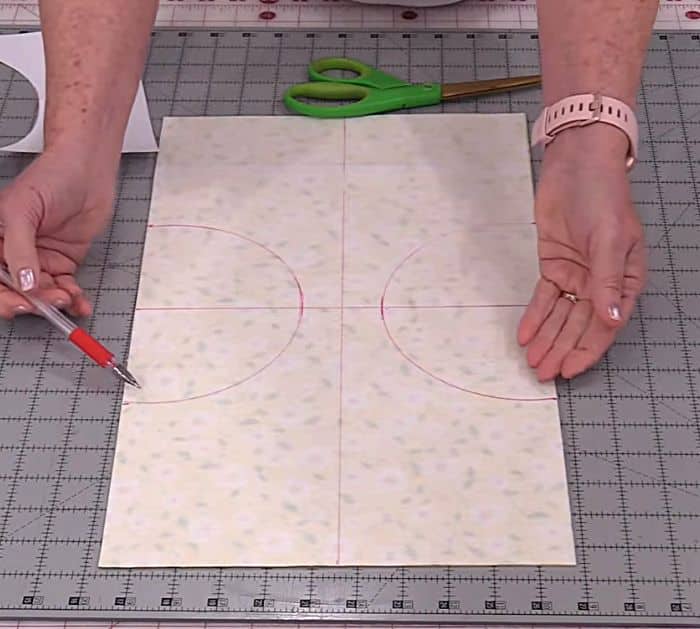
Make sure that the short side of the fabric is facing you. From the center of the fabric, draw a mark 1 inch from the center on both sides.
Step 4:
Fold the circle in half two times to get the center. Open it up in half and align it to the center edge of the sides of the fabric. Mark the ends of the half circle. Trace the circle on the fabric by placing the pattern on the mark on the center and the sides. Do it on both sides. After that, draw 1-inch squares on all 4 corners.
Step 5:
Secure the two fabrics with pins. Sew on the curves with small stitches. Once done, trim the half circles with a quarter-inch seam allowance. Snip close to the line of stitching. Do it all the way around. Next, cut the four corners and remove the pins. Turn it right side down and press with an iron.
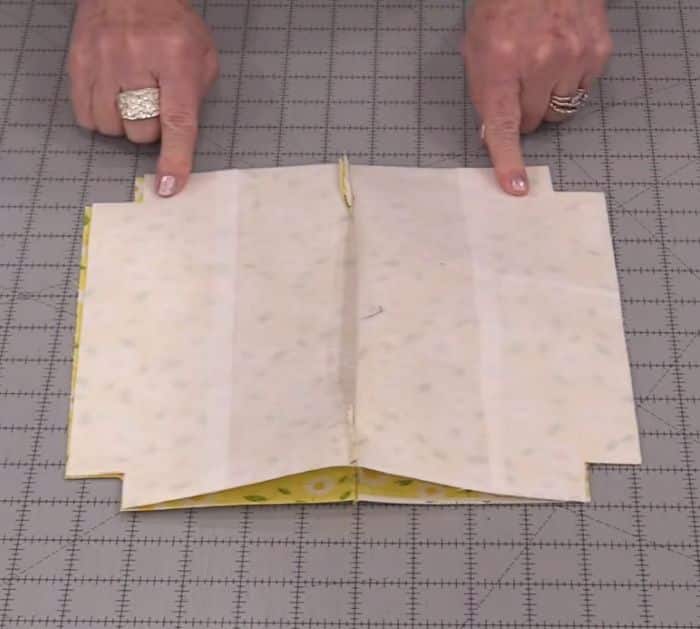
Step 6:
Fold the bag in half. Lift the top piece and lift the bottom piece. So, you have two right sides on one side and two right sides on another. Line up the seams and stitch on both sides. Be sure to backstitch. Close off one bottom, and on the other one leave an opening. Close the corners by pulling them apart, nestle the seams, and sew with a quarter-inch seam allowance. Do the same for all four corners.
Step 7:
Pull everything out through the opening. Close the bottom seams and do a topstitch all around the handles.
One Fat Quarter Bag