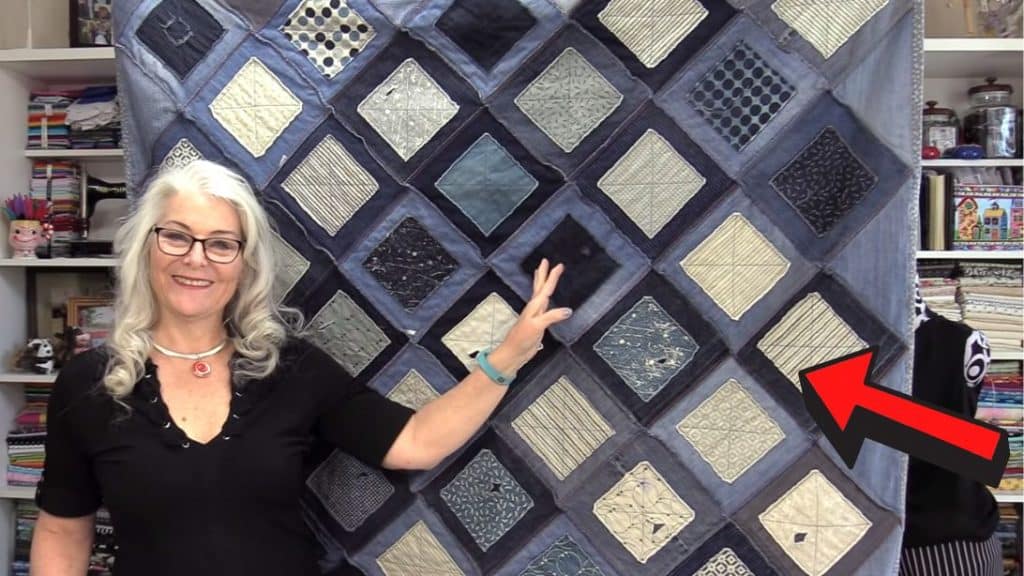
We have tons of denim jeans at home that we no longer use. Some of them are already small or no longer fit our styles, so I looked for quilt projects that I can do using them. I have found this old jeans quilt tutorial by SewVeryEasy that is exactly what I needed. The steps are simple, so anyone of you who also want to repurpose jeans can easily make it at home. Watch the video below for the full instructions. Happy quilting!
Materials:
- 41 pieces of 8-inch squares of denim fabric
- 4 small denim triangles from the corner (cut diagonally from 7-inch squares)
- 4 pieces of flannel triangles cut from a 7-inch square
- 16 large denim triangles (cut diagonally from 9-inch squares)
- 16 pieces of flannel triangles cut from a 9-inch square
- 41 pieces of 8-inch square flannels
- 41 pieces of 5-inch squares
If you are going to buy denim, you need 2-1/2 yards. Use a denim needle for this project.
Instructions:
Step 1:
Place the flannel right side down, then place an 8-inch denim fabric on top. Next, get one 5-inch square and place it in the middle of the square. Stitch the edges of the middle square and sew an X on the middle. Do the same for the remaining 40 pieces.
Step 2:
Sew the flannel triangles to the denim triangles with the wrong sides together.
Step 3:
Assemble the blocks in this sequence – 1, 3, 5, 7. These numbers indicate the number of blocks for each row. Once you complete them, it will look like a triangle. Make another one of this. Next is the joining row which will be in the middle of these 2 triangles.

[social_warfare buttons=”Facebook,Pinterest,WhatsApp,Twitter”]
Step 4:
Put one small denim triangle on top of the first block. Next, fill each edge with large denim triangles. As you fill the corners you will see the triangular shape.
Step 5:
Start with the top block and triangle. Quilt by putting the wrong sides together. Once done, trim off the excess. Continue with the second row. Align the two side blocks to the middle block. Put wrong sides together then sew. Remove excess then sew it to the first block. Do the same process until you are done with the first big triangle. Repeat for the other big triangular blocks.

Step 6:
Get 9 blocks and put the denim triangle at the corners. Sew them together. Once done, sew this row in the middle of the two big triangles.
Step 7:
Press the quilt using iron and trim the excess edges.


