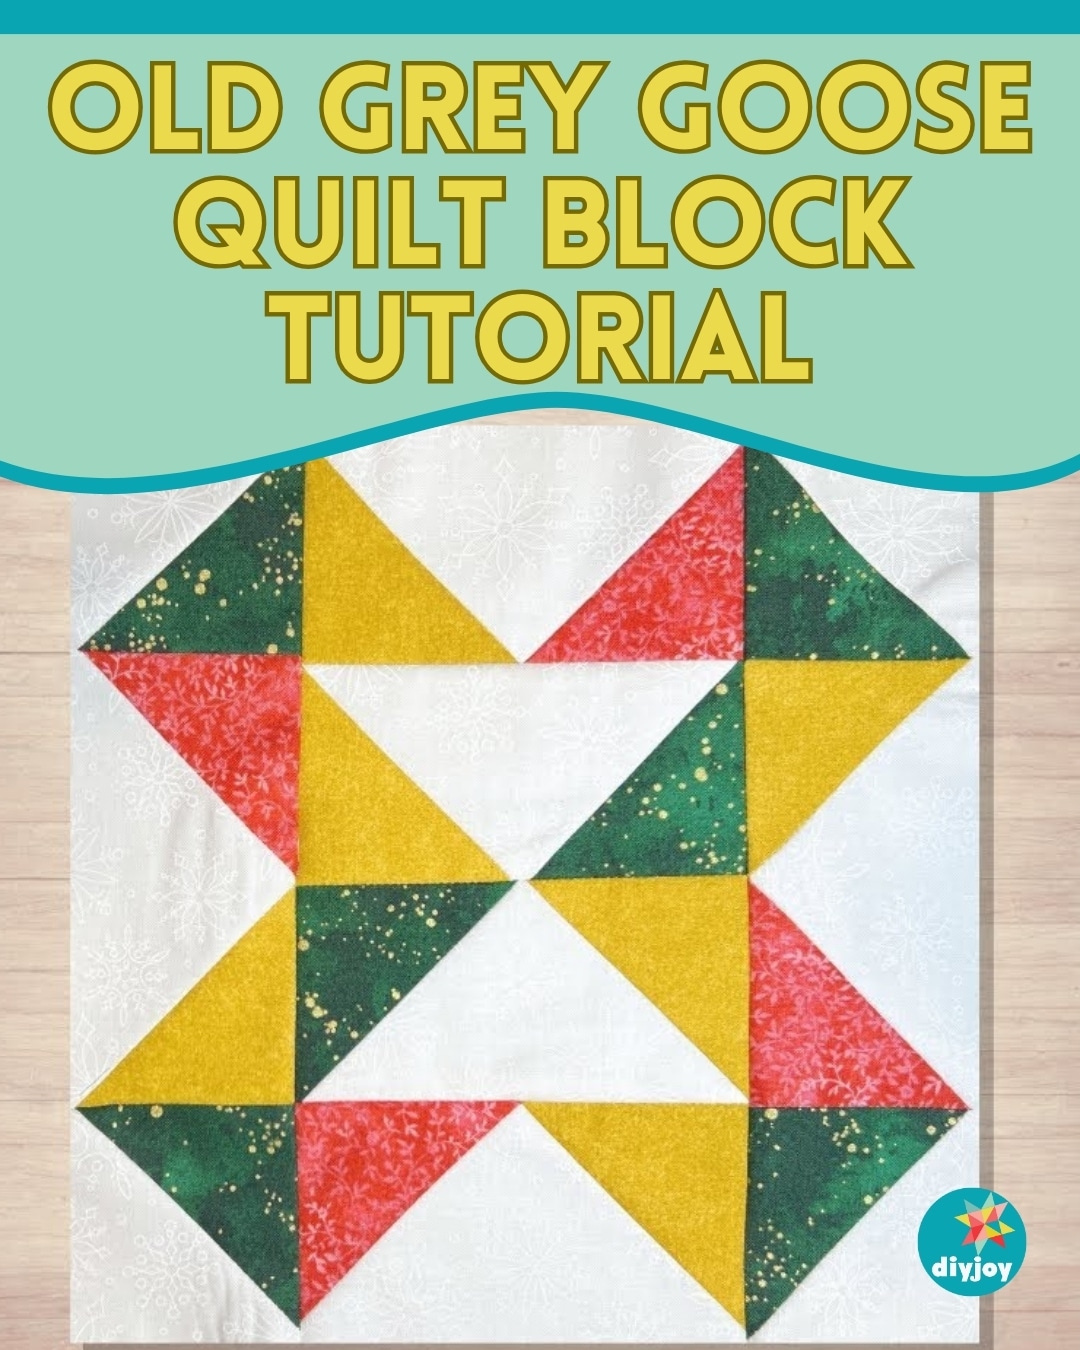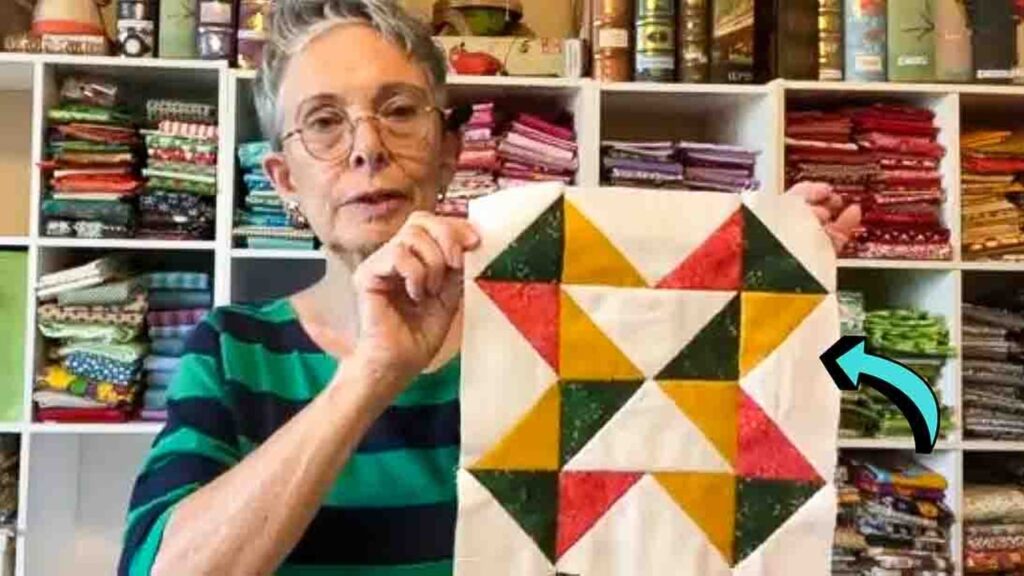
This gorgeous quilt block pattern from Tulip Square may look complicated, but it’s pretty easy to make and just perfect for beginners. It’s one of my favorite quilt block patterns as it looks so pretty with whatever fabric, printed or not, I use. So, if you have some pretty-looking fabrics you’re saving up for the perfect project, this is the one.
RELATED: Goose Tracks Quilt with Jenny Doan
I also like that it’s still fun to do, even if you’re a seasoned quilter already. It’s a great project to pass the time or if you need something pretty and quick for a loved one. Watch the video tutorial below to learn the step by step instructions.
Materials:
(click here for the free pattern)
White:
- cut six 3″ x 5 1/2″
- cur two 3 3/8″ squares
Color 1 (red):
- cut four 3″ squares
Color 2 (green):
- cut two 3 3/8″ squares
- cut two 3″ square
Color 3 (gold):
- cut six 3″ squares
Directions:
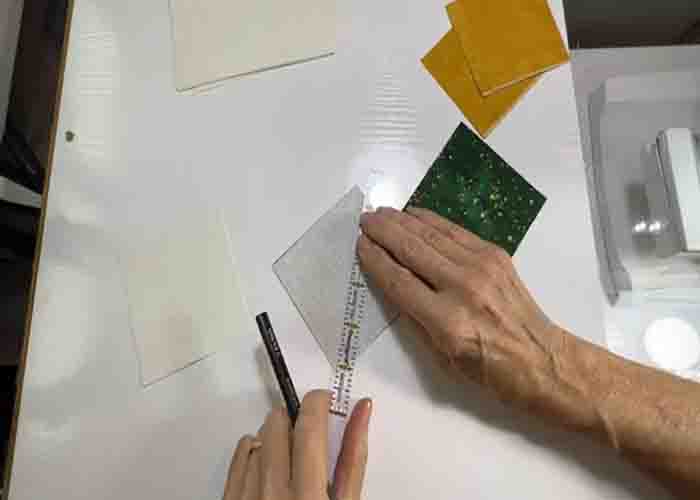
Step 1
To start, cut all the fabric requirements and set them aside. Next, grab two white squares and two green squares. Pair them, right sides together, then draw a diagonal line in the middle of each pair. After this, sew a 1/4″ seam on each side of the line, then cut directly in the middle. Press open towards the green afterward. Next, take a white rectangle, put one gold square, right side down, on one corner, then sew a diagonal line. Repeat these steps on all six golds. Once you have them sewn down, cut the excess triangle, leaving a 1/4″ seam allowance. Press open toward the colored fabric.
[social_warfare]
Step 2
Now, take your green and red and put a second corner on each one. Repeat the steps above, sewing diagonally right across, then cutting off the excess triangle. Once done, take one of the flying geese pieces, and put two of the half-square triangles on each side with the colored fabric inside. Sew these together. Make another of this unit, then set them aside. Next, take another two flying geese units and sew them together with the colored fabrics inside. Now, sew the remaining flying geese on top and bottom of this unit to complete it. Once done, assemble the block (refer to the image below for the placement) and sew the units together to complete it.

Old Grey Goose Quilt Block Tutorial