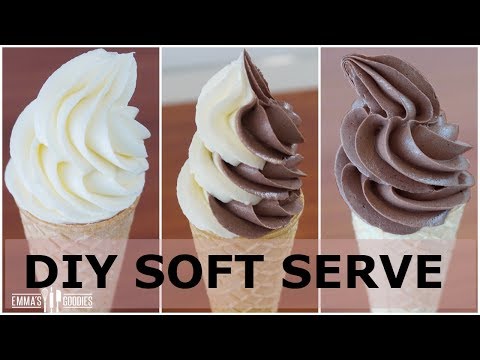
When I was a kid, I always asked my mom to buy me soft serve ice cream whenever we were out. It was my favorite thing in the world. The texture and the taste were perfect. It got me thinking if I could make it at home without any special equipment. Gladly, I came across this no-machine soft serve ice cream recipe by Emma’s Goodies. Yes, it has the same consistency as my favorite ice cream! I am so happy with how it turned out – it’s amazing. Watch the video below for full instructions.
Ingredients:
- 3 cups of heavy cream
- 2 cups of sugar
- 2 teaspoons of vanilla extract
- 3/4 teaspoon of salt
- 1/3 cup of cocoa powder
Note: do not cut the amount of sugar in this recipe. It is not only for the sweetness, but it also controls the texture of the ice cream. If you don’t add the sugar, it will just freeze into a solid block.
Instructions:
Step 1:
In a saucepan, add 3 cups of heavy cream and 2 cups of sugar. Mix until well combined. Place it over low heat, as you don’t want it to boil. Stir it occasionally.
Step 2:
Once the sugar is dissolved, turn off the stove and stir in the vanilla extract.
Step 3:
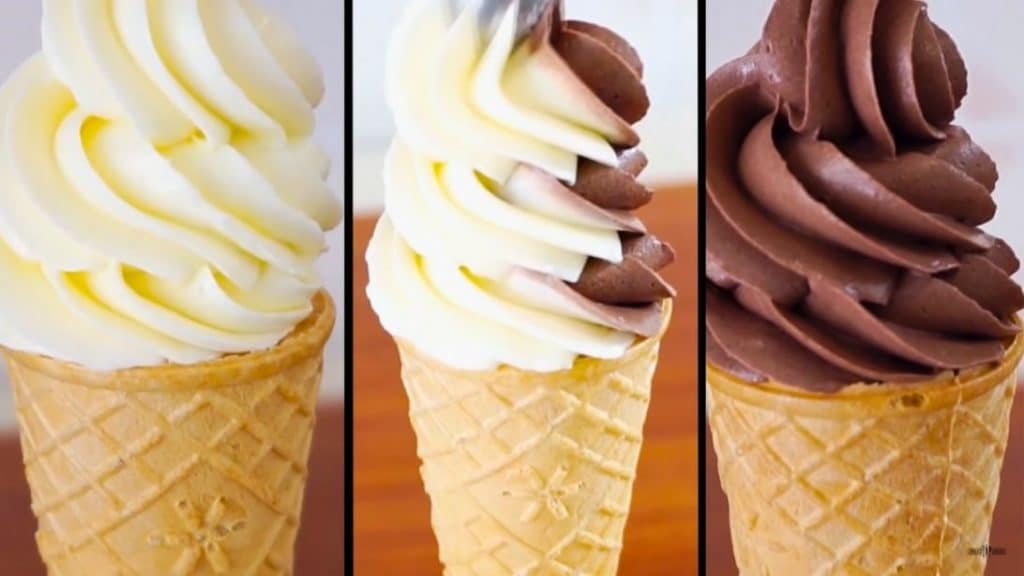
Divide the mixture evenly between two freezer-safe containers. The first one is vanilla soft serve and the other is chocolate.
Step 4:
Place 1/3 cup of cocoa powder in a small bowl. Add four to five tablespoons of the cream and combine until thick and smooth.
[social_warfare buttons=”facebook,pinterest,twitter,whatsapp”]
Step 5:
Add the chocolate paste to the ice cream base and whisk until well combined.
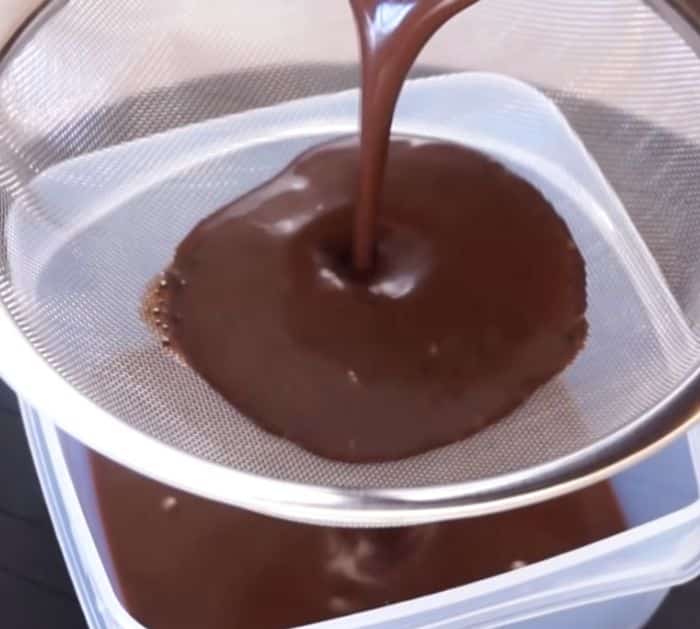
Step 6:
Strain the chocolate ice cream base to remove lumps. Discard the cocoa powder on the strainer. Transfer it back to a freezer-safe container.
Step 7:
Cover the two containers and place them in the fridge for about 2 hours.
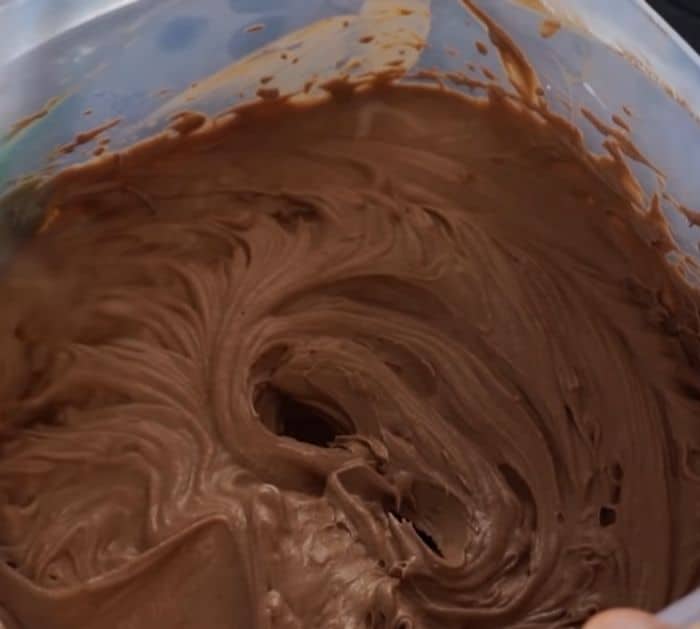
Step 8:
Whip the two mixtures separately. This will incorporate air into them. Do not overwhip these. As soon as you reach soft peaks, stop mixing. Cover it with parchment paper, and press directly onto your ice cream. Place the lid, and put it in the freezer for about 10 to 12 hours.
Step 9:
You can eat it as it but if you want it to look like soft serve, transfer it to a piping bag with a star tip. Squeeze into the cone or cup.
No-Machine Soft Serve Ice Cream Recipe