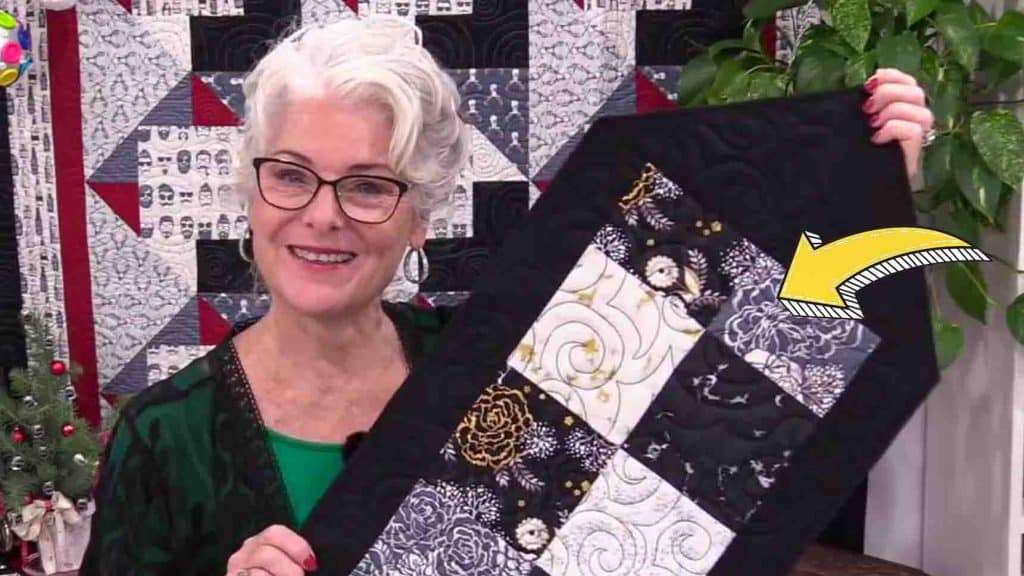
Are you looking for easy-to-make gift ideas? This table runner from SewVeryEasy on Youtube is the perfect project for you! You don’t have to hand-sew this quilt project – perfect for those people just starting out in quilting. It’s also an excellent gift idea, don’t you think? Watch the video below to learn the step-by-step tutorial.
Materials:
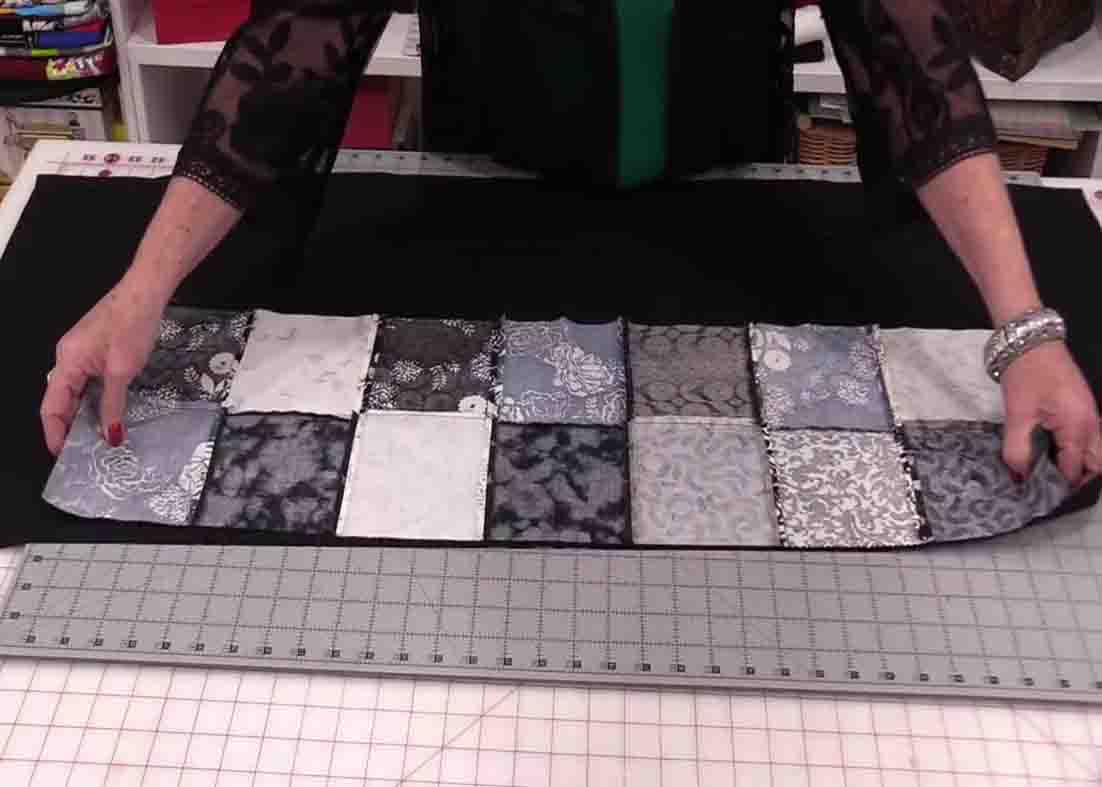
- 14 pcs. 5″ squares
- 18 & 1/2″ x 44″ background fabric
- batting
- scissors
- spray baste
- pins
Directions:
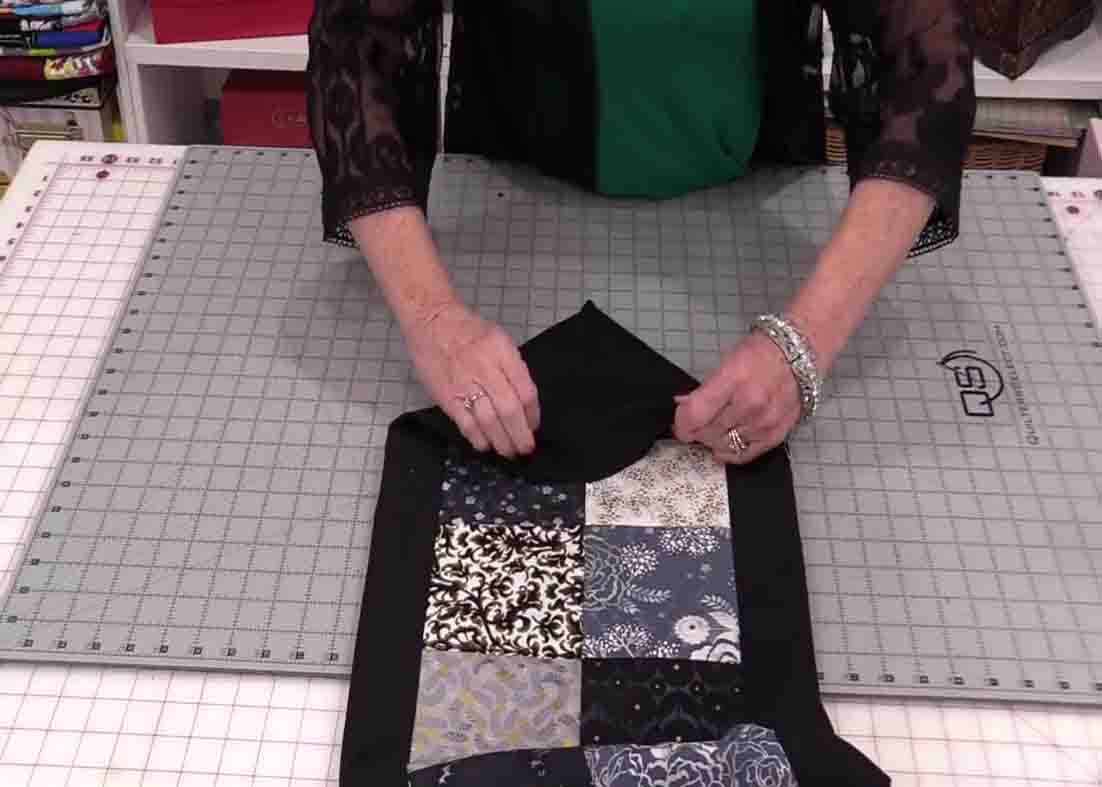
Sew the squares together in sets of two, creating the runner. After sewing, fold the runner in half to find the center and finger press. Find the center of the background fabric also and finger press. Next, put the runner over the background fabric, right sides together, taking the quilt top and moving it to the edge so the center marks are matching. Stitch down a quarter inch on top and stop right when you come to the edge. After sewing, take the top piece and just bring it over to the center line, pin it, then stitch. When you’re finished, do the same thing as you did to that edge. The seams are going to be pressed to the background fabric and when that edge is pressed and done, you are going to have a tube with two long ends sticking out. Take the table runner, pick it up from the center seam and fold it in half. Match that edge and stitch a quarter inch just along the short edge. Do it to both edges. You will notice that the “L” seam has not been stitched so it is open. When you open it up, that center seam is going to create a point. Take those seams and press them flat on the very end. Snip off a little triangle right to that edge of the stitching line. Once the pointy fabric has been pressed down flat, you’ll notice that the seam in the center will match up with the center line. Pin both ends to hold them in place.
[social_warfare]
Step 2
Next, get your batting, put the table runner on top, and trace it out. Once you trace it, remove the table runner and cut the shape out. After cutting, get your table runner, turn it, then put the batting on its back. Attach the batting by using a spray baste. After spray basting, pull the front point over, pin both sides to hold, and turn it right side out. Remove the pins, fix the point edges, make sure everything is tucked in, and pin baste. Once it’s pin based, you can now start quilting.
No Hand Sewing Quilted Table Runner Tutorial


