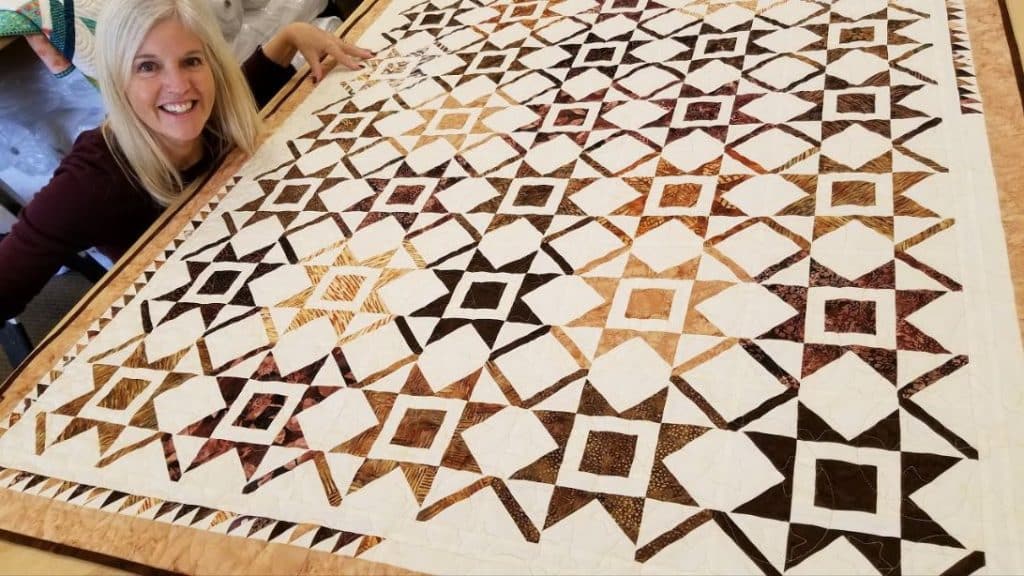
This is probably one of the best star patterns I have ever seen, and it’s by Jordan Fabrics. Don’t worry – this new year’s star quilt block is not as complicated as it looks! Just follow the instructions below, and you’ll make it with ease. Watch the video below for full instructions.
Materials:
- 1 piece of 10″ layer cake square or 1 piece of 2 1/2″ jelly roll strip
- 3″ width of fabric (WOF) strip background
Instructions:
Step 1:
From the 10″ layer cake or 2 1/2″ jelly roll strip, cut 9 pieces of 2 1/2″ squares and 4 pieces of 1 x 5″ strips.
Step 2:
From the 3″ strip, cut 4 pieces of 3″ squares, 4 pieces of 3 x 4″ rectangles, 2 pieces of 4 x 1-1/4″ rectangles, and 2 pieces of 2-1/2 x 1-1/4″.
Step 3:
For the center of the block, get one 2 1/2″ print square and sew 1-1/4 x 2-1/2″ background rectangles on the top and bottom, then 1-1/4 x 4″ background rectangles on both sides. Press seams toward the center. It should be a 4″ square.
[social_warfare buttons=”facebook,pinterest,twitter,whatsapp”]
Step 4:
Make the star points. Take 8 pieces of the 2 1/2″ squares and 4 pieces of 4 x 3″ background rectangles. Draw a diagonal line on one of the squares, then place it on the lower right-hand corner of one of the rectangles. Stitch along the drawn line, then sew again 1/2″ away from the stitching towards the outer corner. Cut between the two sewn lines and press the print toward the lower right corner. Set aside the half-square triangle for the border. Repeat the process with a print square in the lower left corner. Now you have a 4 x 3″ star point. Make 3 more.

Step 5:
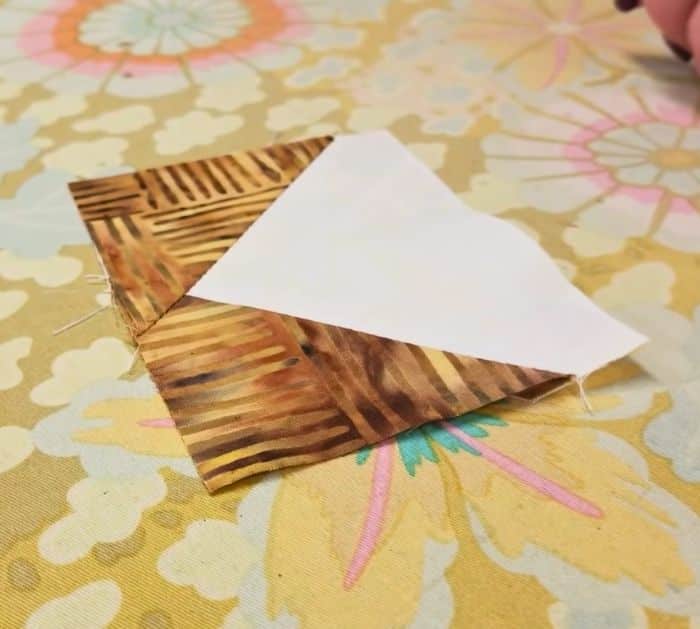
For the corner squares, take 4 pieces of 1 x 5″ print rectangles and 4 pieces of 3″ background squares. Cut each of the background squares in half diagonally to make 2 triangles. Center a triangle on top of a rectangle print and sew on the edge. Press the seam toward the triangle. Repeat on the other side of the rectangle. Trim off excess print on each corner – it should now be a 3″ square. Repeat the process to make a total of 4 blocks.
Step 6:
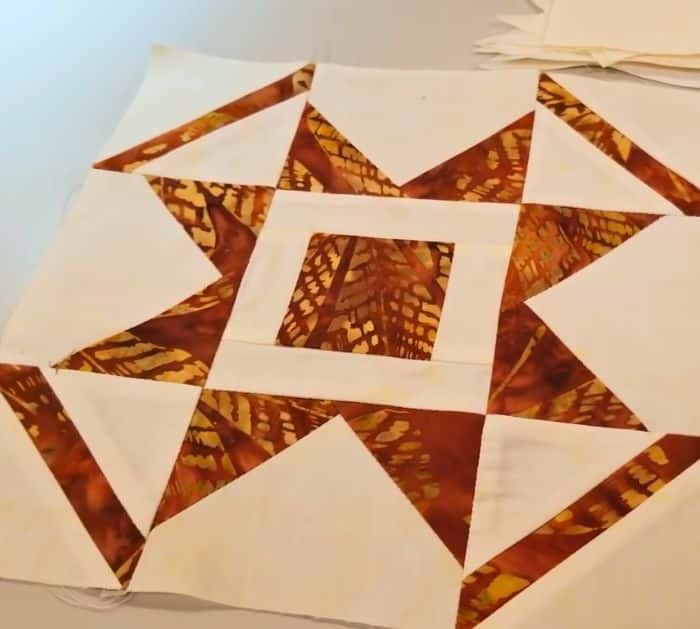
Arrange the blocks as shown below. Press the seam allowance on the top and bottom rows away from the center, and the center row toward the center. Sew the rows together, then press the seam allowances away from the center.


