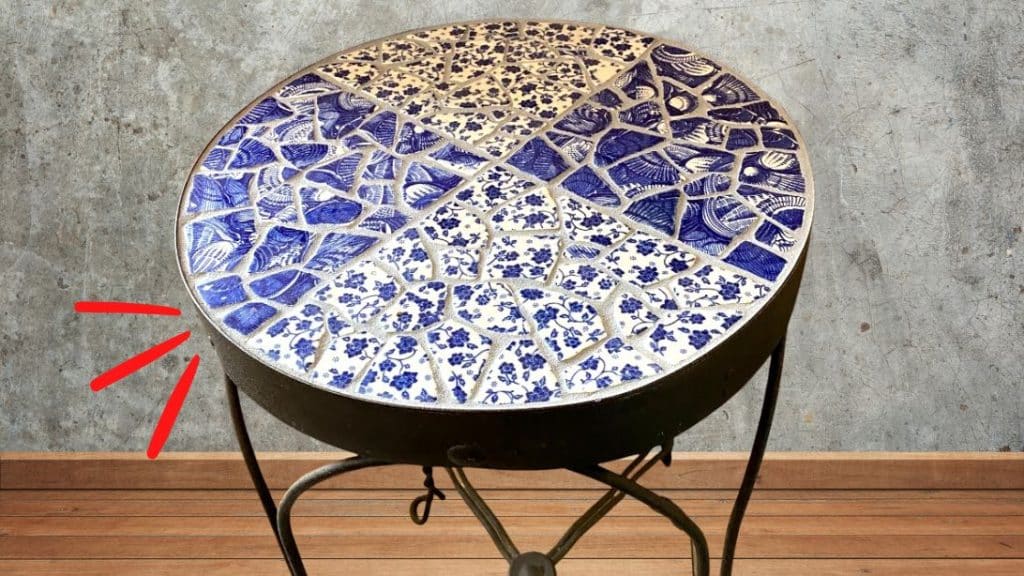
Accidentally broke your favorite ceramic and plate? Make them into this beautiful table! Repurpose them instead of just throwing them into the trash. If they have sentimental value to you, this is a great way to preserve them. It’s a beautiful piece for your outdoor or indoor space. Learn how to make a mosaic table from plates and ceramics with this tutorial by Bonnie Fitzgerald & Kim Wozniak.
Materials:
- plates and ceramics (use high fire ceramics so they can withstand the freeze/thaw cycle)
- tabletop
- water
- container
- grout
- compound nippers
- mask
- gloves
- sponge
- cloth
Instructions:
Step 1:
Find the center of the circle and divide it into quadrants using a marker.
Step 2:
Arrange the ceramics into the design that you want with 1/2″ grout lines. If you want a clean edge of the ceramics, you can use the compound nippers. They are easier to cut using this tool. Use the same design for opposite quadrants.

Step 3:
Once you know the direction you want to go, add mortar to the back of the ceramic and place it on the tabletop.
Step 4:
Before you start grouting, run your hand over to make sure that there are no bits of thin-set on the ceramics. Scrape them off. Also, check if everything is glued. Sweep the top and it’s ready for grouting.
[social_warfare buttons=”Facebook,Pinterest,Twitter,WhatsApp”]
Step 5:
Wear your gloves and mask. Pour water into the container then add grout powder. This will keep the powder from sticking to the bottom of the container. Follow the packaging instructions when mixing grout. You want a cookie or brownie batter consistency. Allow the grout to slake for a few minutes, re-stir, and then use.
Step 6:
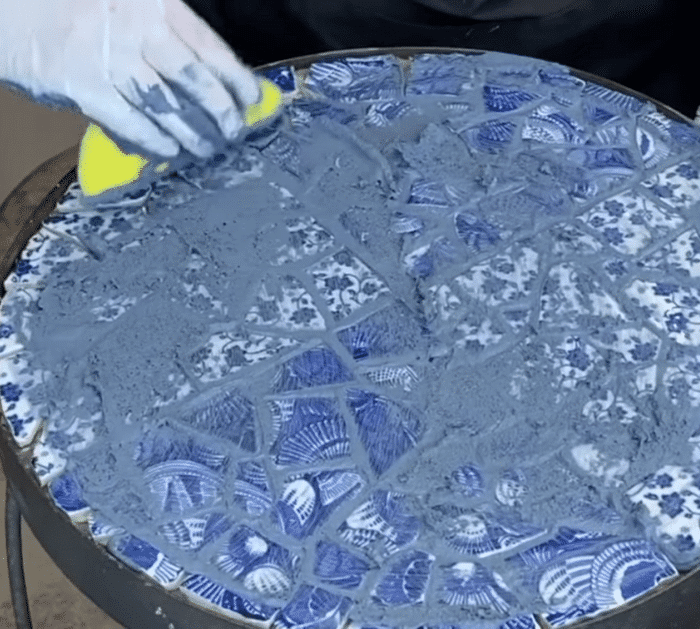
Transfer the grout to the table. You can spread it using your hands or a tool that will not scratch your ceramics. Make sure you cover all of the edges and all are leveled.
Step 7:
Using a sponge, level the grout and remove the excess. Thoroughly wring out the sponge, it should be damp. Avoid adding more water to the grout as it will make it weak.
Step 8:
Let it sit and dry before buffing. Once ready, use a dry cloth to remove the grout on top of the tiles.


