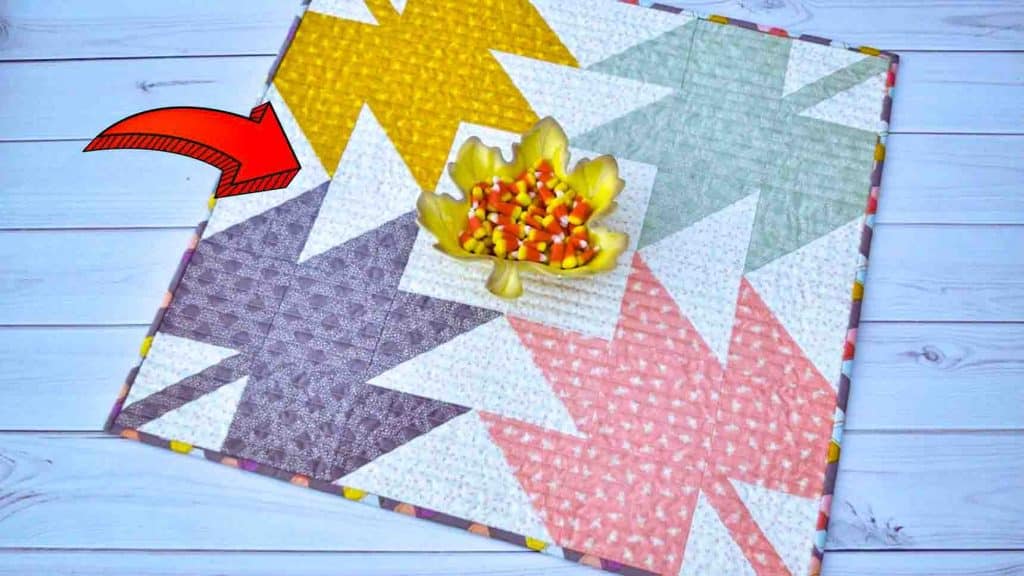
The fall season has finally come, and the best way to welcome this season is to decorate your house! This maple leaf table topper from Material Girl Quilts on Youtube is the perfect addition to your fall decor this year. It’s also a beginner-friendly quilting project that you can make. Learn the step-by-step instructions by watching the video below.
Materials:
For each leaf block:
- leaf fabric (2 pcs. 5″ squares; 3 pcs. 4 & 1/2″ squares; 1 pc. 1 & 1/2″ x 7″ rectangle)
- background fabric (2 pcs. 5″ squares; 2 pcs. 4 & 1/2″ squares)
Other:
- ruler
- rotary cutter
- pins
Directions:
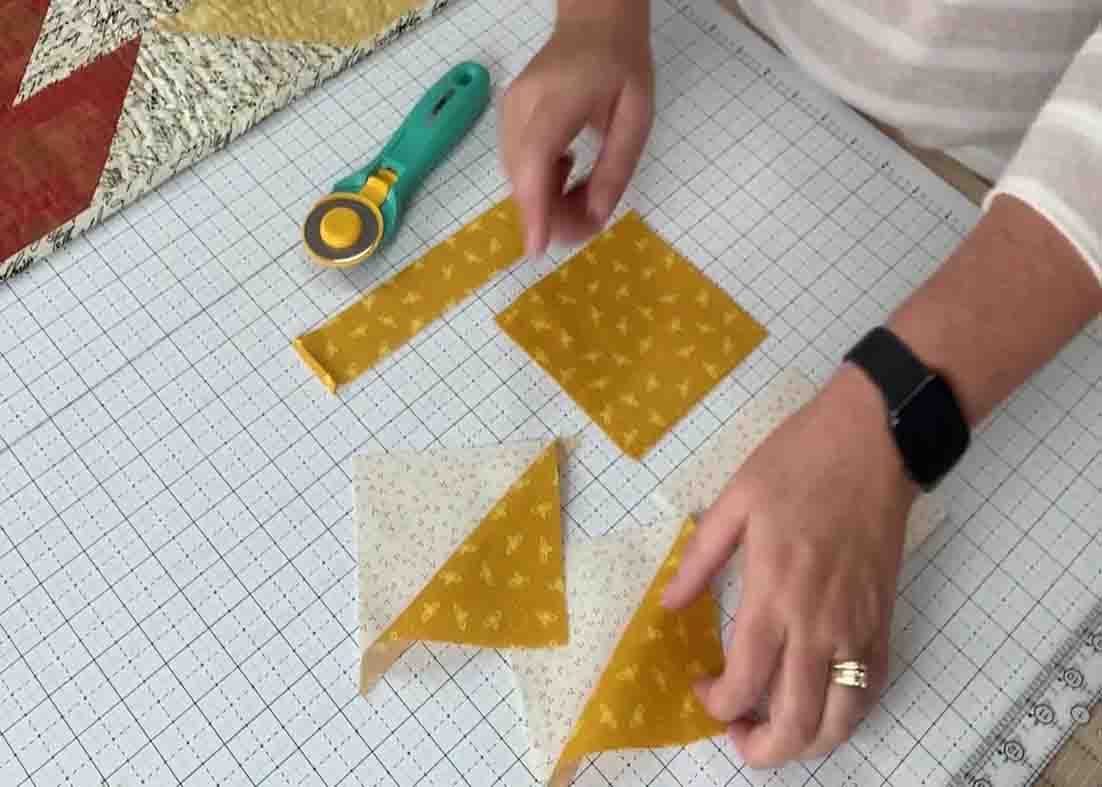
Step 1
Take each of the 5″ squares (leaf and background fabric) and place them right sides together. Once you’ve put them together, take your ruler and draw a line across one diagonal, then sew 1/4″ on either side of that drawn line. Cut directly on the drawn line after you’ve sewn it. You now have your half-square triangles. Repeat this with both of your 5″ squares to create a total of four half-square triangles that you will then trim down to 4 & 1/2″ squares. Next, select 1 of your background 4 & 1/2″ squares and cut it diagonally to create 2 triangles. Then, take your 1 & 1/2″ x 7″ rectangle and one of the triangles and place them right sides together, centering the triangle on the rectangle. After this, sew a 1/4″ seam along the edge. Attach the other triangle on the other side of the rectangle and just repeat the process, then press them open. Trim them down to be 4 & 1/2″ square.
[social_warfare]
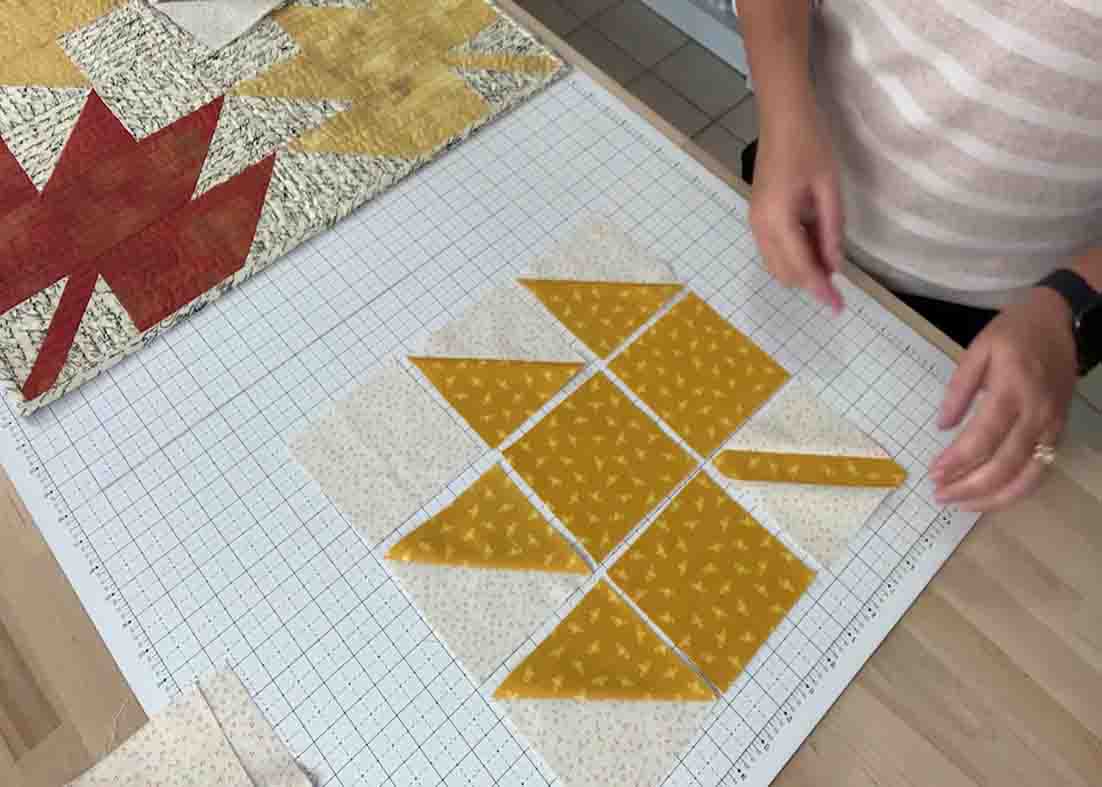
Step 2
Now, lay out all your four half-square triangles, your three leaf squares, your one background square, and your stem piece in a maple leaf shape. Once you’ve arranged them, sew them into three different rows and sew the rows together. Once you’re done sewing, press the first row towards the background square, the middle row towards the leaf fabric, and the last row towards the pointed part of the leaf. Repeat all of these processes until you finished piecing four leaf blocks. After this, it’s time to put them together. Lay them out, 2 x 2 into a square, and sew two blocks into rows, then sew the rows together. This project could be a 24″ table topper or 12″ x 48″ table runner if you will piece the four blocks in a single manner.
Quilted Fall Maple Leaf Table Topper Tutorial


