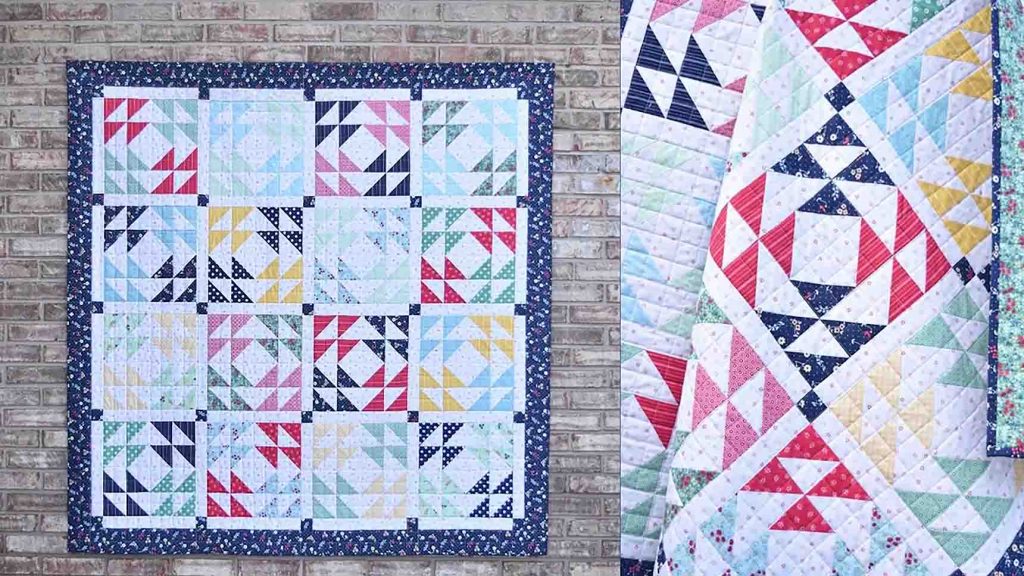
Are you looking for your next quilting project? Try making this kaleidoscope windows quilt from Material Girl Quilts on Youtube. You can use fat eights or fat quarters for this quilt project – fast, easy, and a fun pattern to do. What’s more, it’s beginner-friendly, and even if you’re a seasoned quilter, you’ll find this project fun to make. Watch the video tutorial below to earn the step-by-step instructions.
Materials:
- 16 fat eights (or 8 fat quarters for a less scrappy version)
- 2 & 1/2 yards of background fabric
- 1-yard border/cornerstone fabric
- 4 yards of backing fabric
- 1/2 yard binding fabric
Cutting Instructions:
- fat eights: 2 – 8″ squares from each
- background fabric: seven 8″ x WOF strips (sub-cut into 32 – 8″ squares), fourteen 2″ x WOF strips (sub-cut into 40 – 2″ x 12 1/2″ rectangles)
- border fabric: two 2″ x WOF strips (sub-cut into 25 – 2″ squares), six 3 & 1/2″ x WOF strips for borders
Directions:
Step 1
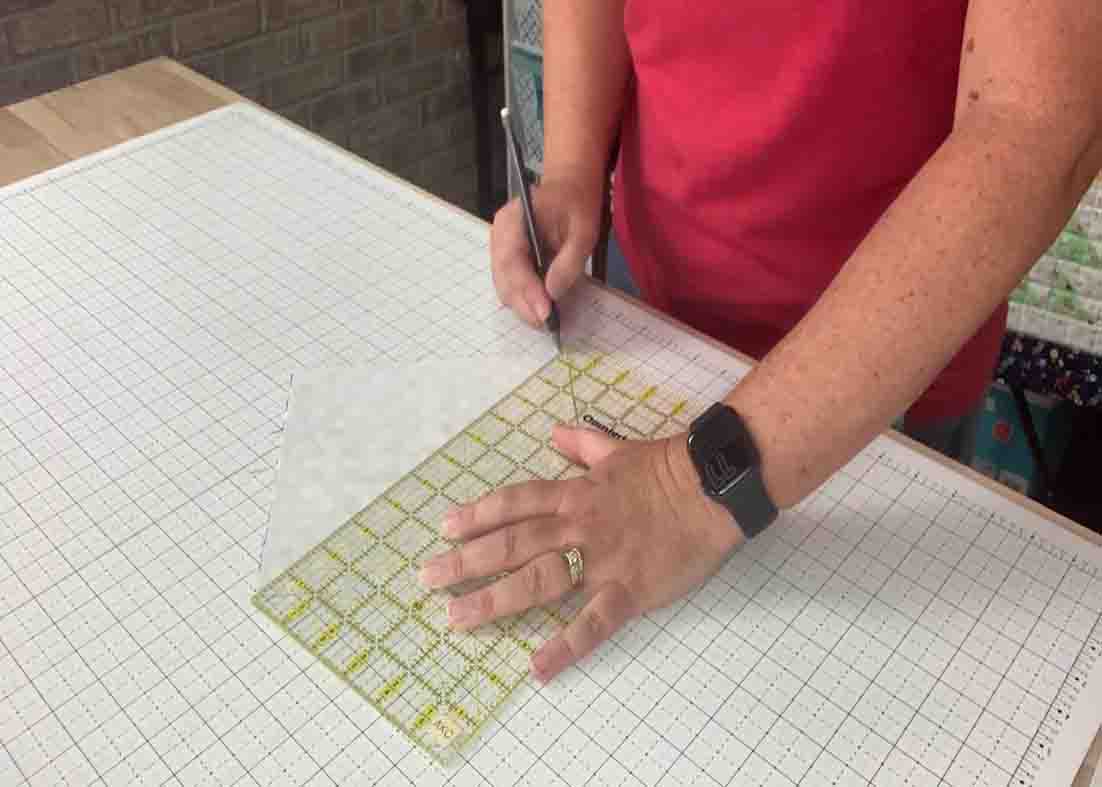
To make your half-square triangles, take one of your background 8″ squares and one of the 8″ squares from your fat eights. Place them right sides together, then draw a line from corner to corner, both diagonals. Once you have your line sewn, you will then sew a 1/4″ on either side of the drawn lines. Cut these into eight half-square triangles. (Cut halfway vertically and halfway horizontally first.) Once all of those cuts are made, press them. After this, trim them to measure 3 & 1/2″ squares. Repeat this process for all of your fat eights and background 8″ squares so you’ll have a total of 256 half-square triangles.
[social_warfare]
Step 2
Once you have all of your half-square triangles completed, select eight half-square triangles from two different prints. Lay them out to create the block. Start with one print, you’ll put four blocks in one corner with the print fabric facing out. Then, on the opposite corner of the block, you’ll put more half-square triangles again with the print facing out and the background facing toward the center. On the other print that you have selected, you’ll do the opposite corners in the same way. You’ll have a total of 16 half-square triangles per block and once you get them laid out and make sure that all the background triangles are converging toward the center, you have like a square kind of set on point. Sew these into rows so you’ll have four different rows of the block.

Kaleidoscope Windows Quilt Tutorial


