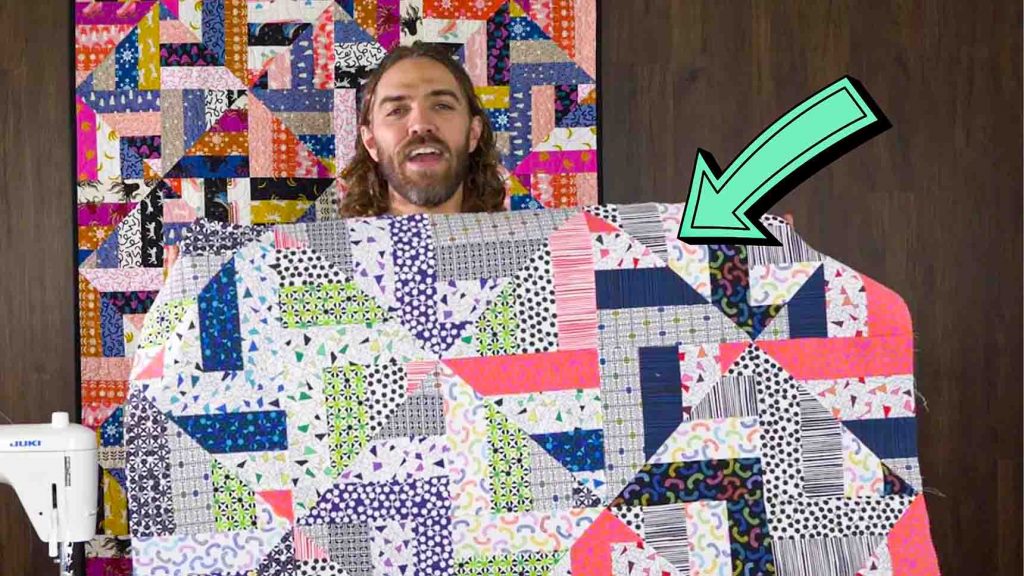
If you love creating quilts using jelly rolls, then you will love this strip mirage quilt from Sew Yeah on Youtube! This quilt pattern is not just gorgeous but super easy to make with only a jelly roll. What’s more, if you’re new to quilting, this could be your first big project as it’s beginner-friendly. Watch the video tutorial below to learn the step-by-step instructions.
Materials:
- a jelly roll
- ruler
- rotary cutter
Directions:
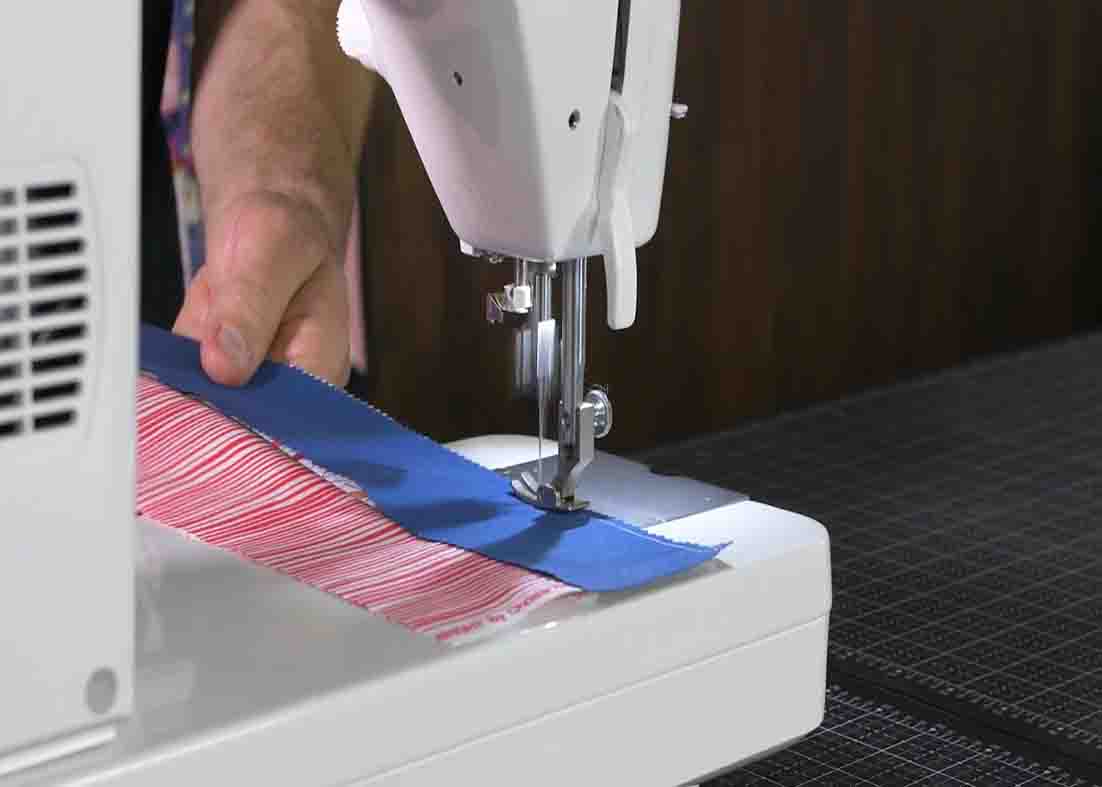
Step 1
Take four strips in your jelly roll, lay them out, right sides together, and sew them. (Make sure to alternate the sewing direction for each strip.) Once you’ve sewn two together, press it open all the way down the seam, then continue on to the next strip. After you’ve sewn four together, it should measure about 8 & 1/2″ wide so next is to turn that into an 8 & 1/2″ square block. Now go ahead and cut it all down into those 8 & 1/2″ squares. Once you have your squares all cut out, take a couple of them and lay them down right sides together. (Make sure you have a light strip on top of a dark strip and vice versa.) After you lined them up, mark a diagonal line from corner to corner. After this, sew a 1/4″ seam on both sides of the line, then cut it down. That will give you two half-square triangles. Repeat this process with all of your pieces; put your strips together, cut them into 8 & 1/2″ squares, pair them, mark them, sew them, cut them, open them, and you have all your pieces.
[social_warfare]
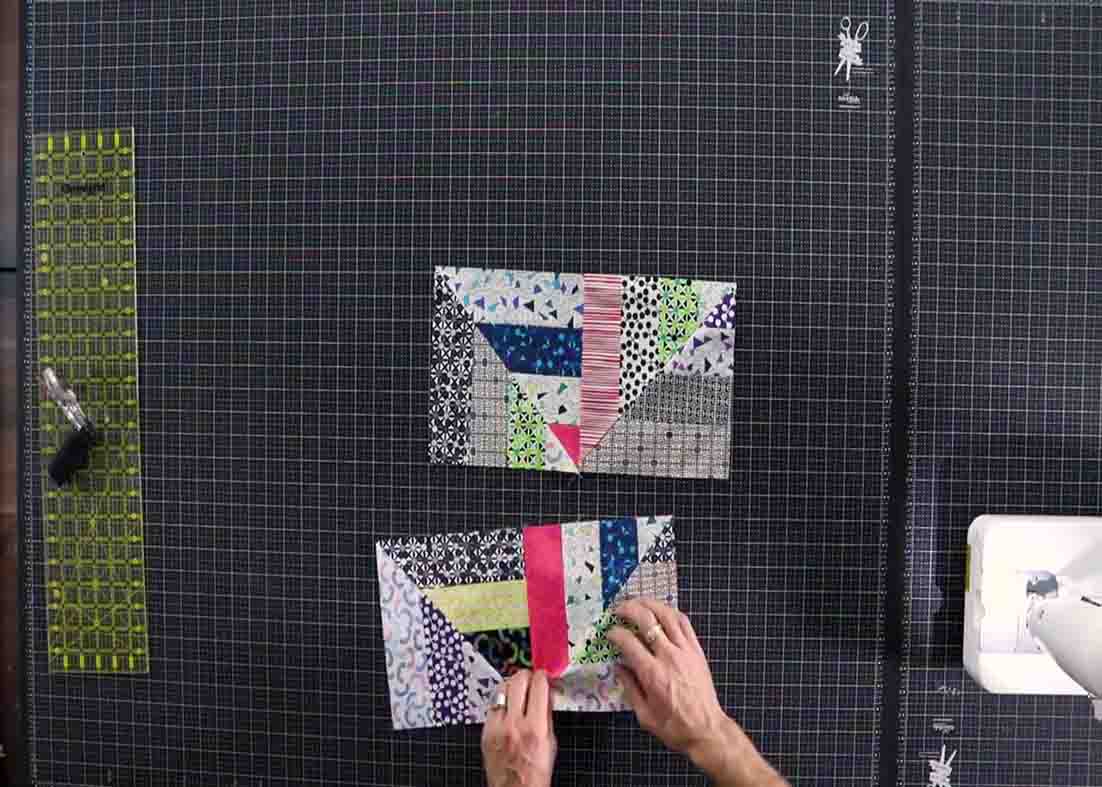
Step 2
Once you have all your pieces put together, you’re going to take these and put them into your final block. Take two of your blocks that are diagonally opposite to each other and the little squares are going to be in the center, then put the other two just the opposite; putting the long strip pieces into the center. Now, take your first two, lay the right sides together, and sew them. Repeat this with the other two. Press both open, then sew these two halves together. Now, repeat this whole process with the rest of your pieces to get your blocks together, and from there, sew the blocks together into your quilt.
Jelly Roll Strip Mirage Quilt Tutorial


