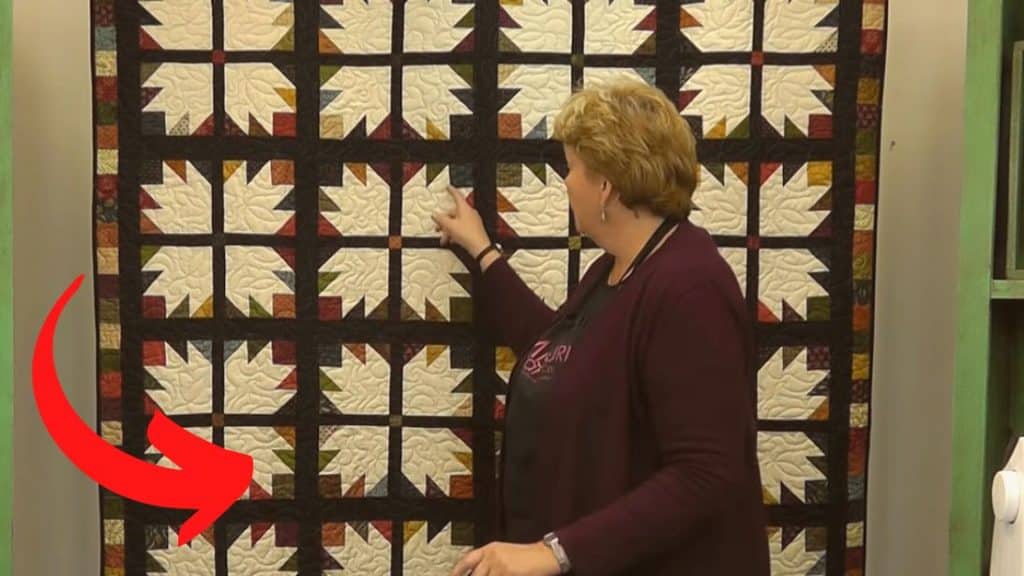
This bear paw quilt tutorial by Jenny Doan of Missouri Star is an easier and quicker way to make this beautiful pattern. You only need jelly rolls or 2 1/2-inch strips of precut fabric for this project! Watch the video below for full instructions.
Materials:
- 1 roll of 2 1/2″ strips of colors
- 1 roll of 2 1/2″ strips of solids
- 2 yards sashing
[social_warfare buttons=”facebook,pinterest,twitter,whatsapp”]
Instructions:
Step 1:
Cut the colored roll into 2 1/2″ squares. To make the cutting process faster, stack 2 strips and then line them up. Take your ruler, cut the salvage edges, and cut them into squares.
Step 2:
Get one square and a solid color strip. Place them right sides together and sew a quarter of an inch seam allowance. You can sew as many squares as the strip will allow.
Step 3:
Cut each square to make strip units and iron them with the seams on the dark side.
Step 4:
Get one strip unit and place it on another solid color strip with the background side at the top. Repeat on the bottom with 3 more pieces of strip units. Make sure not to overlap each one. After that, cut them apart again and press them with an iron to make blocks.
Step 5:
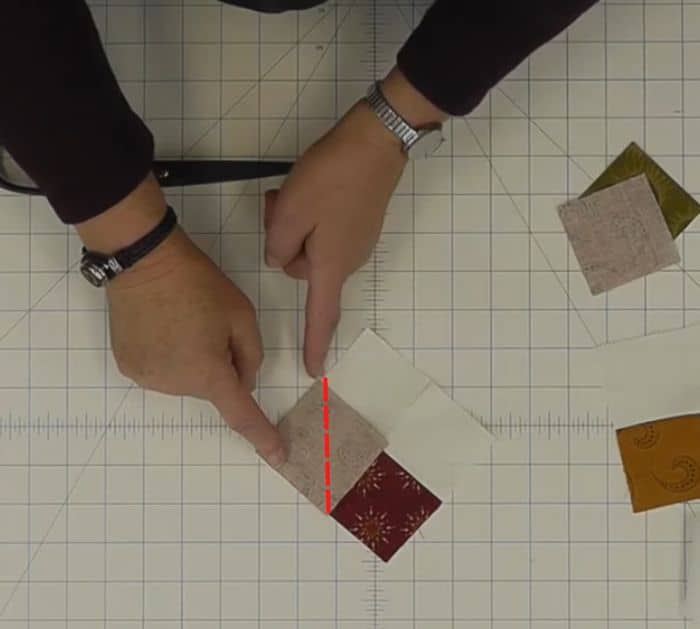
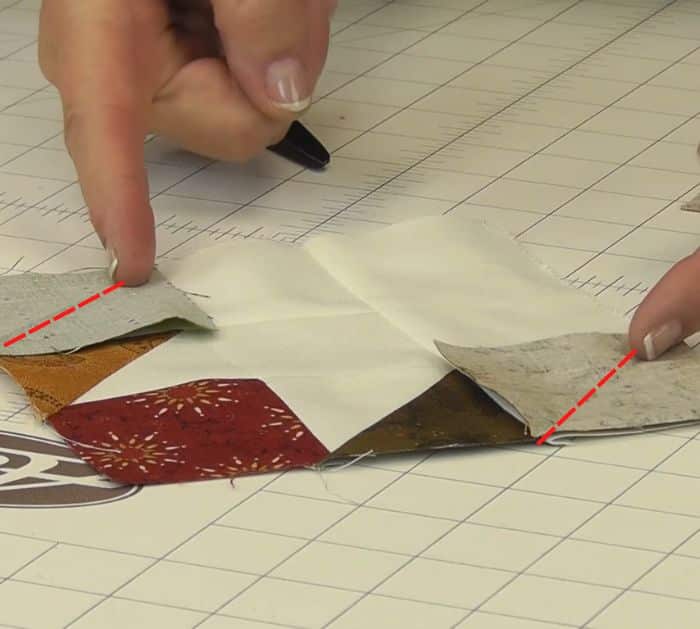
Take one piece of a 2 1/2″ square and place it on the side of the colored square on the block. Sew it diagonally. Take another 2 1/2″ square and sew it on the other side diagonally.

Step 6:
Trim off the outside corners of the block and press with an iron. Sew a background strip on the side of half triangle square, cut the excess, and press. Do the same on the other side.
Step 7:
Take two pieces of 2 1/2″ squares and sew diagonally on the sides of the colored half squares. Trim the excess corners and press. Now, you have a bear paw block. Make 3 more blocks to make the big block.

Step 8:
You can use an inch and a half sashing in between all the paws and a 1 1/2″ square in the middle. For the outer edge, sew the left 2 1/2″ squares together.


