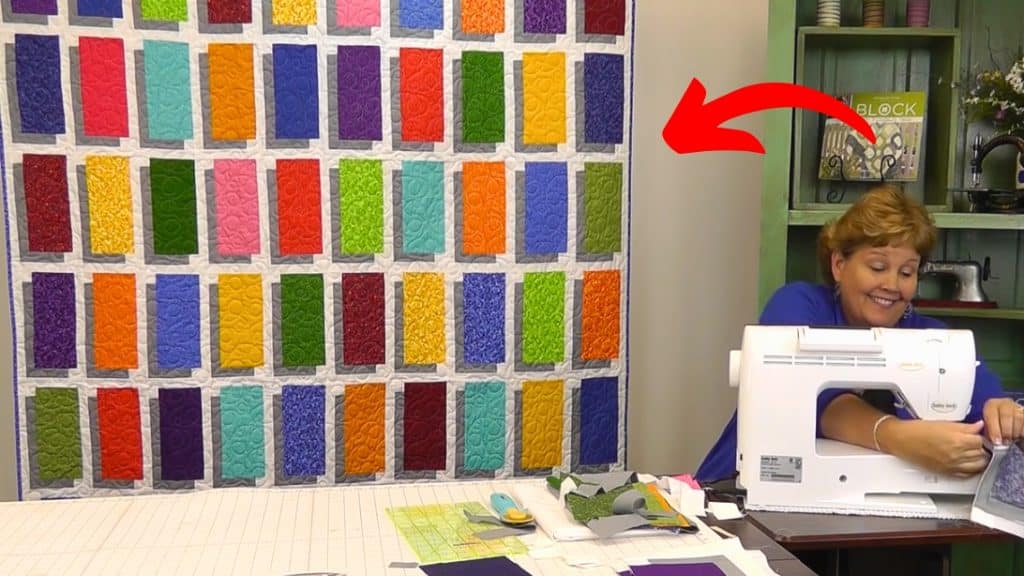
This pattern is probably different from the ones you’ve seen before. The rectangles look like they are floating because of the grey strips on the left sides. Believe it or not, it’s very easy to sew, and you can do it at home effortlessly! Learn how to make an illusion quilt block with this tutorial by Missouri Star.
Materials:
- 42 pieces of 10″ squares
- 1 1/2 yards of grey fabric (cut into inch-and-a-half strips)
- 2 yards of white fabric
Instructions:
Step 1:
Take a 10-inch square and cut it in half. Set one aside. Remember that all of the sashing takes place on the left-hand side only.
Step 2:
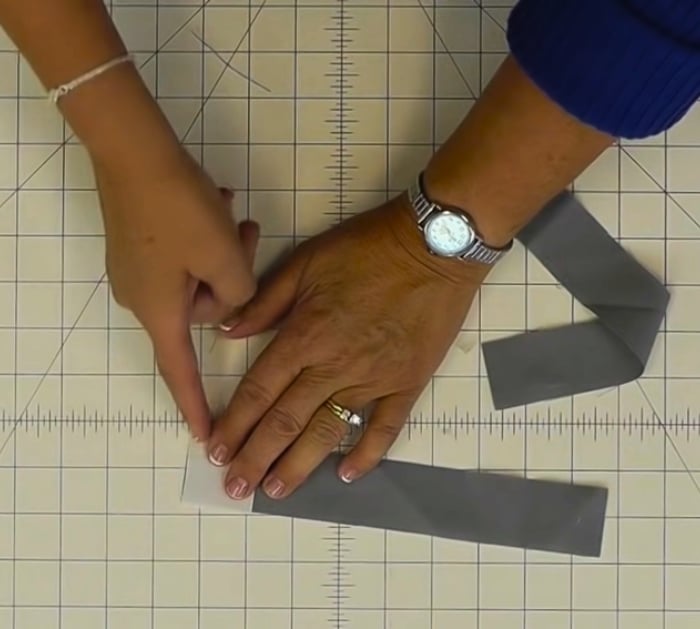
Cut your grey strips into 9 inches. It’s 9 because you will add a one-and-a-half-inch square to the end of the strip. Next, cut a 1 1/2-inch strip of white fabric, then cut it into squares. Get one of the white squares and place it on the end of a 9-inch strip, right sides together. Sew with a quarter of an inch seam allowance. Make another one for the bottom.

Step 3:
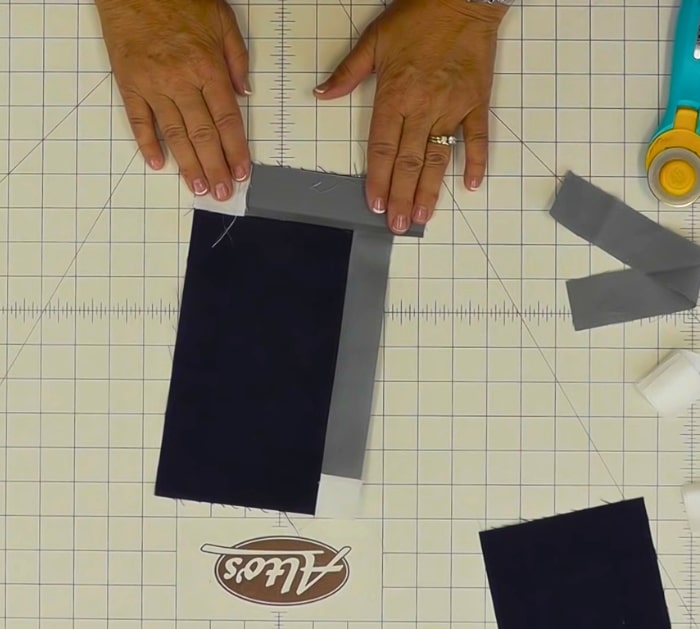
Get the unit and place it on the side of the 0f the 5″ by 10″ rectangle, right sides together. Sew with a quarter of an inch seam allowance. Do the same for the bottom. Make sure that the white square on the bottom is on the right side. Trim off excess. Press them flat. Repeat with the remaining 10″ squares.

Step 4:
For the sashing, cut 1 1/2-inch strips from the white fabric. Sew on the left side and bottom of the block with a quarter-of-an-inch seam allowance. Trim off excess then press it flat. Repeat it with the other blocks.
You will need 80 pieces of this block, 8 rows with 10 blocks for each row. Sew them per row first then sew the rows together. Once you have sewn them together, run a row sashing down the right side and across the top.


