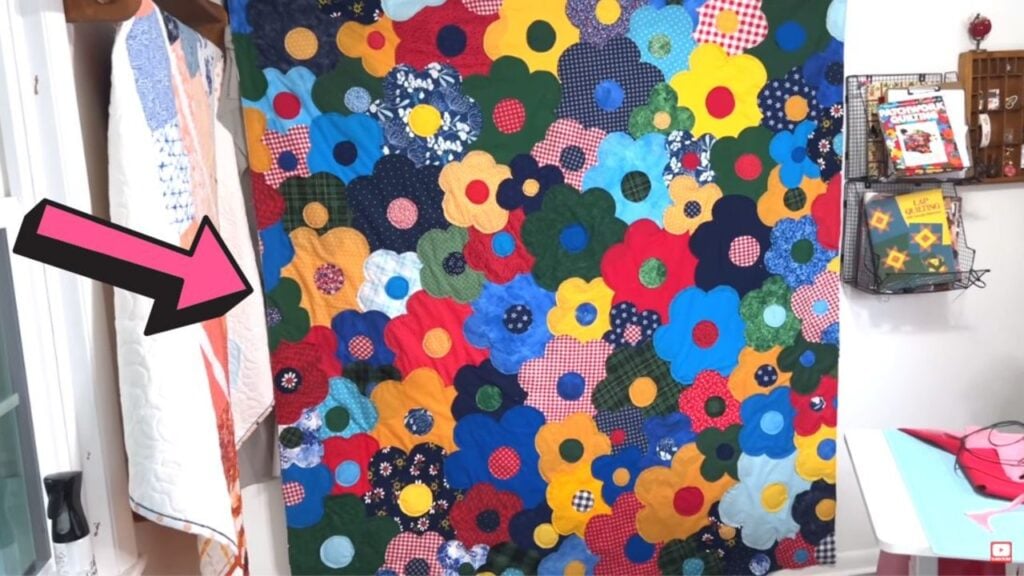
This quilt project is definitely eye-catching. I was looking for old patterns and found this beautiful iconic 1970s flower power applique quilt by The Sewing Channel on Youtube. The different colors made this piece lively and vibrant. I also love the pattern variations such as plaids, polka dots, and gingham. Watch the video below for the full instructions.
Materials:
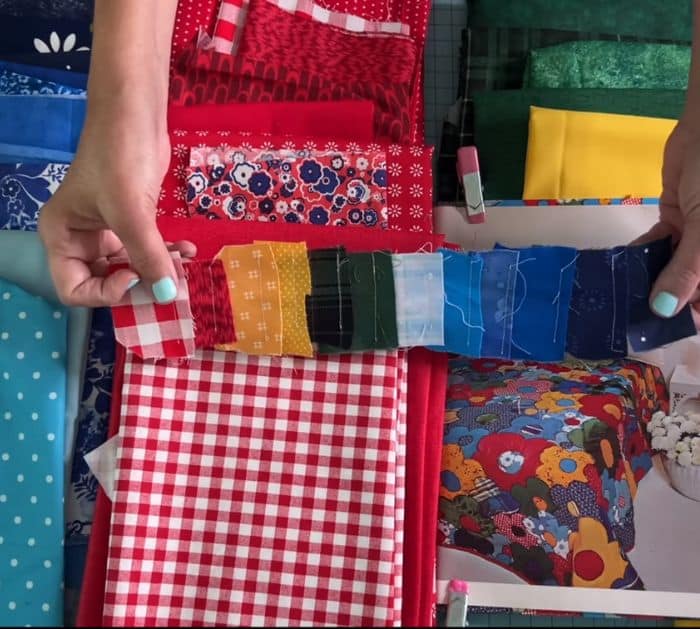
- different shades of blue fabrics(solids and prints)
- red fabrics (solids and with prints like gingham and polka dots)
- true green fabrics (solids with prints like plaid)
- orangey-yellow fabrics (solids and with prints)
- navy blue thread
- 73.50″ x 77″ muslin fabric
- batting fabric
- pattern (click this and download the pattern on the description box of the video by The Sewing Channel)
Here are the colors you need:
Sizes and number of pieces:
Large flowers: 30 pieces – 15″ x 15″ squares
Medium: 35 pieces – 10″ x 10″ squares
Small and several pieces to fill in: 25 pieces – 8″ x 8″ squares
[social_warfare buttons=”Facebook,Pinterest,Twitter,WhatsApp”]
Instructions:
Step 1:
Start with 7 layers of different colors of the same size to make the work faster. Trace the flower template on the top fabric then stay stitched on the outer side of the flower. Cut just on the inside of the mark and the stitch. Next, cut circles in different fabrics that match the flowers. After that, apply an invisible glue stick to the back of the centers and press on the center of the flower. Give it a hot press to help it dry. Do this same process for all three sizes.
Step 2:
Layer the muslin over the top of the batting fabric in the size that you prefer.
For steps 3 and 4, do it in sections.
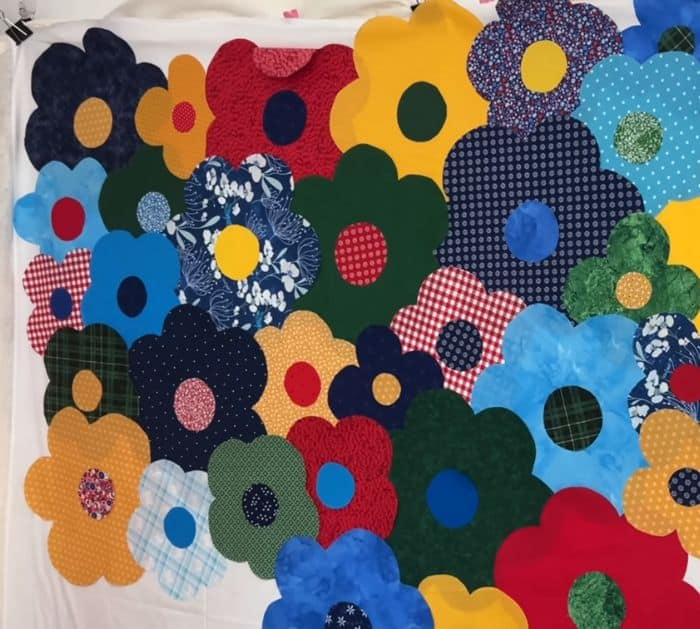
Step 3:
Start in the top left corner and then overlap with your flowers. Mix and match different sizes and colors. Cut the small flowers in half without the circle to fill in the sides. Spray the back with 505 before putting it up onto your design wall.
Step 4:
Use raw edge applique so the final quilt will not be stiff. Use a free-motion quilt to make it faster. The first thing to stitch is the center of the flowers. Next, stitch the flowers from the top, middle then the bottom.
Step 5:
Square up the quilt and add more of the flowers if needed to fill up the white spaces. Once all the edge pieces are on, stay stitch around the entire quilt. Then attach the backing.
Iconic 1970s Flower Power Applique Quilt


