This hack will make your plants and flowers grow beautifully and healthily for sure. This simple trick can help eliminate fungus gnats and get rid of larvae for good. Baking or microwaving the potting soil sterilizes the soil to remove all of the bacteria and pathogens that can harm your plants. This process is super easy and quick to make, plus, you don’t need a lot of materials for this, too. I am so glad that I found out this trick and I will be frequently using this from now on, all thanks to this genius idea by Smart Fox on YouTube. I hope that you find this trick as useful as I did. Proceed to read the simple instructions down below now and enjoy!
Materials:
- Potting soil
- Water
Directions:
Step 1
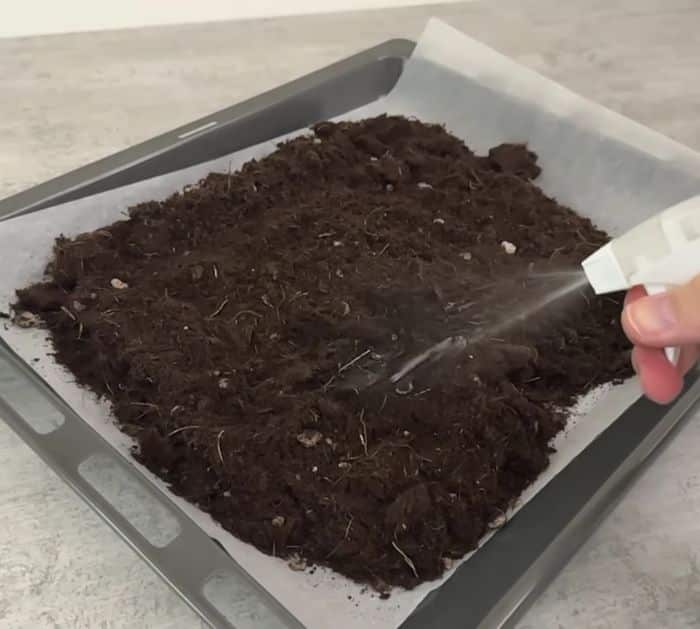
Take as much potting soil as you need for your flowers or plants, then line a baking tray with parchment paper, and pour the potting soil. Spread the soil evenly all over the entire baking tray, and make sure that the soil is a little bit moist, if it’s not moist, then simply spray it with water.
[social_warfare]
Step 2
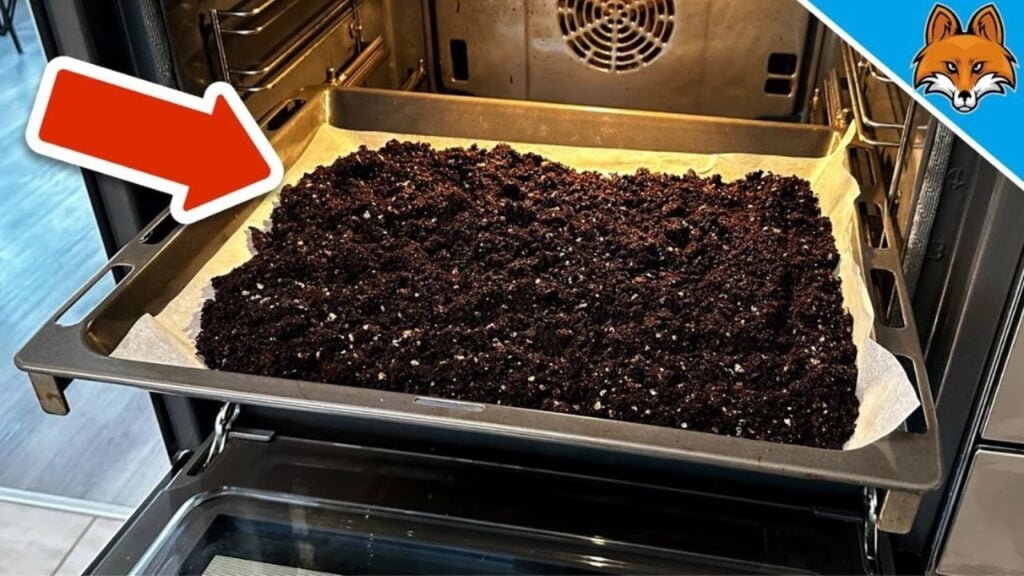
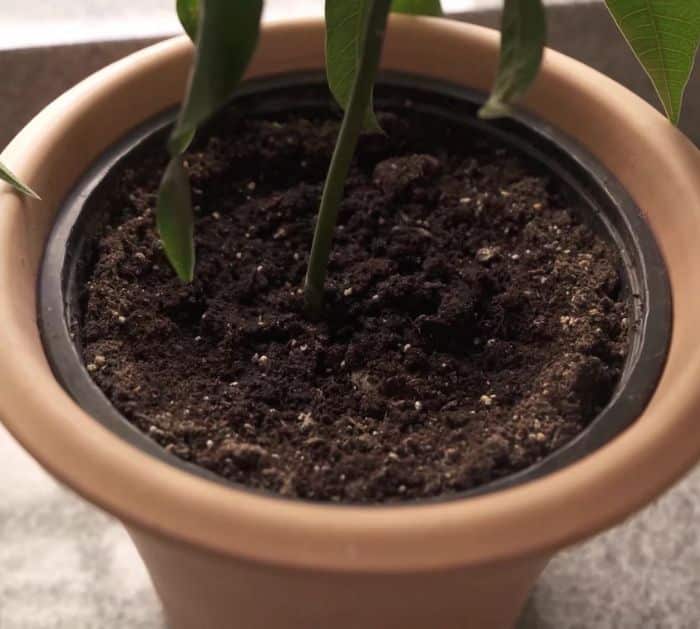
Give the soil a good mix to dampen the soil evenly, then place it in the oven, and allow it to bake at a 120°C temperature for about 30 minutes. After half an hour, remove the soil from the bake, then allow it to cool down completely, and transfer the baked potting soil to your pots or planters. For an easier transfer, use parchment paper to pour the soil inside.
*Thanks to Smart Fox via YouTube for all images used here. If you loved this hack, then you’ll surely love his other videos too, so give his channel a visit and subscribe!
How to Sterilize Potting Soil in the Oven