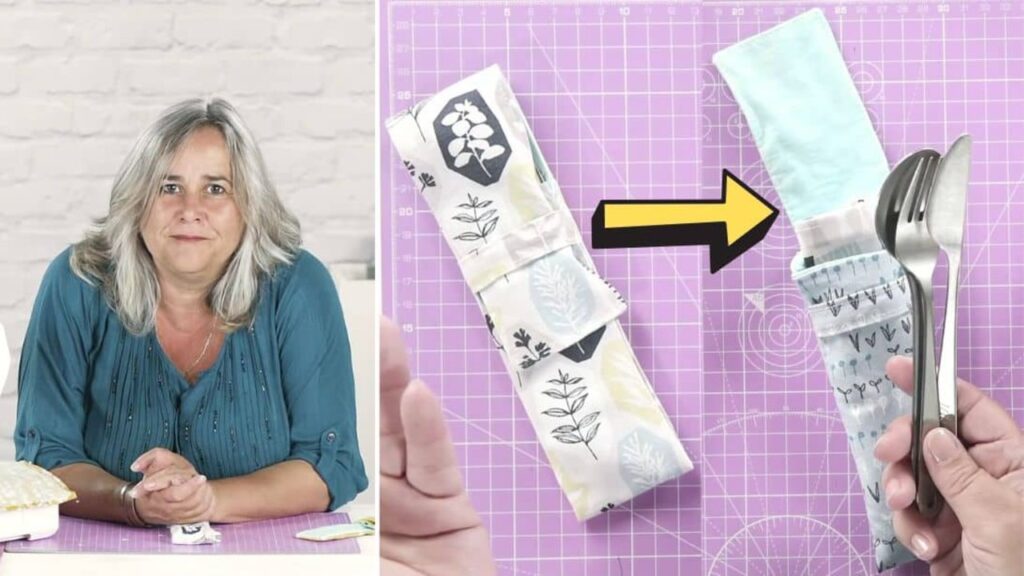
If you’re not comfortable using a restaurant’s plastic or bamboo cutlery when you’re eating outside, then why don’t you just bring your own set of cutlery, and put them inside a cute and handy pouch so that you can carry them anywhere? This sewing project by The Crafts Channel on YouTube is so easy and simple to make, plus, you can use your scrap fabrics too!
Materials:
- Outer fabric
- Lining fabric
- Scissors or rotary cutter
- Ruler or measuring tape
- Marking pen or chalk
- Pins
- Matching thread
- Sewing machine
Directions:
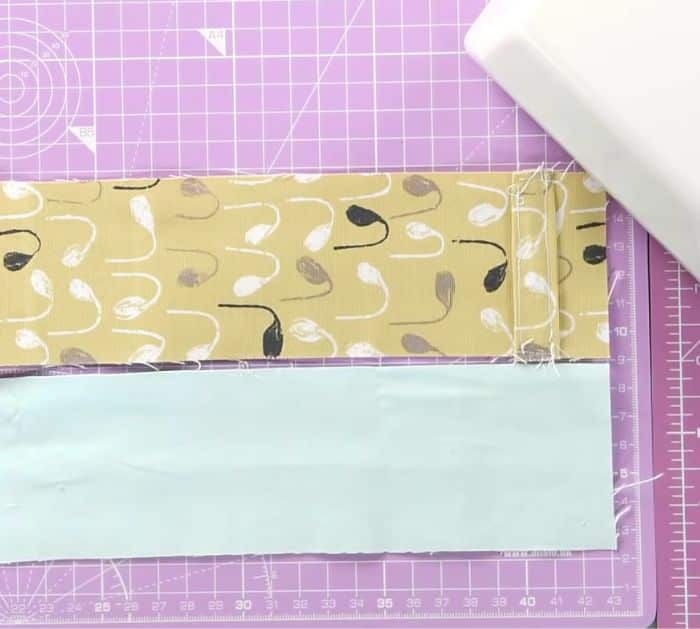
Step 1
Cut a strip of outer fabric to about 7cm wide and 50cm long or 3 inches by 20 inches, then from the length of the fabric strip, cut about 4cm or 1½ inch. Fold the small piece of fabric in half lengthwise with their right sides facing. Stitch it along the side or longer edge, then turn it right side out and flatten it so that the seam is at the center. Next, topstitch on both sides of the fabric, then place it on top of the long strip fabric’s right side and position it at about 1cm or 0.4″ down from the top of the short edge, and stitch it in place. Cut a piece of cotton fabric of the lining the same length and width as the outer fabric, then place it on top of the outer fabric with its right sides facing.
[social_warfare]
Step 2
Sew them together on each of their short sides, then grab cutlery to measure how much of the fabric would be on the body and the cover. The part where a strap is sewn would be the main body while the rest would be the flap, pin it in place, then sew the sides and bottom of the flap together. Open the fabric up, then match the lining fabric as well as the outer fabric with their matching side, pin them in place, and sew the sides of the outer fabric together. Next, sew the lining making sure to leave a gap for turning later. Trim off the corners, then turn it right side out, and poke the corners nicely. Tuck and sew the gap close, then insert the lining piece into the outer fabric.
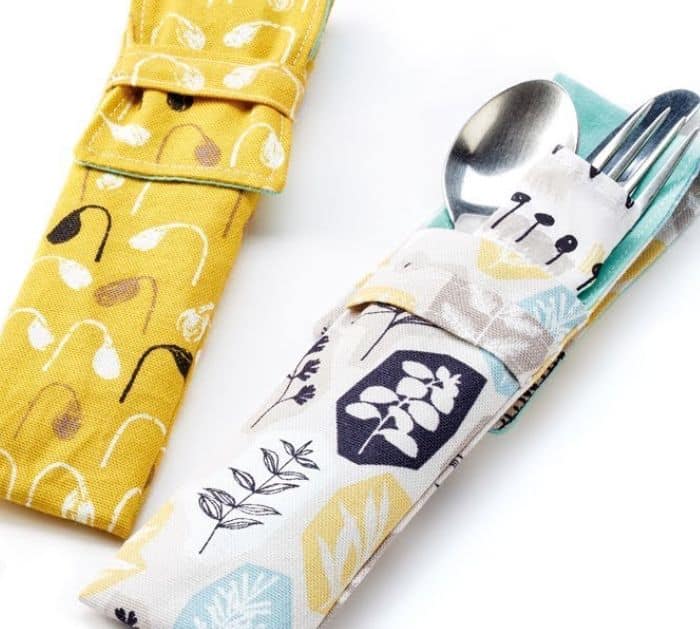
*All these images are credited to The Crafts Channel via YouTube. Give her channel a visit and subscribe for more!
How To Sew Your Own Cutlery Pouch