Learning how to sew a DIY bandana bib is an easy sewing project for beginners and experts alike. Making DIY baby clothes can be cheaper than buying store bought clothes, but they grow so quickly that these sewing projects are outgrown in no time. This DIY baby bib can be worn for a handful of years and with a couple extra buttons and a little extra fabric, it can be adjusted as your child grows (a handy trick I’ve used with many sewing patterns).
These cute baby bibs are excellent for catching drool and keeping your baby cute and oh so adorable!. Choose any fabric you like to make the bib – we recommend you make several, as this project is really very simple to make, and an excellent use for your scrap fabric. Perfect DIY baby gifts for boys and girls, I just made a bunch of them to use for baby showers I have coming up.
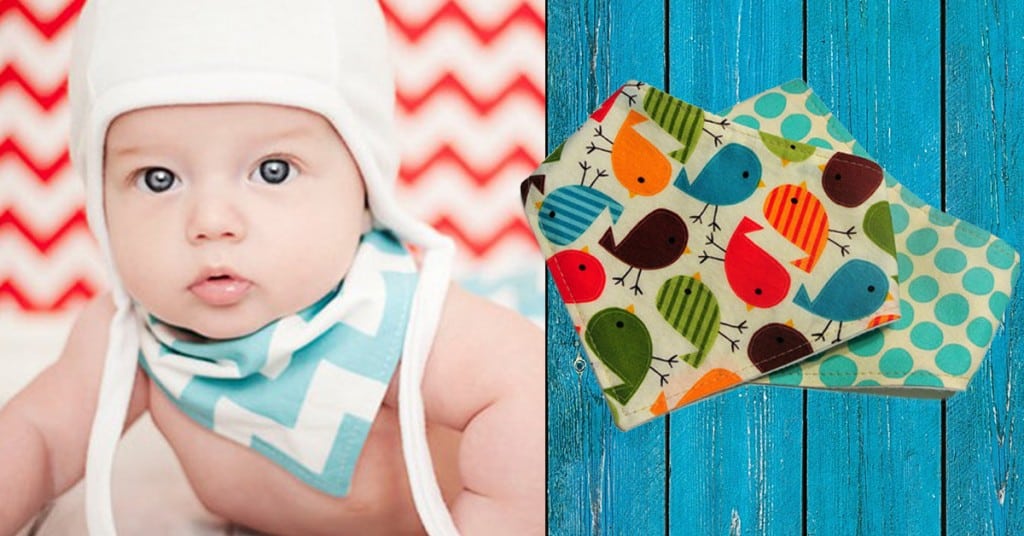
Too busy to make a diy bib? The bibs pictured are from an Etsy shop where you can grab these bibs now. Julie at Bibby Bubby has some precious ones to choose from. Get them here.
How to Sew a DIY Bandana Bib
Use this free sewing pattern to make a bandana bib to keep your little ones clean and well fed!
What you Need:
- Cotton fabric
- Micro fiber cloth/terry toweling
- Thread and bobbin cotton
- Pattern
- Fabric scissors/pinking shears
- Fabric hole punch
- 1 pc. snap dome closure
- Snap dome tool/kit
- Hammer
Here’s How:
Step 1
Cut your fabric. Lay the fabric on your work surface with the good side facing up. Fold it in half ensuring that both ends meet and the right sides facing in.

Step 2
Line up your pattern, pin it and cut using pinking shears so the cotton doesn’t fray. Repeat the whole process with the micro fibre cloth.

Step 3
Next step is to sew them together. Lay your micro fibre cloth with the good side facing up and put the cotton fabric on top with the good side down. Pin them together and with the pin, make a small space along the top of the bib large enough to turn your bib the right way out once sewn. Sew them together leaving one side open.

Step 4
Cut around the sewn corners to remove any excess and with the open side, turn the bib the right way out.

Step 5
Fold and pin the open side and sew along the side. Do this for the entire bib using the pin guide as you sew.

Step 6
You can now mark where our snap dome needs to sit on the bib. Bring the two sides to meet together on the back side. Use a ruler to measure the exact spot and mark it with a pen.

Step 7
Now it’s time to insert the dome closure. Using the fabric hole punch, punch a hole on the mark that you previously put on the bib and decide which side will overlap the other.

Step 8
With the good side of the bib facing the table, insert the dome top and insert it on the hole you just created. Turn the bib over and place your hem ring plate. Place the corresponding piece and hammer them together from the underside using the dome closing tool. Repeat this process on the other arm of the bib and you’re done!

and your Bandana Baby Bib is done!

Love this project idea? Pin it and share on Pinterest


