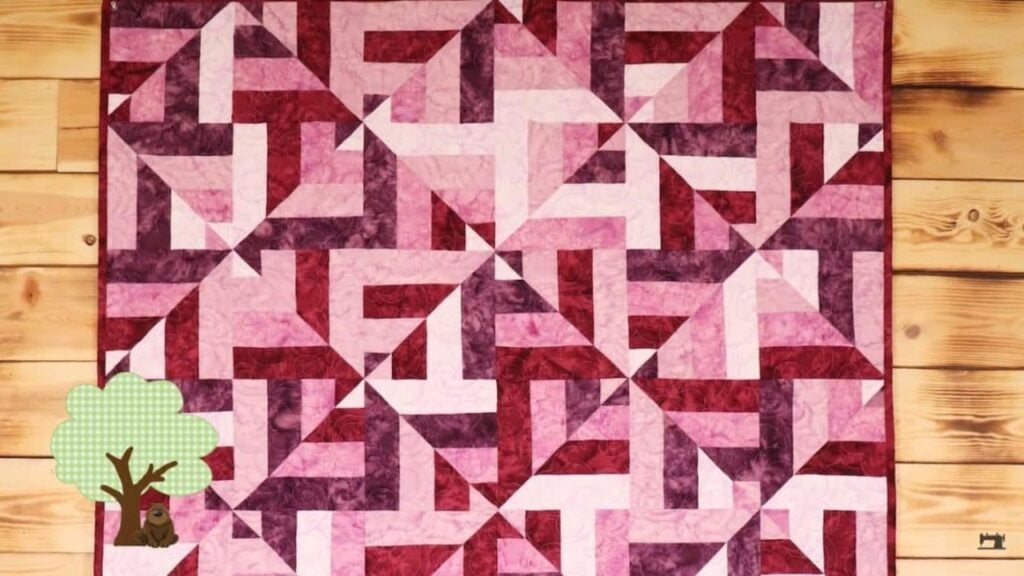
This looks like a difficult pattern at first glance, but it’s actually very easy to do. Let Sew Yeah teach you how to sew a strip mirage quilt step-by-step. I had fun making this one, and I’ll make another one in a different color this weekend. Read on or watch the video below for full instructions. Happy quilting!
Materials
- 1 jelly roll or 40 pieces of 2 1/2″ strips
- 2 7/8 yards for backing
- 1/2 yard for binding
[social_warfare buttons=”facebook,pinterest,twitter,whatsapp”]
Instructions
Step 1:
Separate the dark strips from the light strips. Get one light and one dark fabric and place them right sides together. Sew on the edge with a 1/4″ seam allowance. Repeat until you have 20 strip units. All the seams must be nested for this project.
Step 2:
Sew two different double strips together, alternating the dark and light. You will have a total of 10 strips. Once done, press all seams to the dark side.
Step 3:
Cut 8.5″ squares from your sewn strips. You will need 48 squares in total.
Step 4:
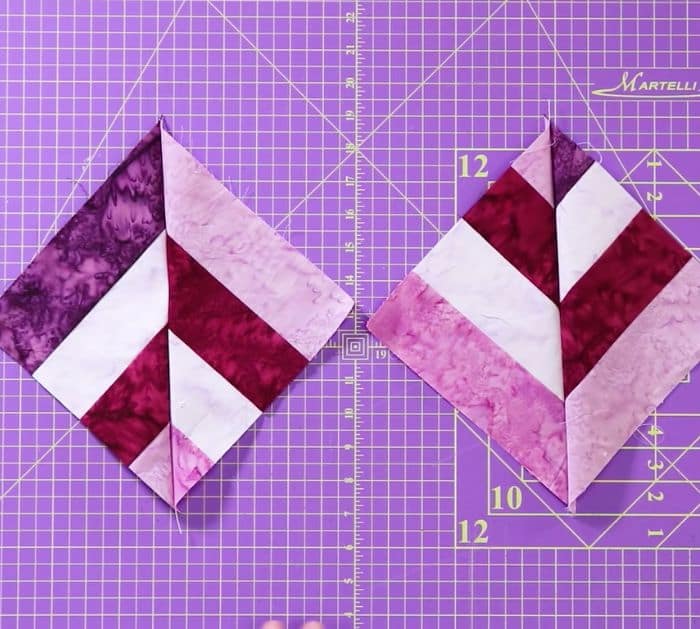
Take two squares from different strip sets and place them right sides together, light on top of the dark, and vice versa. Draw a diagonal line from corner to corner, and sew 1/4″ from both sides of the line. Cut directly on the line. Open the half-square triangles and press them flat.
Step 5:
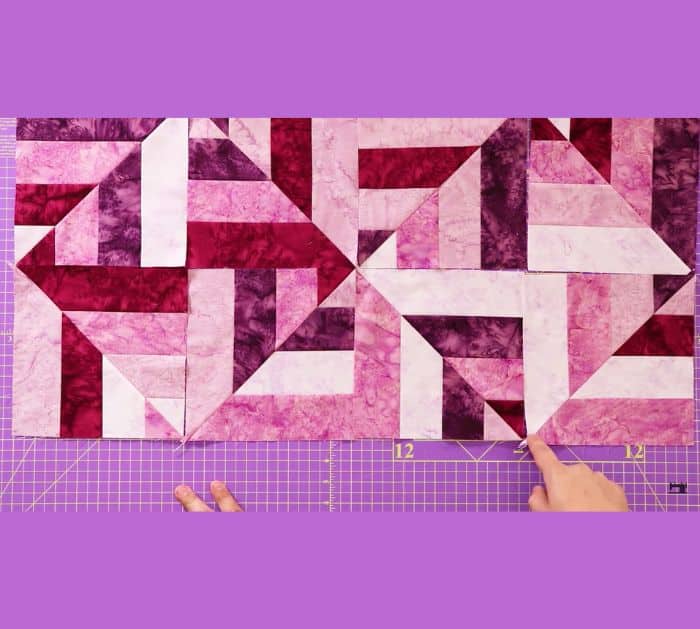
Start assembling the rows. Arrange 6 blocks for one row, flipping squares every other block, to create a diamond illusion with the sewn seams. Sew with 1/4″ seam allowance. Take note of the direction the points are going. Since row 1 was pointing up and down in the right direction, row 2 must point up and down in the left direction. Repeat with the next rows.
Step 6:
Create 8 rows of 6 blocks. Remember to alternate rows between left and right-facing points to create the mirage illusion. Bind and quilt!
How to Sew a Strip Mirage Quilt


