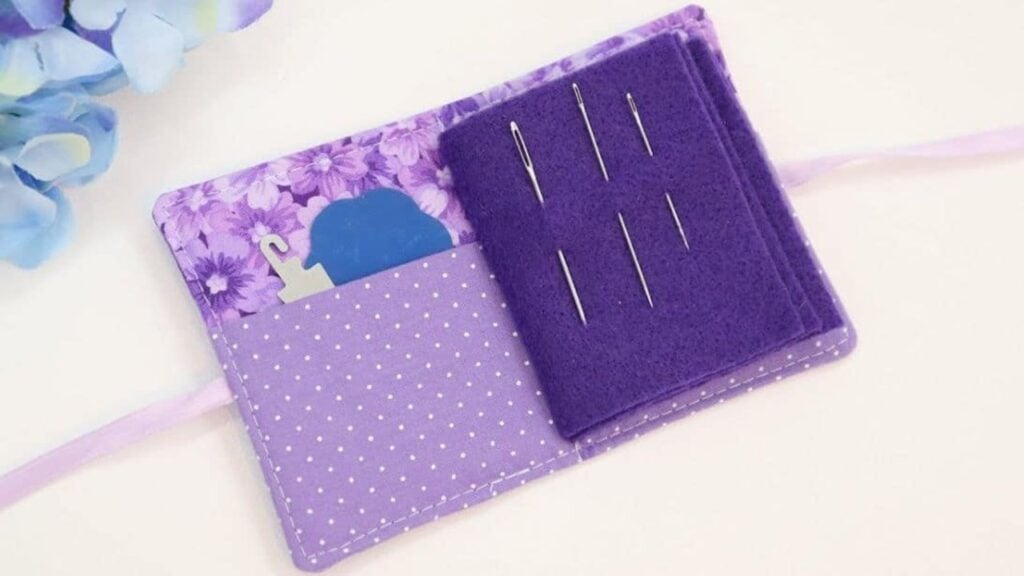
This cute sewing project will help keep your needles and pins all in one place! Using only some scrap fabrics and your basic sewing kit, you can make this handy needle book without sweat. Thanks to LearnCreateSew on YouTube for this lovely idea.
Materials:
- Scrap cotton fabric
- Felt
- 12-14 inches long and ¼ inch wide ribbon
- Featherweight fusible interfacing, optional
- Cotton batting, optional
- Matching thread
- Sewing machine
- Iron, for pressing
- Marking pen
- Pins
- Scissors
- Ruler
- Super glue
- Pattern (click the link to download the pattern for free)
Directions:
Step 1
Download and print out the pattern then cut the pieces accordingly. Take the cover pieces and lay them with their right sides facing down, place the interfacing pieces on top of each fabric with the rough/glue side facing down, then press them nicely, and set them aside. Get the rectangle for the pockets and lay it right side facing down, fold it in half lengthwise with its wrong side facing each other, then press it nicely. Take 1 cover piece and lay it on a flat surface with its right side facing up, then place the folded pocket piece on top, and align the edges at the lower part of the fabric with its folded side pointing towards the top. Pin them together at the center. Place the ribbon ½ inch down from the fold making sure to match each end with the seams of the fabric pieces, pin the ribbon in place, loop the excess at the center and pin it in place as well.

[social_warfare]
Step 2
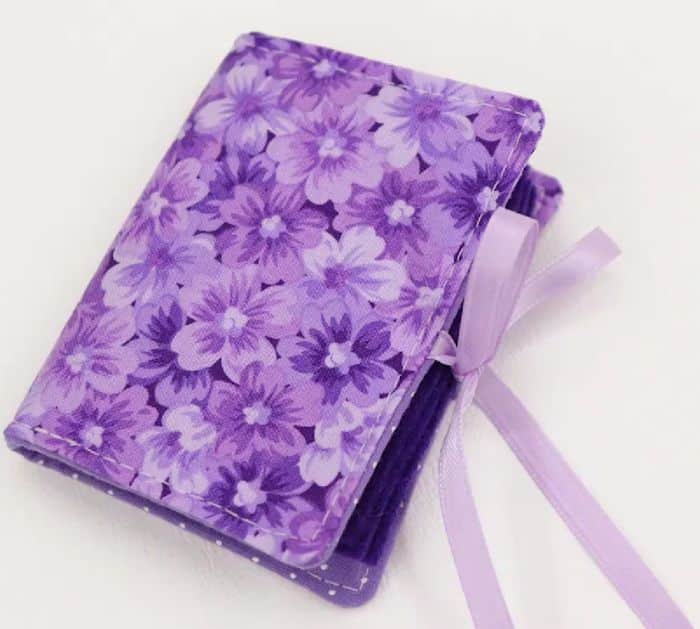
Place the other cover piece on top with its right side facing down, pin it together with the rest of the fabric, then start sewing all around the fabric with ¼ inch seam allowance leaving a gap for turning. Notch the corners diagonally, then turn it right side out after removing the pins, and poke the corners nicely. Recheck the size of the batting and trim it as needed, then insert it through the gap, and make sure that it lays nice and flat inside. Topstitch around the whole piece with a 1/8 inch seam allowance, then give it a good press. Place the felt for the pages of your book making sure to stack them evenly, pin them in place, then draw a line at the center, and sew it straight. Dab some super glue on both ends of the ribbon to seal and avoid it from fraying. Fold the book in half and press it nicely.
*All image credit belongs to LearnCreateSew via YouTube. Follow and subscribe to her channel for more!
How To Sew A Needle Book


