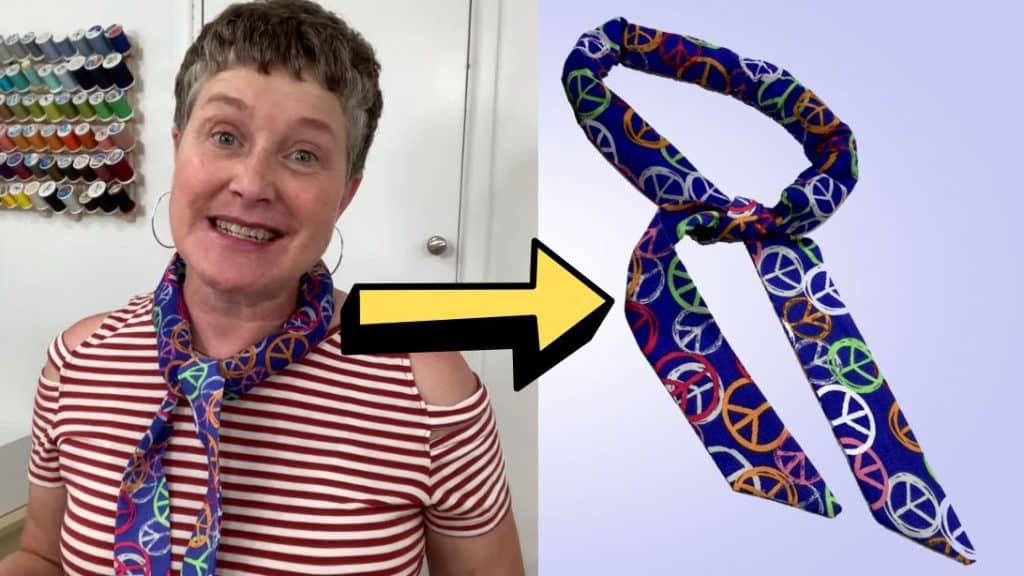
This summer season, a lot of food, activities, and clothes are starting to flood the internet to help you beat the scorching summer heat! One of those many amazing ideas and probably my favorite of all time is this neck cooling scarf that is sure to keep your body regulated at a cool temperature. Learn how to easily sew this with only a piece of fabric and a few basic sewing materials through this fun video tutorial by Jan Howell on YouTube.
Materials:
- 4.5*40-45 inches of fabric
- Turning stick
- Iron
- Water beads
- Scissors
- Measuring tape
- Rotary cutter
- Cookie sheet
- Pins or clips
- Sewing machine
Directions:
Step 1
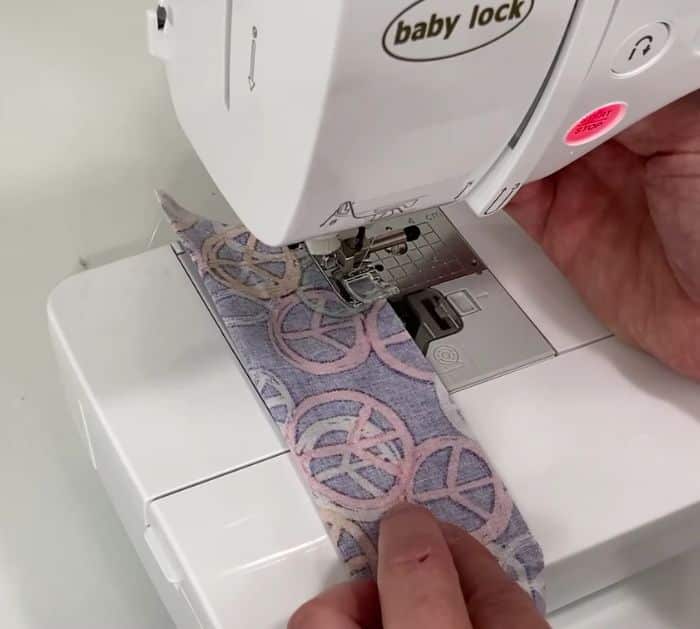
First off, soak about 1 teaspoon of water beads in a large bowl of water until they plump up, and set them aside. Cut the fabric into 4 inches wide and 40 to 45 inches long, to make the tapered ends, fold the fabric in half lengthwise, then cut off the salvaged edge at a 45° angle, open the fabric, and fold them again but this time with their right sides facing. Pin or clip the seams of the folded fabric together, then sew it starting from the pointed edge with a straight stitch with at least ¼ inch seam allowance, make sure to leave about 4 inches unsewn in the middle.
[social_warfare]
Step 2
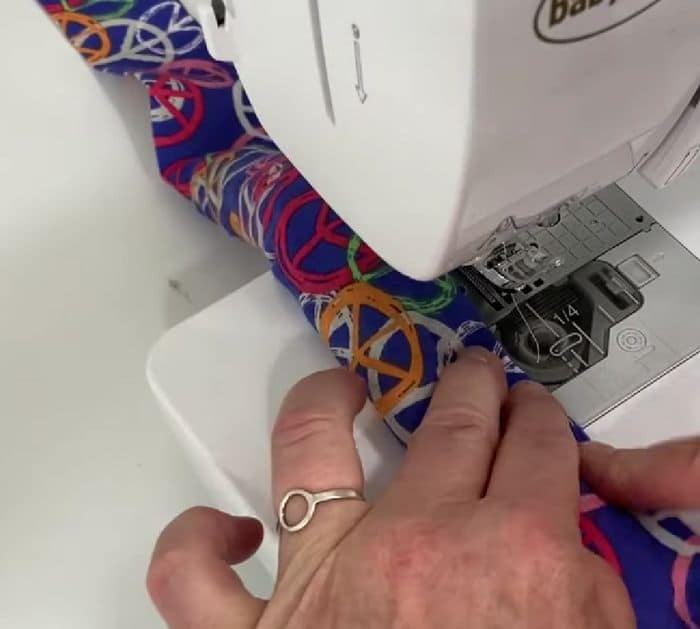
Trim off the excess fabric from the seams and notch the corners, then turn it right side out, and give it a good press. Fold in the edges of open seans, then give it a good press. Measure about 10½ inches from the folded edge of each side, then mark them, and sew straight. Place the neckband on top of a cookie sheet, then start filling it with the plumped water beads. Push the water beads inside the fabric away from the seam edges, then start closing the gap by sewing it really close to the edge with a topstitch. You’re all done! When you need to rehydrate the beads, simply place the neckband in a sink or bowl of water for about 1 to 2 hours.
*These amazing images are all credited to Jan Howell via YouTube. Check her other content and follow for more!
How To Sew A DIY Neck Cooling Scarf