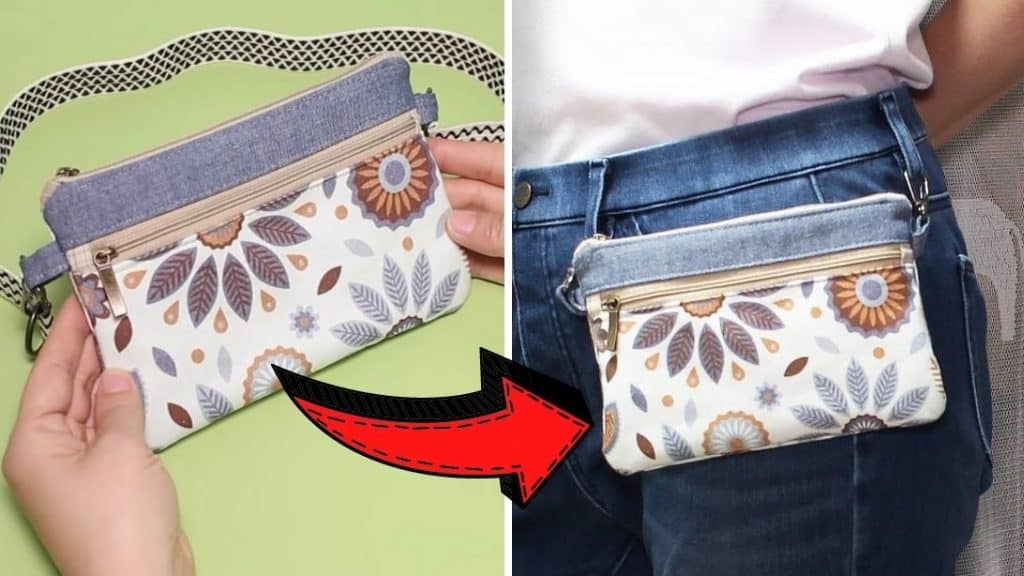
Learn how to sew this multipurpose bag pouch that you can either wear on your belt or over your shoulders. This is also perfect for storing your phone, keys, even bills, coins, or other small important belongings that you usually take with you whenever you go outside. This fun DIY bag is a clever idea of sewingtimes on YouTube.
Materials:
Outer fabric
- 1 piece 21 x 4.5cm (8¼″ × 1¾″)
- 1 piece 21 x 11cm (8¼″ × 4⅜″)
- 1 piece 21 x 14.5cm (8¼″ × 5¾″)
- 2 pieces 6 x 5cm (2½″ × 2″)
Lining fabric
- 1 piece 21 x 4.5cm (8¼″ × 1¾″)
- 1 piece 21 x 11cm (8¼″ × 4⅜″)
- 3 pieces 21 x 14.5cm (8¼″ × 5¾″)
Zipper
- 2 pieces 17.5 cm (7″) zipper
- 4 pieces 3 x 3 cm (1¼” x 1¼”) similar colored fabric
Other
- 2 pieces 1.5 cm (5/8″) wide Swivel snap hook
- 47-75 cm (18½” – 30″) long 2.5cm (1″) wide Webbing strap
- 2 pieces 1.5 cm (5/8″) wide D ring
- Mid-weight woven fusible interfacing
Directions:
Step 1
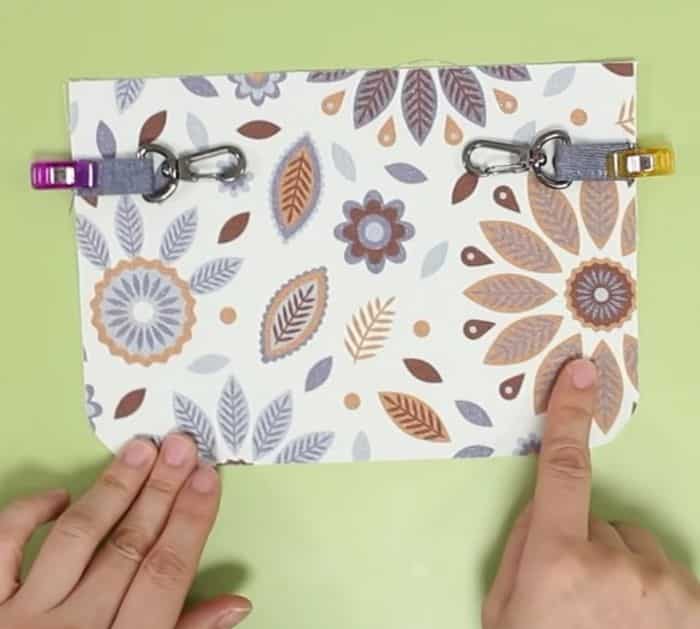
Cut the fusible interfacing for the lining fabric with a 21 x 4.5cm (8¼″ × 1¾″) size, outer fabric with sizes 21 x 11cm (8¼″ × 4⅜″), and 21 x 14.5cm (8¼″ × 5¾″), place them at the back of the fabrics accordingly and press with an iron. Fold the medium-sized outer fabric and fold it in half, cut, and curve the bottom corner. Fold the large outer fabric then place it on the back of the curved and folded fabric, then follow the curve of the bottom corner. Place them on top of the lining fabrics of the same sizes as theirs and curve their corners using the curved fabrics as the guide. Place the squares for the zipper on both sides of the zippers on each end, clip them in place, then sew with a ¼” seam allowance. Fold the flap back, then place the zipper at the upper part of the medium-sized outer fabric, match their edges. Place the lining fabric with the right side facing the outer fabric’s right side, sew them together at the top with a 3/8″ seam allowance.
[social_warfare]
Step 2
Flip it right side out then crease with your fingers, expose the other side of the zipper, then place the lining strip with the fusible interfacing on top with its right side facing down the outer fabric’s right side. The other strip should be on the back with its right side facing up, sew the top with a 3/8″ seam allowance, flip and crease it properly, then sew each side of the top of the zipper as close as possible to the seam. Place the large lining fabric underneath the bag then sew with a 3/8″ seam allowance. Fold both sides of the 2½ x 2″ lining fabric toward the center, crease, then fold in the center and sew at the edge. Repeat the process to the other piece. Insert them on the snap hook then fold, place on each side of the bag and match their edges, sew them in place.

Step 3
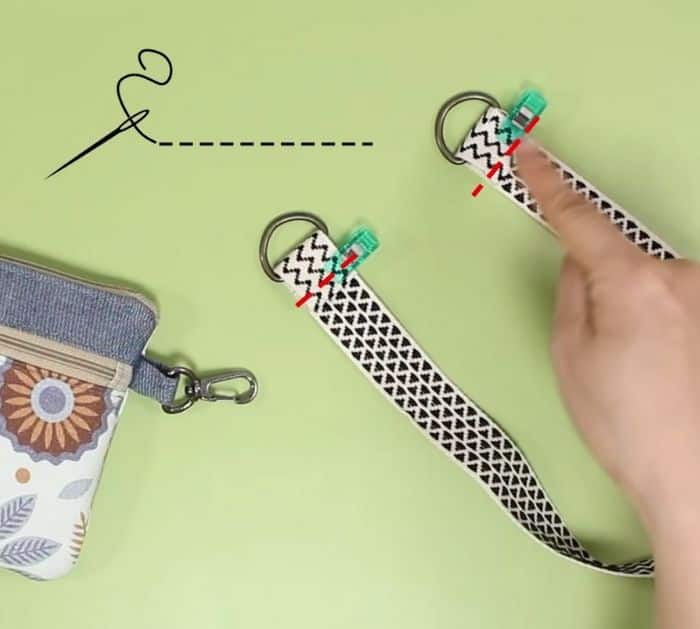
Grab the other pair of zippers and square fabrics, then sew them with the same process earlier. Fold the flap back on both sides, then place it on top of the lining fabric strip with their right side facing each other, then place the large lining fabric on top and sew with a 3/8″ seam allowance. Flip and fold right side out then crease. Place the other large lining fabric at the back with their edges matching the top of the zipper’s edge, then the other side of the bag on top with its right side facing down. Sew them at the top together with a 3/8″ seam allowance, spread it open then sew at the front near the edge of each side of the zippers. Fold and match the edges of the outer fabric and the lining fabrics edge with each other, clip around in place, then sew around with a 3/8″ seam allowance but leave a gap at the bottom of the lining fabric pair for turning. Turn it right side out, hand sew the gap close, then insert the lining fabric piece and tuck it inside the bag. Insert the webbing strap on the D ring, then sew it to secure the ring in place, and insert the ring to the hook.

*All these images are credited to sewingtimes via YouTube. Give her channel a visit and subscribe for more!


