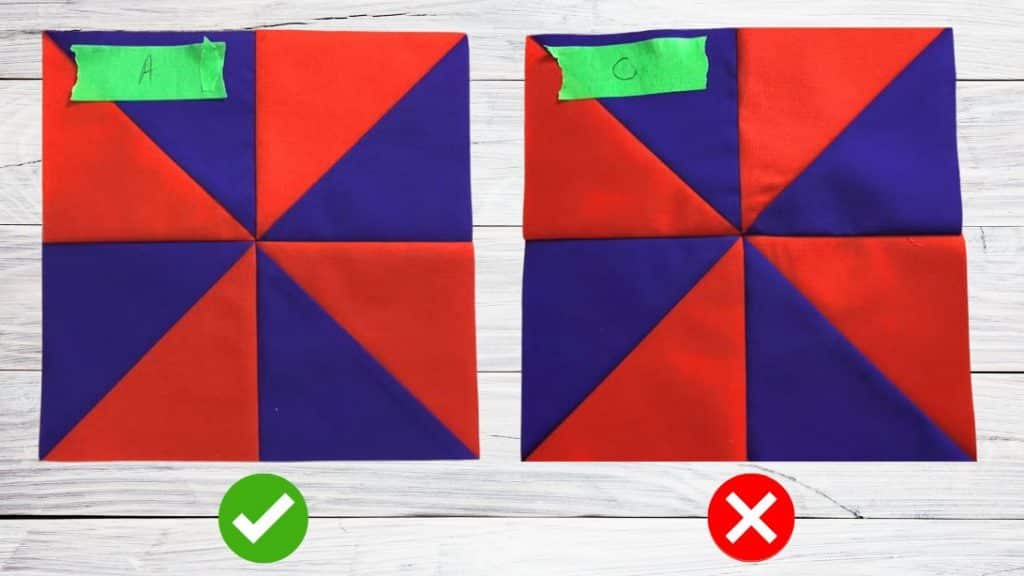
If you want your seams to nest nicely and the points to line up, you have to learn how to properly iron your quilt blocks. This is just as important as cutting accurately and sewing straight. By following these three simple steps by Just Get it Done Quilts, you will get the best results, and your blocks will no longer be wonky. You will surely find this technique helpful if you are a beginner! Read on or watch the video below for full instructions.
Step 1 – Set your seams
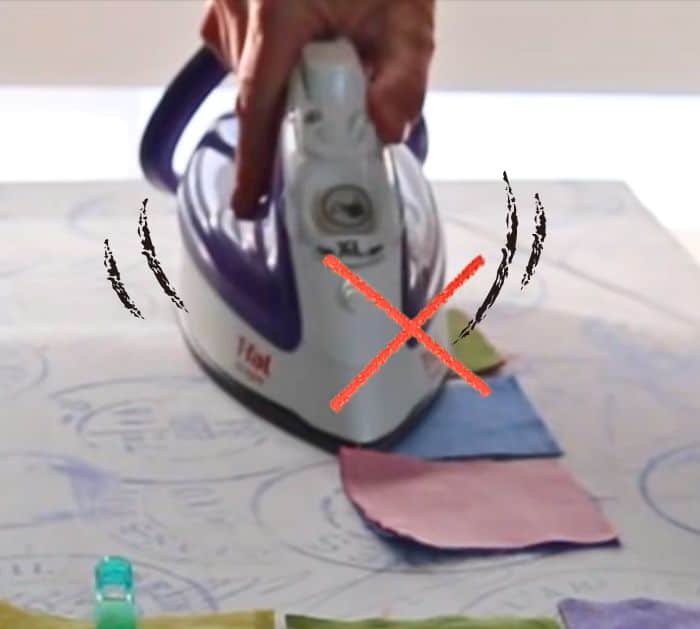
You may have heard this a thousand times, but seeing up your seams is very important. Cotton is mostly made up of cellulose molecules, and they are held together by weak bonds called hydrogen bonds. This means when you heat up the cotton, it becomes soft and pliable. Place your iron directly down on top of your piece. No wiggling and no swishing. If you are not careful and you apply pressure, with the rotation on your iron, as in swishing, it will distort your fabric.

Step 2 – Finger pressing
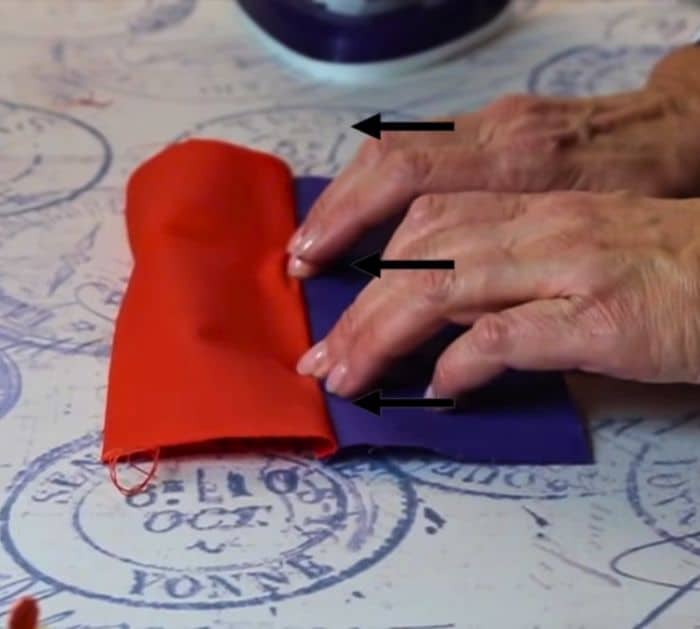
It is done by pushing the fabric over, as far as it can go, before applying heat so you don’t lose any fabric in the crack. Take the layer and roll it over. Take your fingers and push them over as far as you can. Do not spread your fingers. You want all the pressure into your fingertips to go straight across your fabric. This will prevent distortion of your fabric. If you have a long strip, you dance your fingers up the edge. You can press to the dark side or whichever makes sense for your block.

Step 3 – Press
After you finger pressed your block, apply the iron one more time and press. Remember, no swishing.


