If you’re tired of your plain old white pillowcases or shirt, then here’s a trick by OnlineFabricStore on YouTube that you can try! Learn how to add some designs to plain white fabrics by dyeing them with the help of shaving cream. Read down below for the detailed step-by-step instructions, then after learning it, try mixing the colors and patterns that you want.
Materials:
- Press cloth
- Trash bag
- Something to dye (100% cotton pillowcases)
- Shaving cream
- Rit all-purpose liquid fabric dye
- Flat edge scraper
- Medicine dropper, for applying the dye around the shaving cream
- Paintbrush
- Iron
Directions:
Step 1
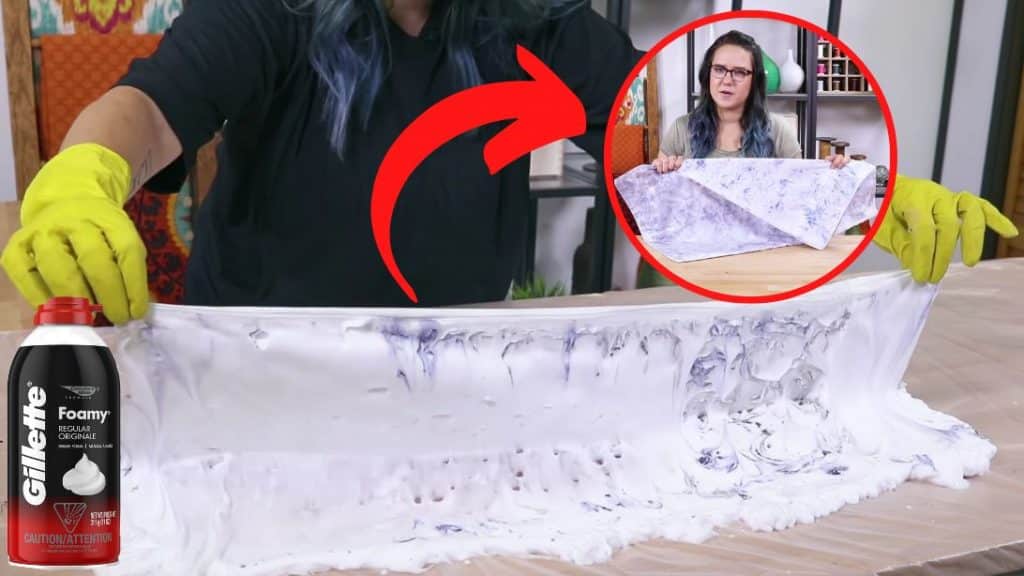
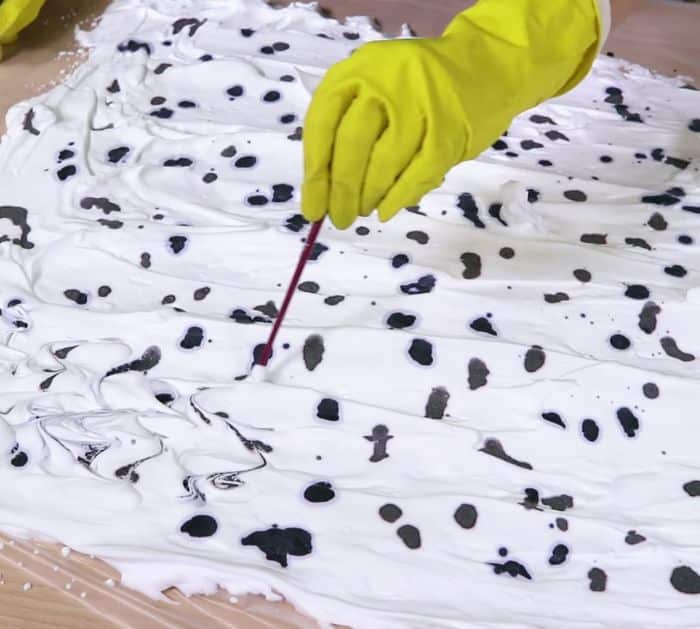
Lay out a trash bag cut in half so that it’s large enough to cover your work surface, then apply the shaving cream all over the surface making sure that it’s enough for the fabric, and at about 1 inch high. Next, apply dots of dye all around the shaving cream, then swirl it around to create patterns, you can do this however you want and combine whatever color you prefer. Be careful not to press your tool in too deep as that will push the dye to the bottom of the cream which isn’t what you want. Another technique for marbling is to create smaller batches of cream with the dye mixed into it, then add that colored batch to the larger shaving cream surface with a small tool.

[social_warfare]
Step 2
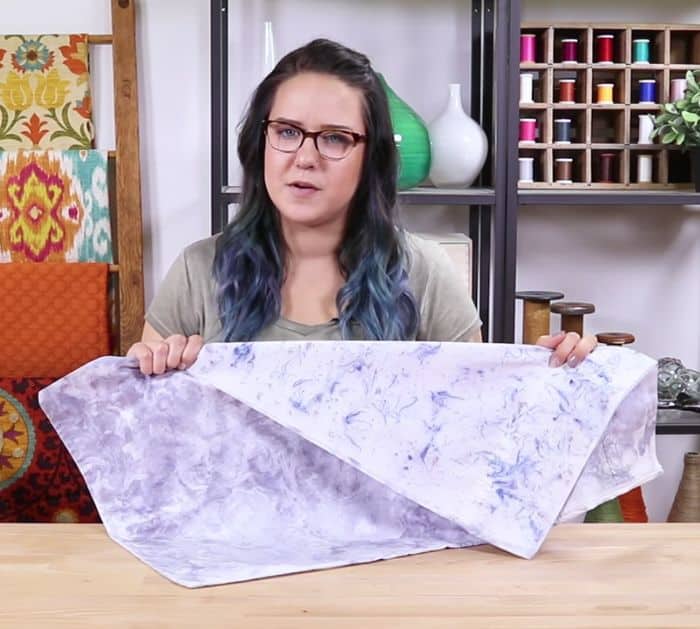
Pre-wash your fabric before gently laying it on top of the shaving cream, then lightly press it all around with your fingers making sure the entire fabric is touching the marbled dye, and let it sit for a few minutes. Carefully pull the fabric up from one end to the other, then set it aside on a covered surface with the cream side facing up. After letting the fabric sit for a few minutes, grab a flat scraper, then start scraping away the excess shaving cream, and if you have to go in for another pass, make sure to wipe the blade completely clean first. Once most of the shaving cream is removed from the fabric, grab a hot iron, and press the cloth to set the dye, but ensure not to iron the fabric directly. Rinse the fabric in cold water until the water becomes clear, then hang it to dry.

*These fantastic images are all credited to OnlineFabricStore via YouTube. Check their other content and follow for more!


