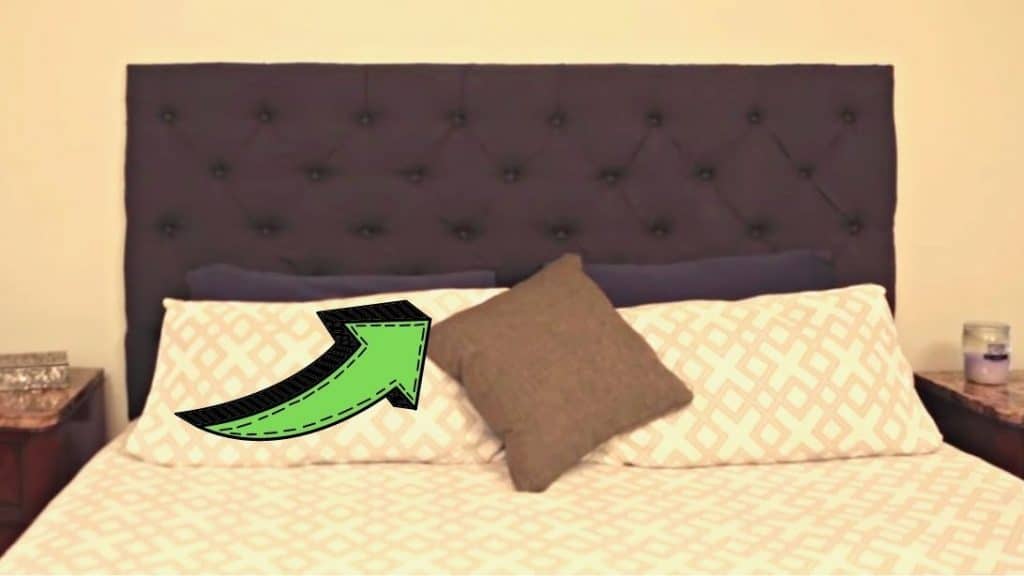
Have you always wanted to have your own headboard but find them too expensive? Then, why don’t try making one instead? This tutorial by Checking In With Chelsea on YouTube will teach you just how easy it is to make a DIY tufted headboard that looks as pretty as store-bought ones but at a cheaper cost.
Materials:
- ½″ sheet of plywood*, cut to 76″x36″, for a king-sized bed
- 1 king-sized topper, cut in half
- Quilt batting fabric
- Fabric, 3.5 yards for a king-sized headboard
- Scissors
- Permanent marker
- Staple gun with staples
- ¾″ roofing nails
- Hammer
- Fabric button kit, ¾″ size
Directions:
Step 1
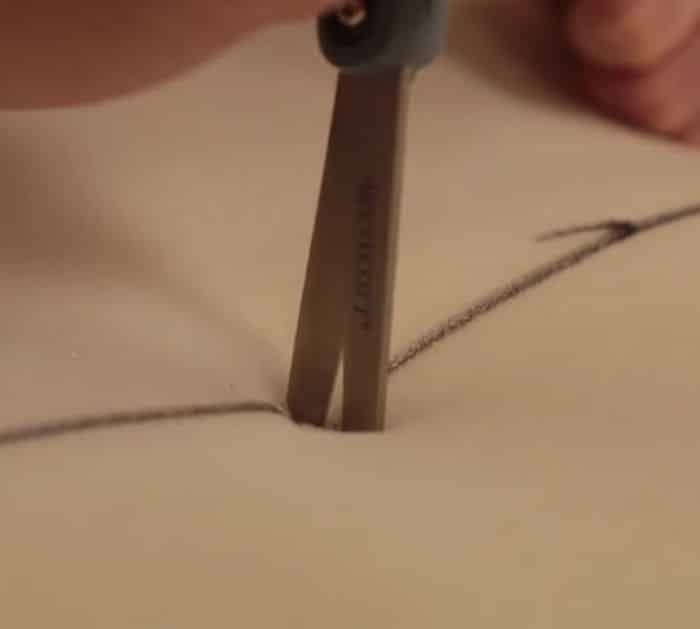
First off, cut the foam into a size that would fit the plywood, then place another piece of foam on top, and cut it out as well. Figure out and decide how many tufts you would want to have, then plan the arrangement of the nails and their pattern so that you know how much you’ll need. Measure the spaces between and height between each piece of nails and mark those areas. Using your scissors, cut those marks on the foam, then set it aside.
[social_warfare]
Step 2
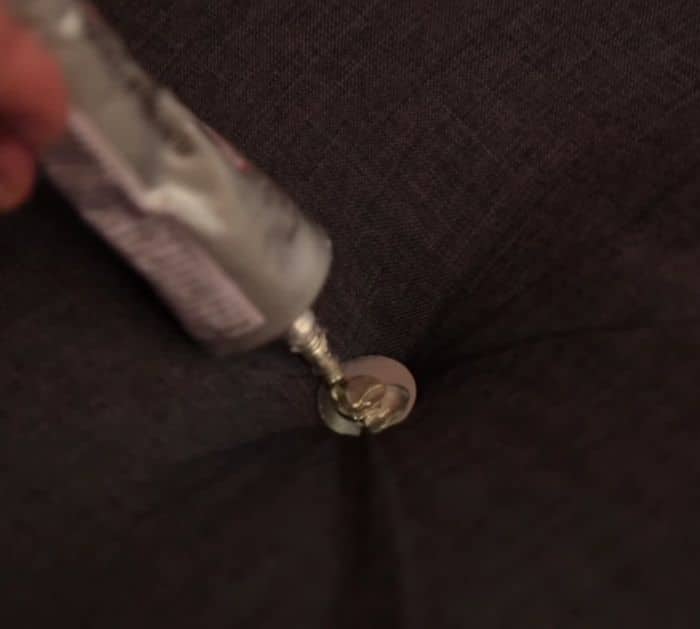
Lay the batting fabric on top of the plywood, then flip it over, staple the batting fabric around the edges of the plywood, and flip it over again. Poke the batting fabric using your fingers right on the cut-off marks for the tufts. Place the main fabric on top, then find where the holes are, and start attaching the nails to each one. Staple the fabric around at the back, then trim off the excess. Place the fabric buttons on top of each nail, then hang them on your bedroom wall.
*These amazing images are all credited to Checking In With Chelsea via YouTube. Check her other content and follow for more!

