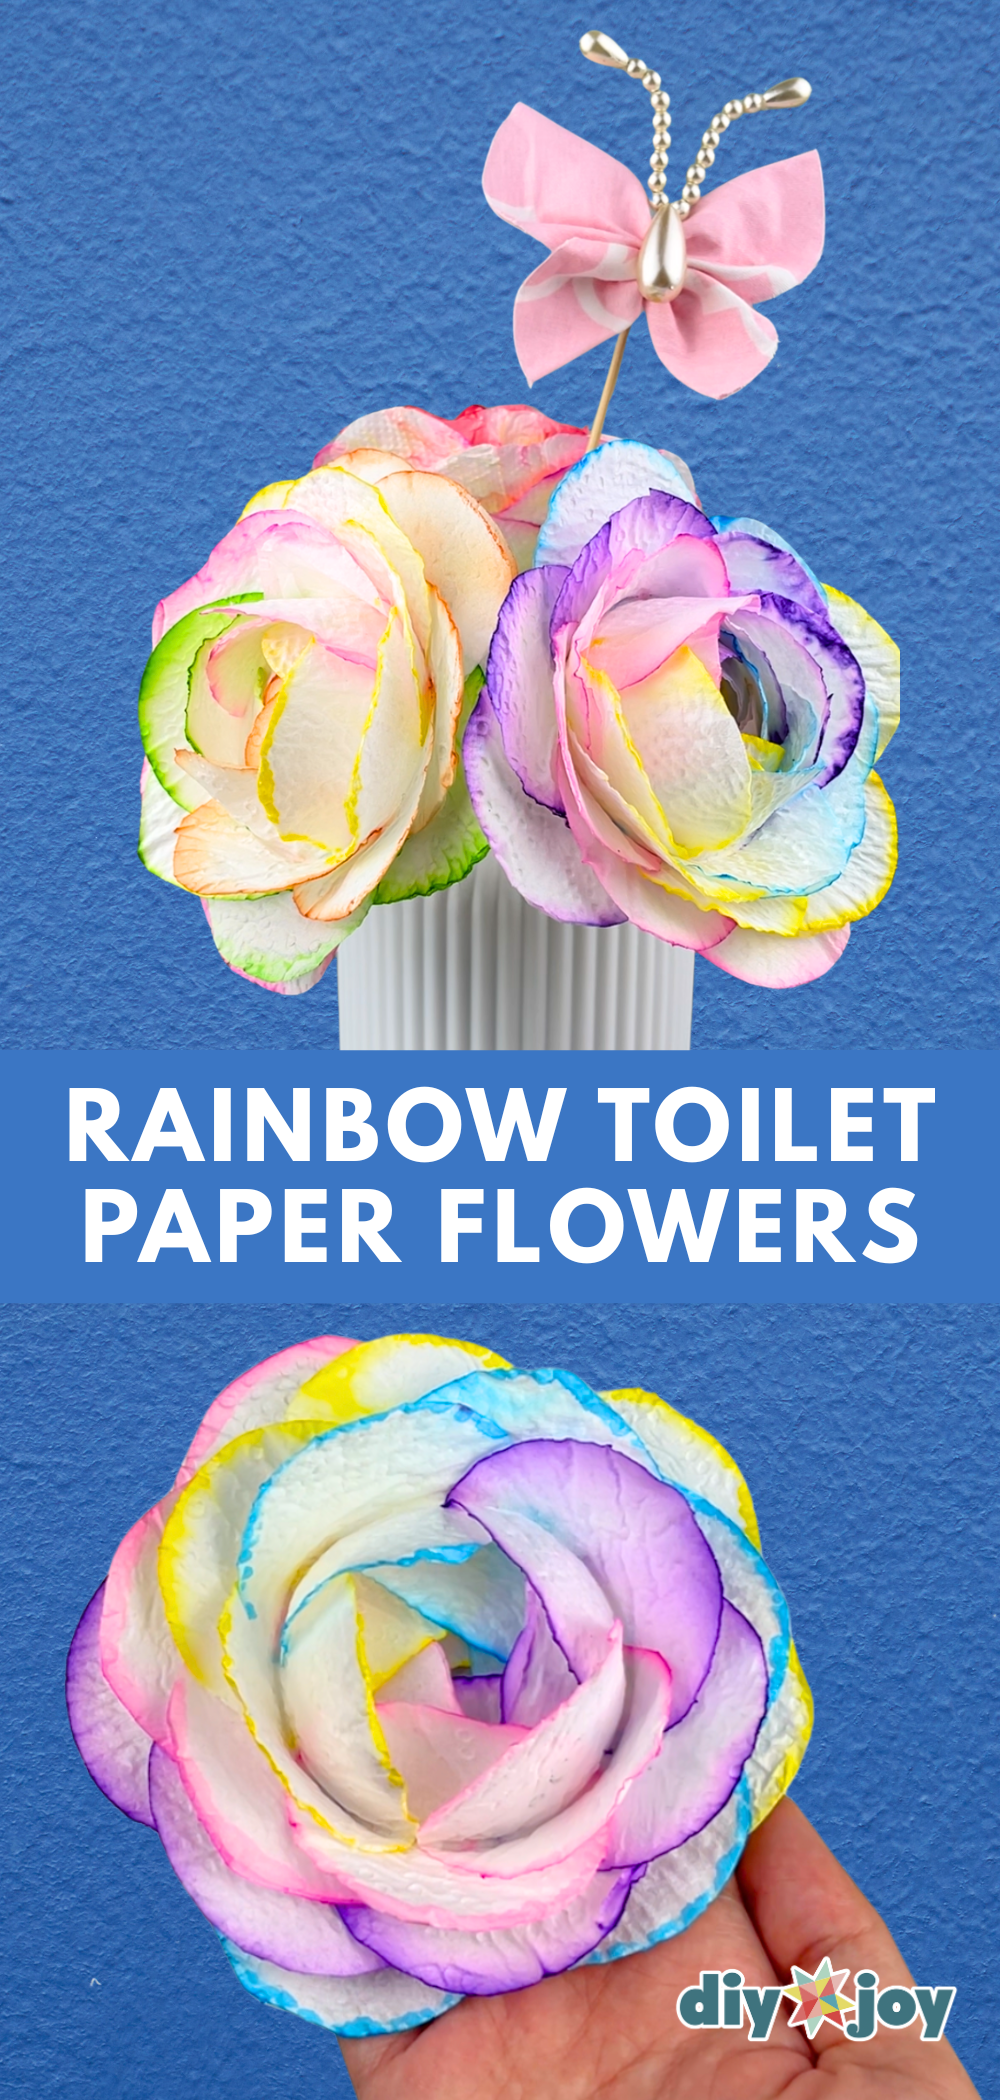
Toilet paper flowers are going viral for a reason. They are so easy, cheap, and fun to make! Most of the materials you need are probably already in your home. Anyone will surely enjoy making this paper craft. You get to play with colors, watch them spread out, and turn the circles into a beautiful flower. It’s the perfect art activity for kids, a classroom craft, a cheap paper craft, or a DIY flower tutorial.
Everybody on Facebook, Instagram, TikTok, and YouTube loved the first one, so I made another flower using toilet paper. A lot of people who commented were surprised at how the flowers turned out. You’ll probably have the same reaction once you try this craft project, because even I was amazed at how beautiful it was! If you haven’t checked that out yet, make sure you do.
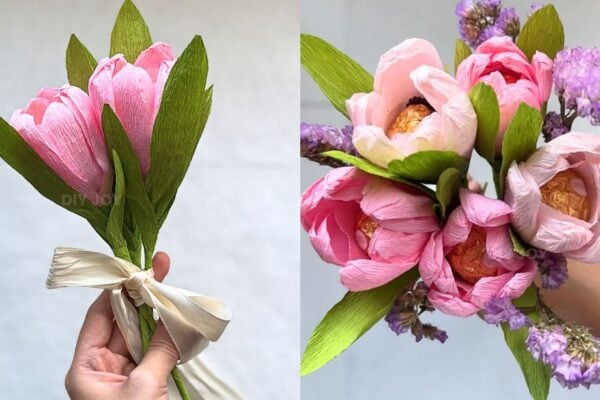
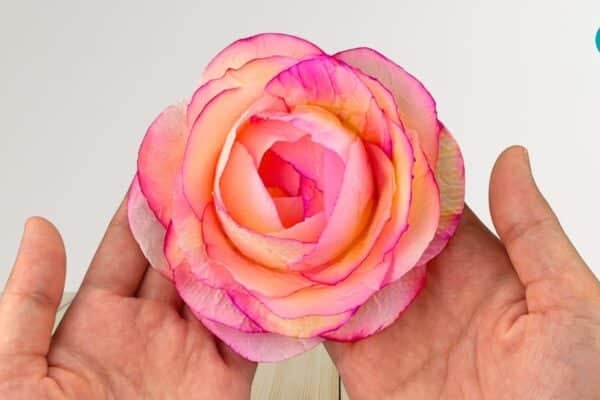
RELATED: Easy Crepe Paper Flowers
Here’s the TikTok video for a quick look at how to make this viral TP flower.
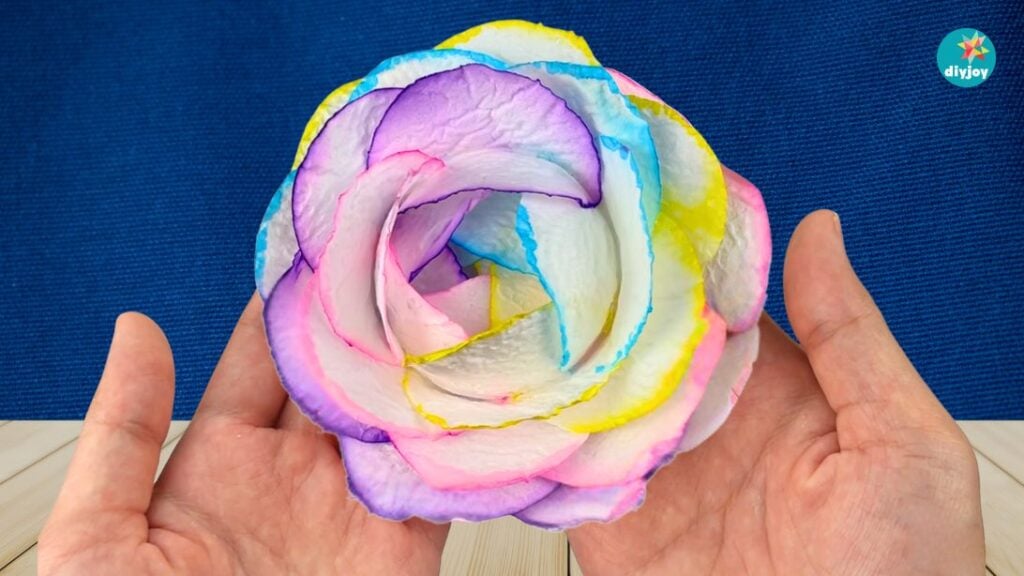
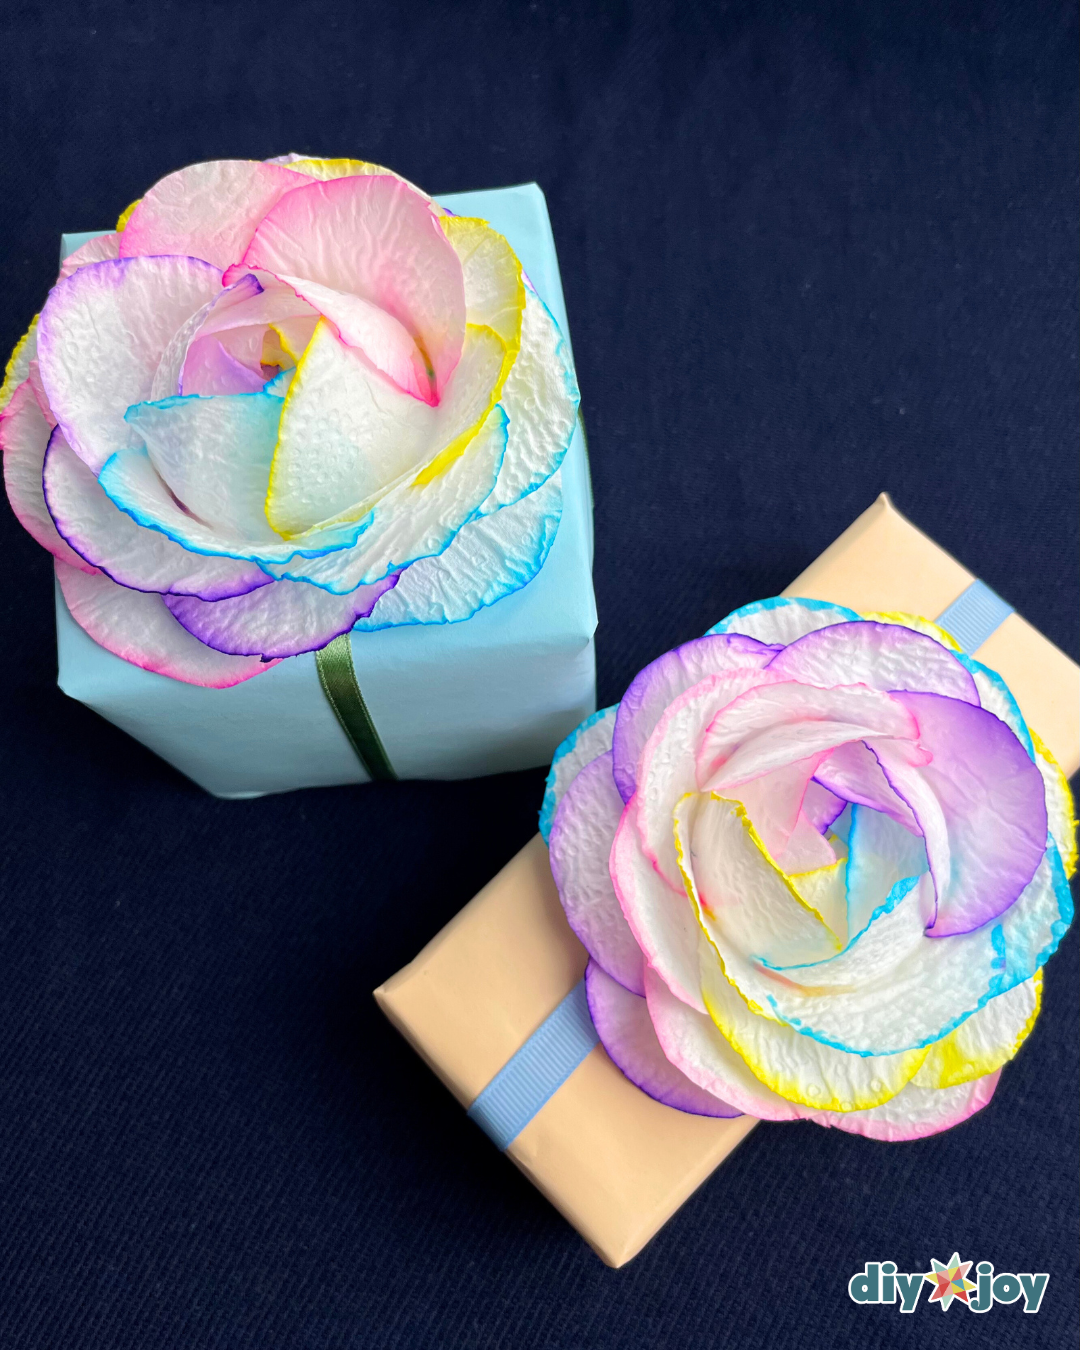
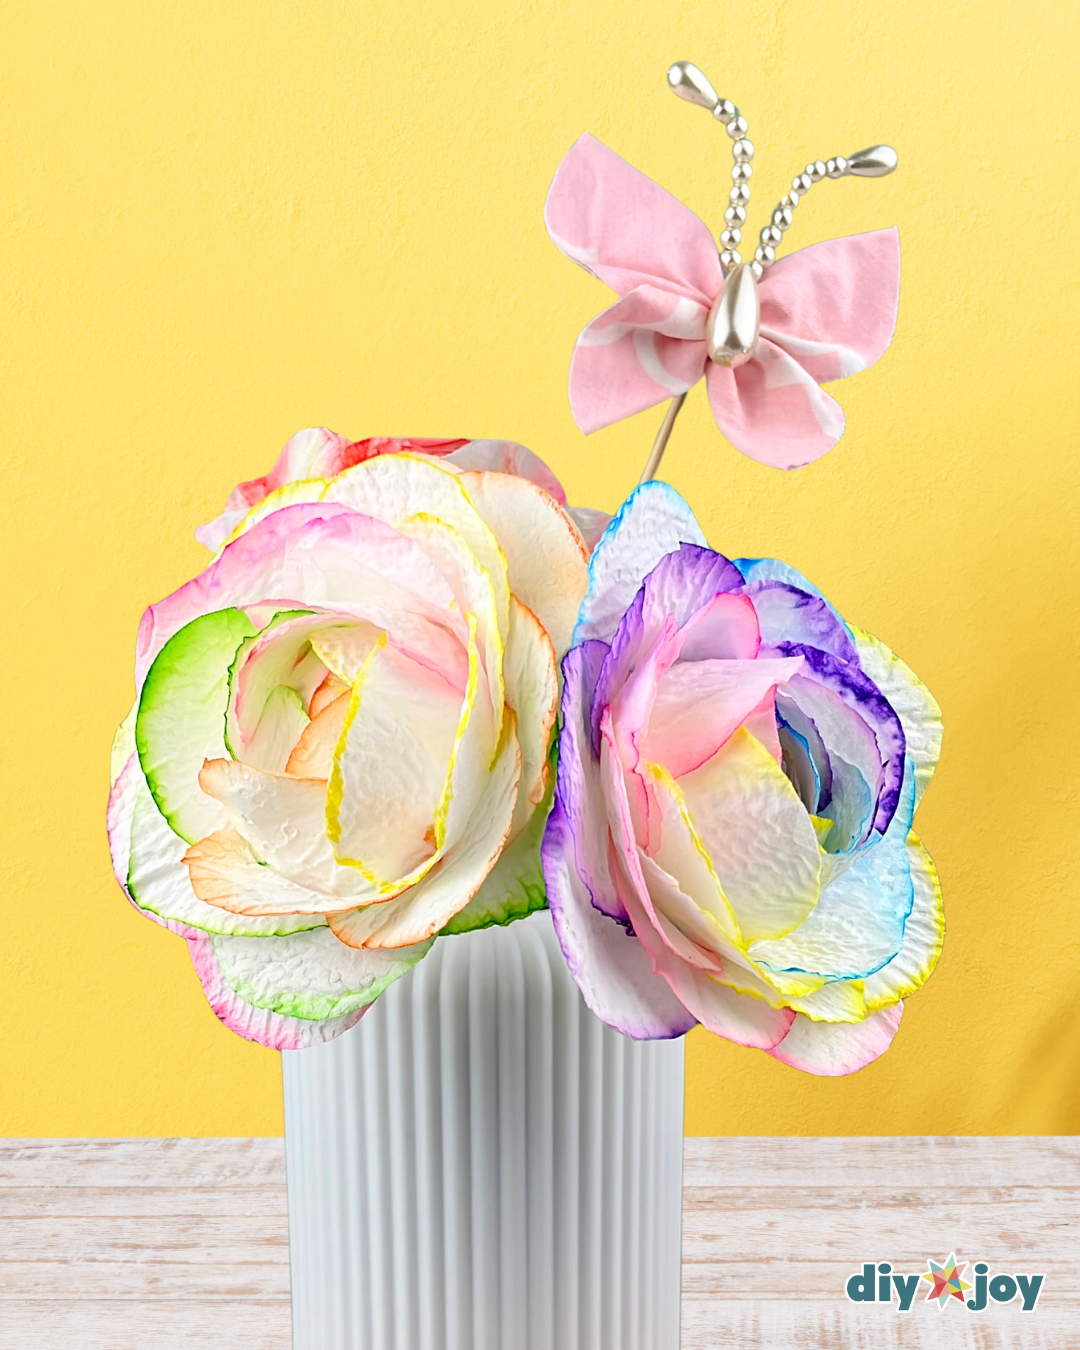
The design of this new flower is slighlty different from the original. The circles are colored in different colors, creating a rainbow-like design that is absolutely stunning. There are no complicated steps in this paper flower tutorial. Everyone can easily follow along, no skills required. So if you are looking for a DIY gift for your loved ones, give this a try. It’s so simple, gorgeous, and budget-friendly.
Toilet Paper Flower Step-by-Step Tutorial
In this easy tutorial, I will show you how to make toilet paper flowers (or tissue paper flowers). A lot of people asked how to add a stem to the flower. It is optional, but if you’d like to add one so you can place the flowers in a vase, I’ve included the steps below.
Drawing a circle
Choose 4 markers in different colors. Stack 5 sheets of toilet paper and place the paper cup. Trace the bottom of it and cut the circle. Repeat 3 more times using the other markers, then cut one extra circle for the bottom. You will need a total of 21 circles, 5 for each color, and one for the bottom. If you will add a stem, you will need another extra circle.

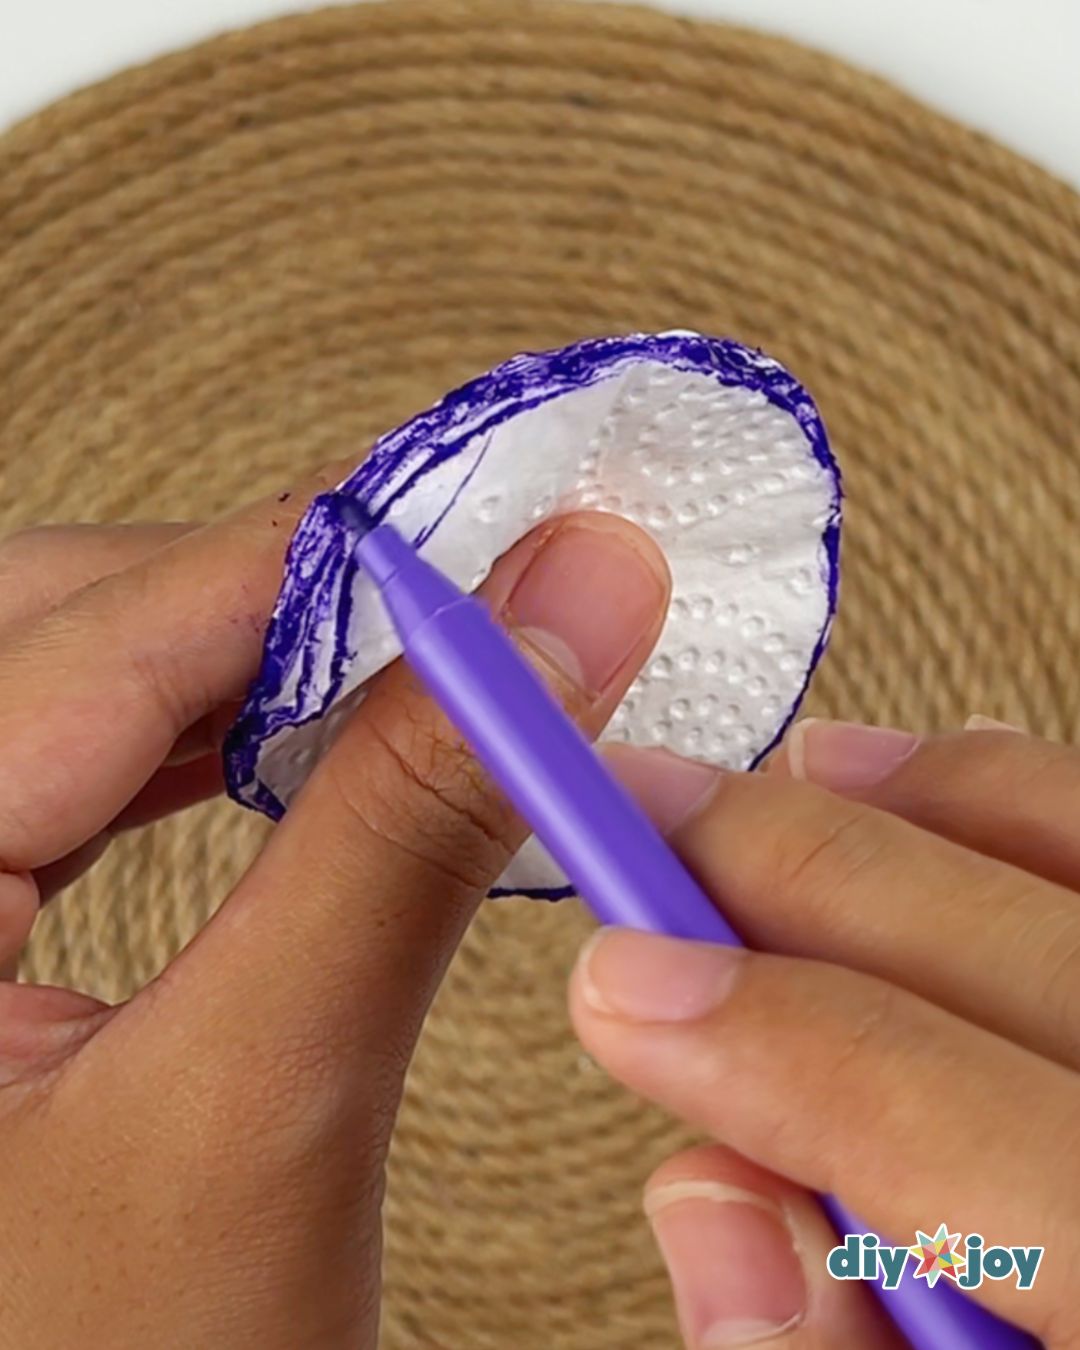
Coloring the edges
Color the edges of the circle with the markers.
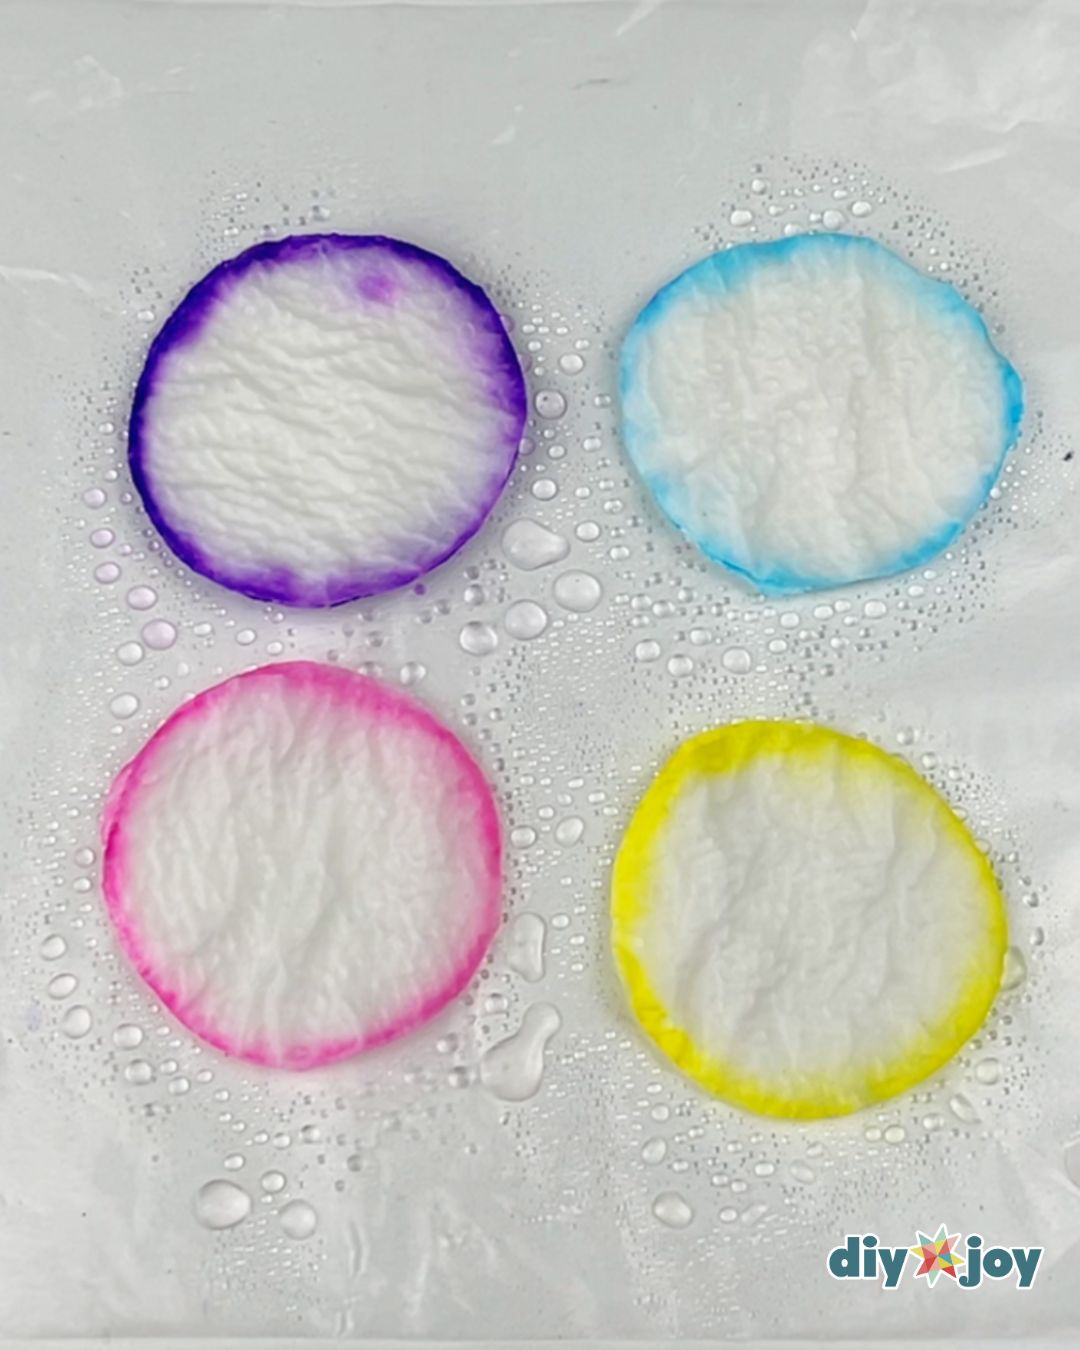
Spraying water
Place the circles on a plastic sheet, then spray them with water. Let them dry completely.
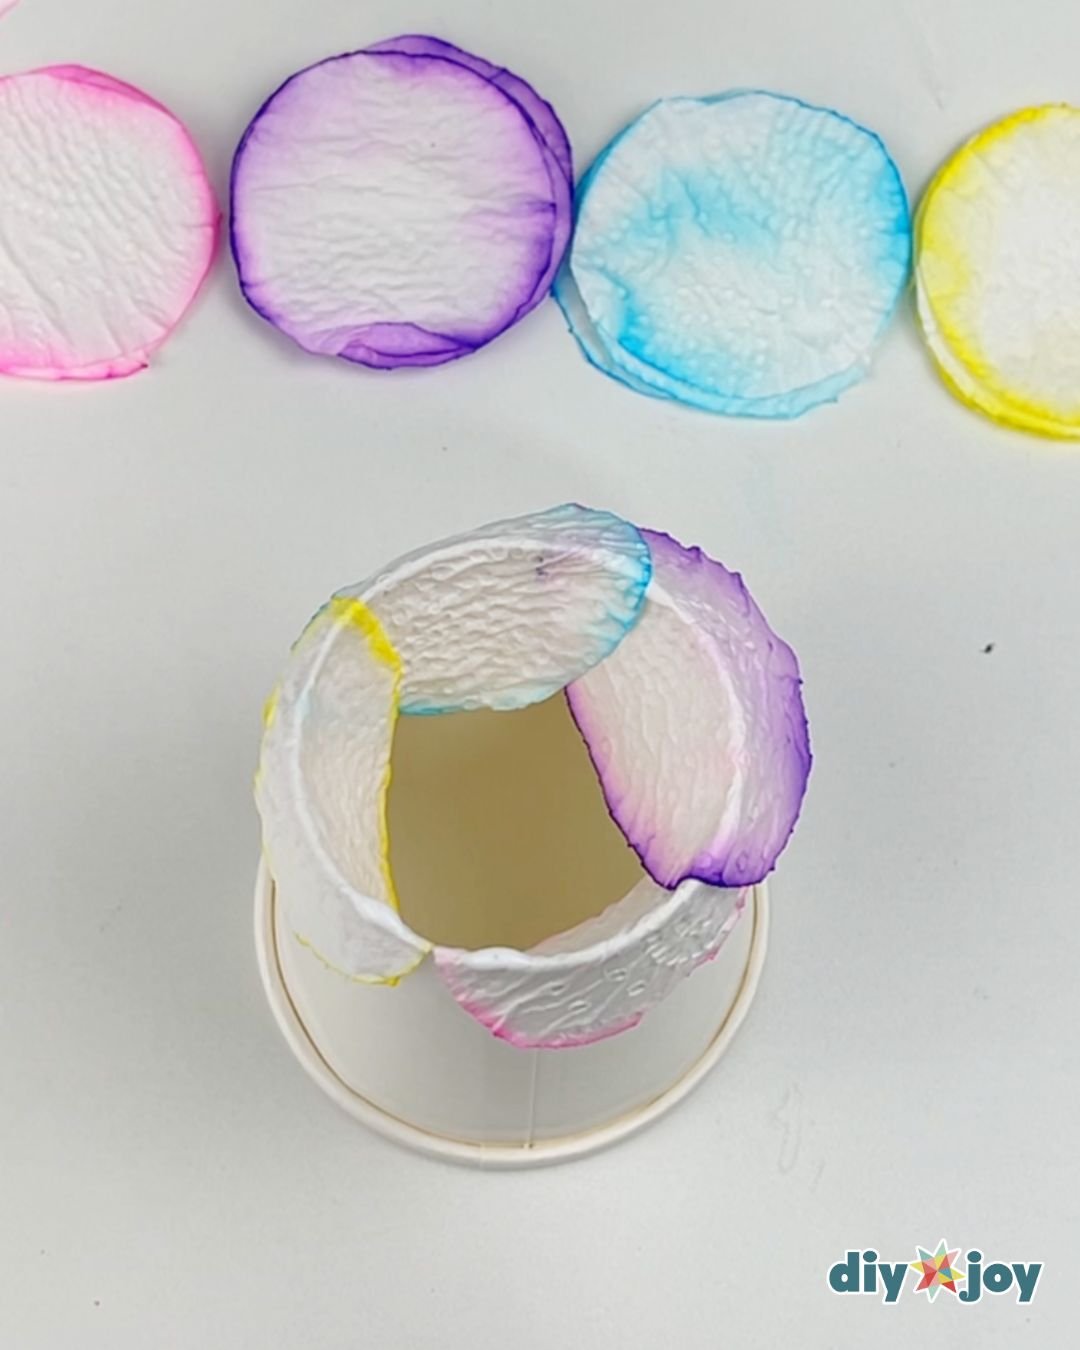
Paper flower making
Take your paper cup and remove the bottom using a pair of scissors. Place it upside down. Start folding the circles over the rim of your paper cup, overlapping the pieces and gluing the ends together.
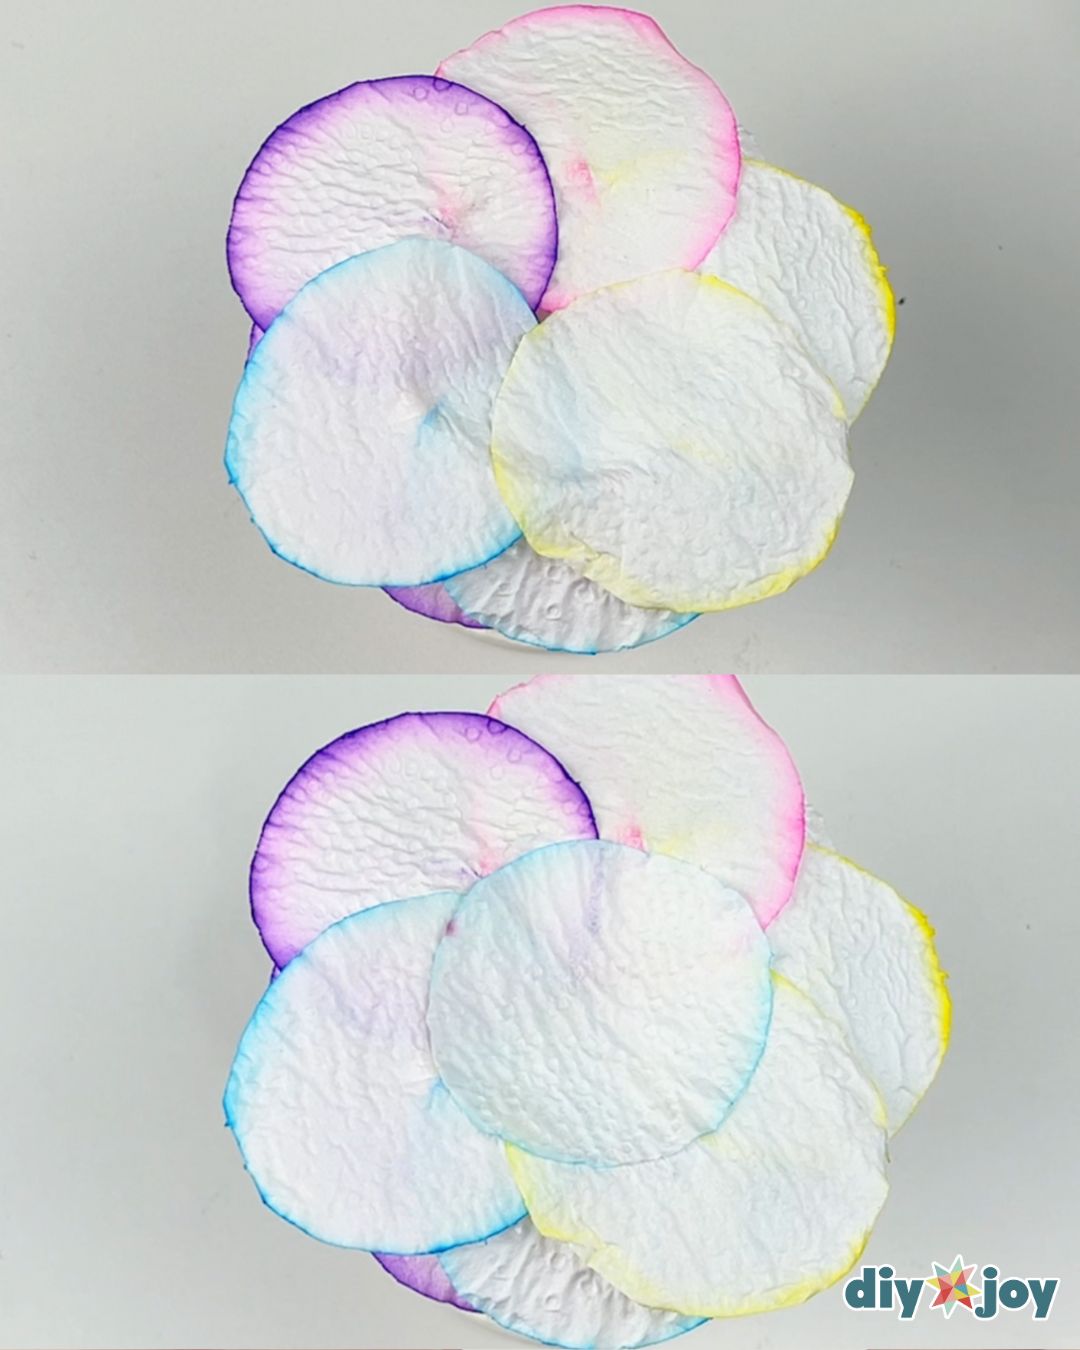
After the first layer, place the circles between the pieces of the previous layer. I always start with the pink and end with the yellow to make a pattern.Covering the bottom
Apply glue to the center, then place the extra circle on top.
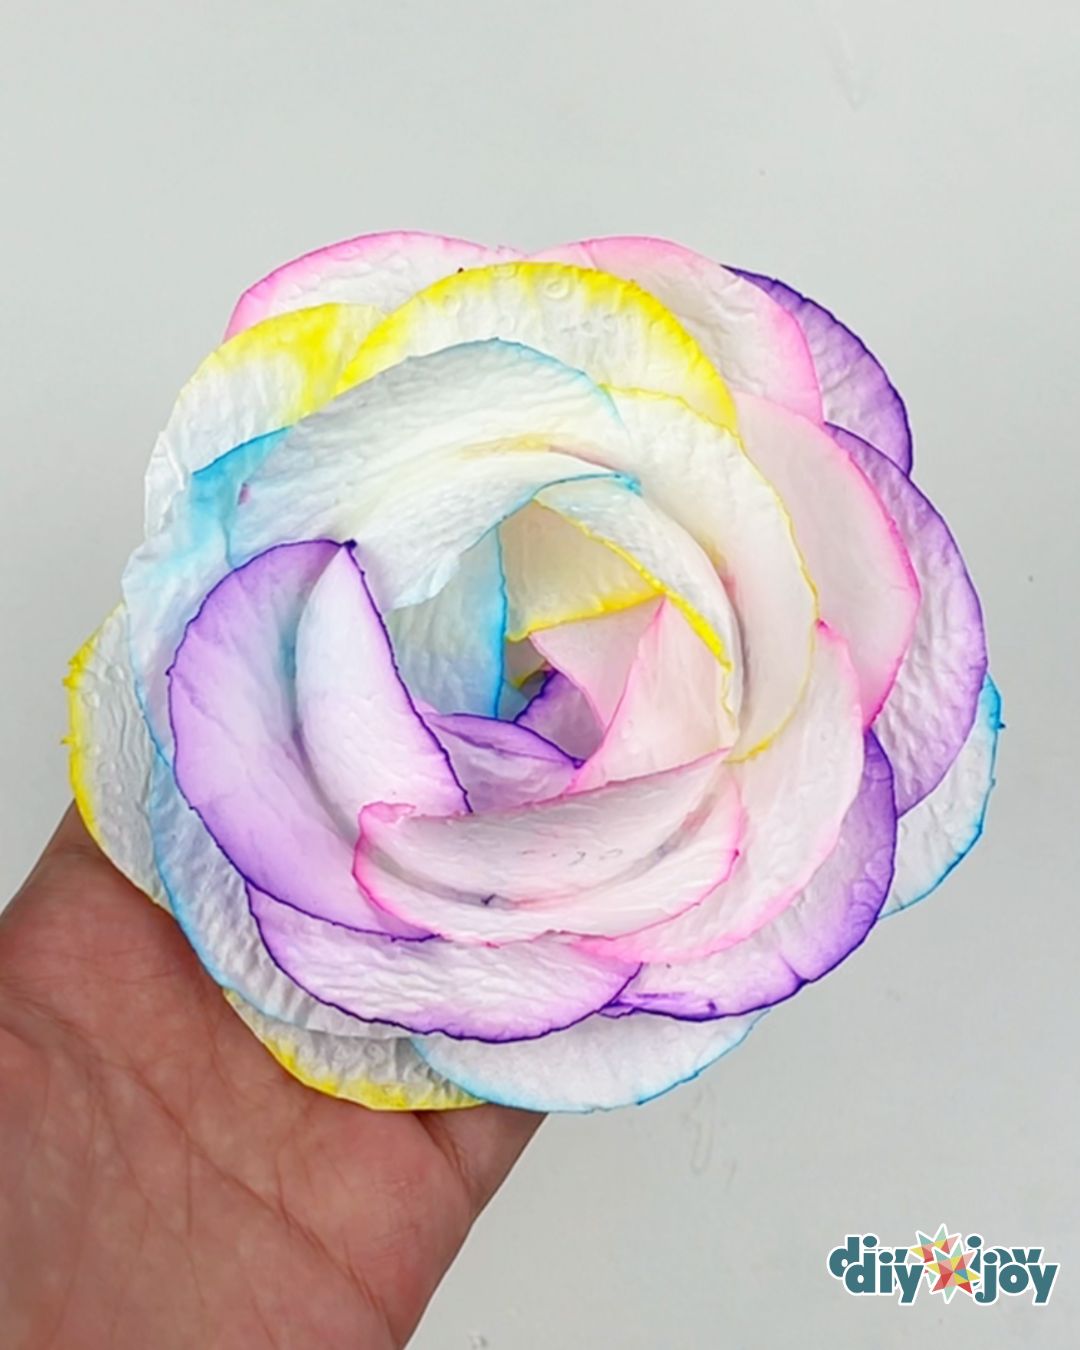
Removing the flower
Flip the cup over, then carefully remove the flower.
Letting the glue dry
Let the glue dry completely.
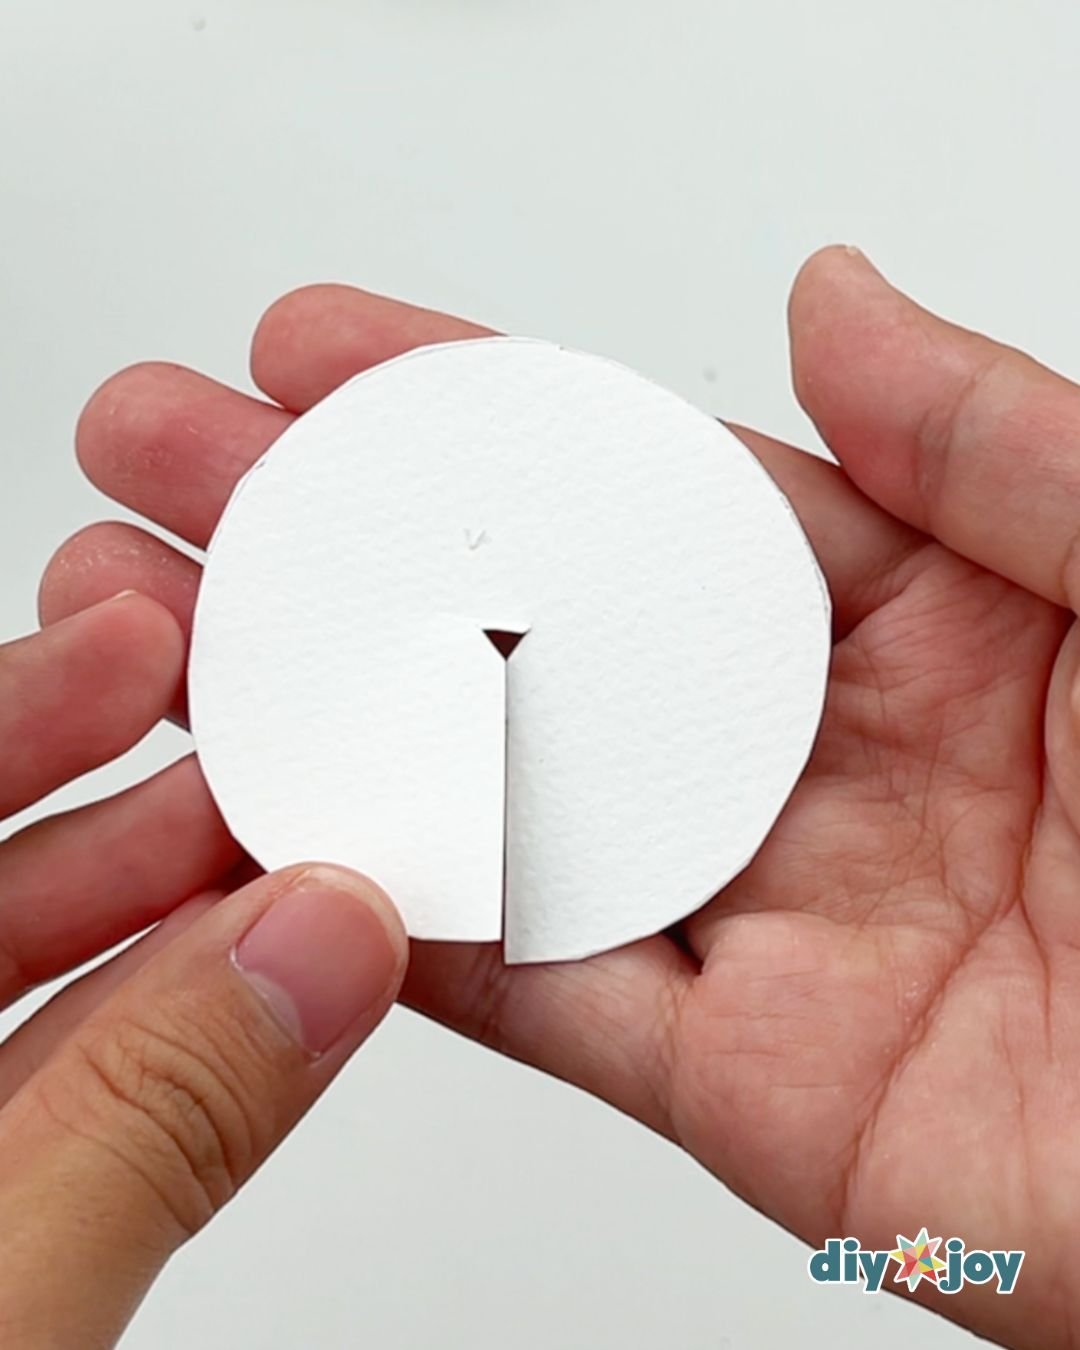
Making the top of the stem
Trace the bottom of the paper cup onto cardboard, then cut it out. Cut it halfway through the middle, then cut out a very small triangle.
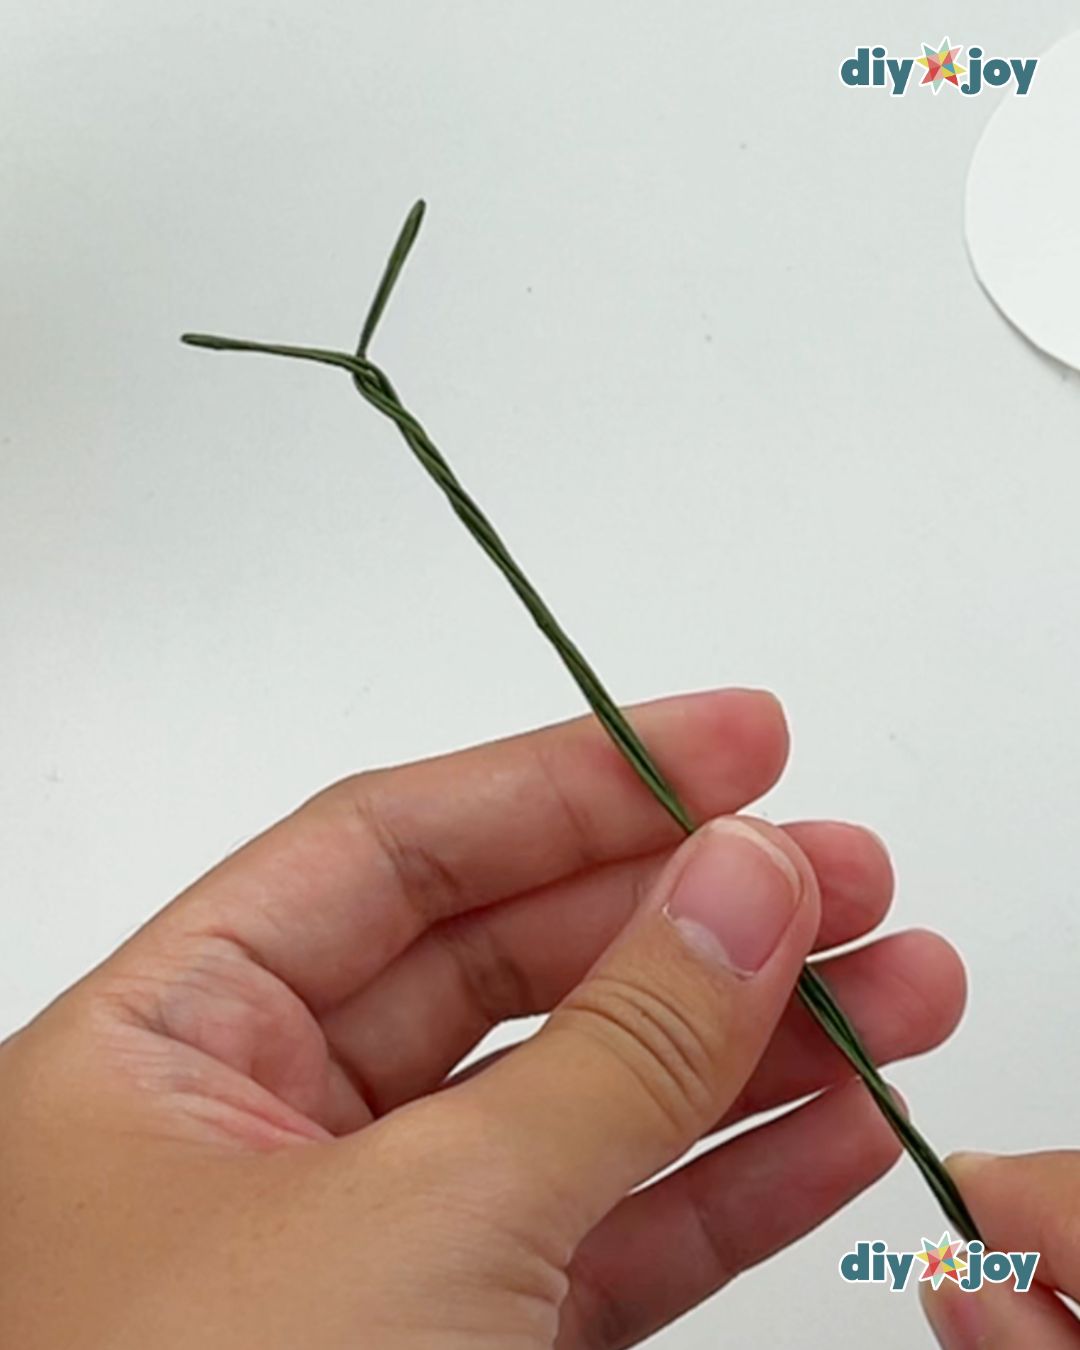
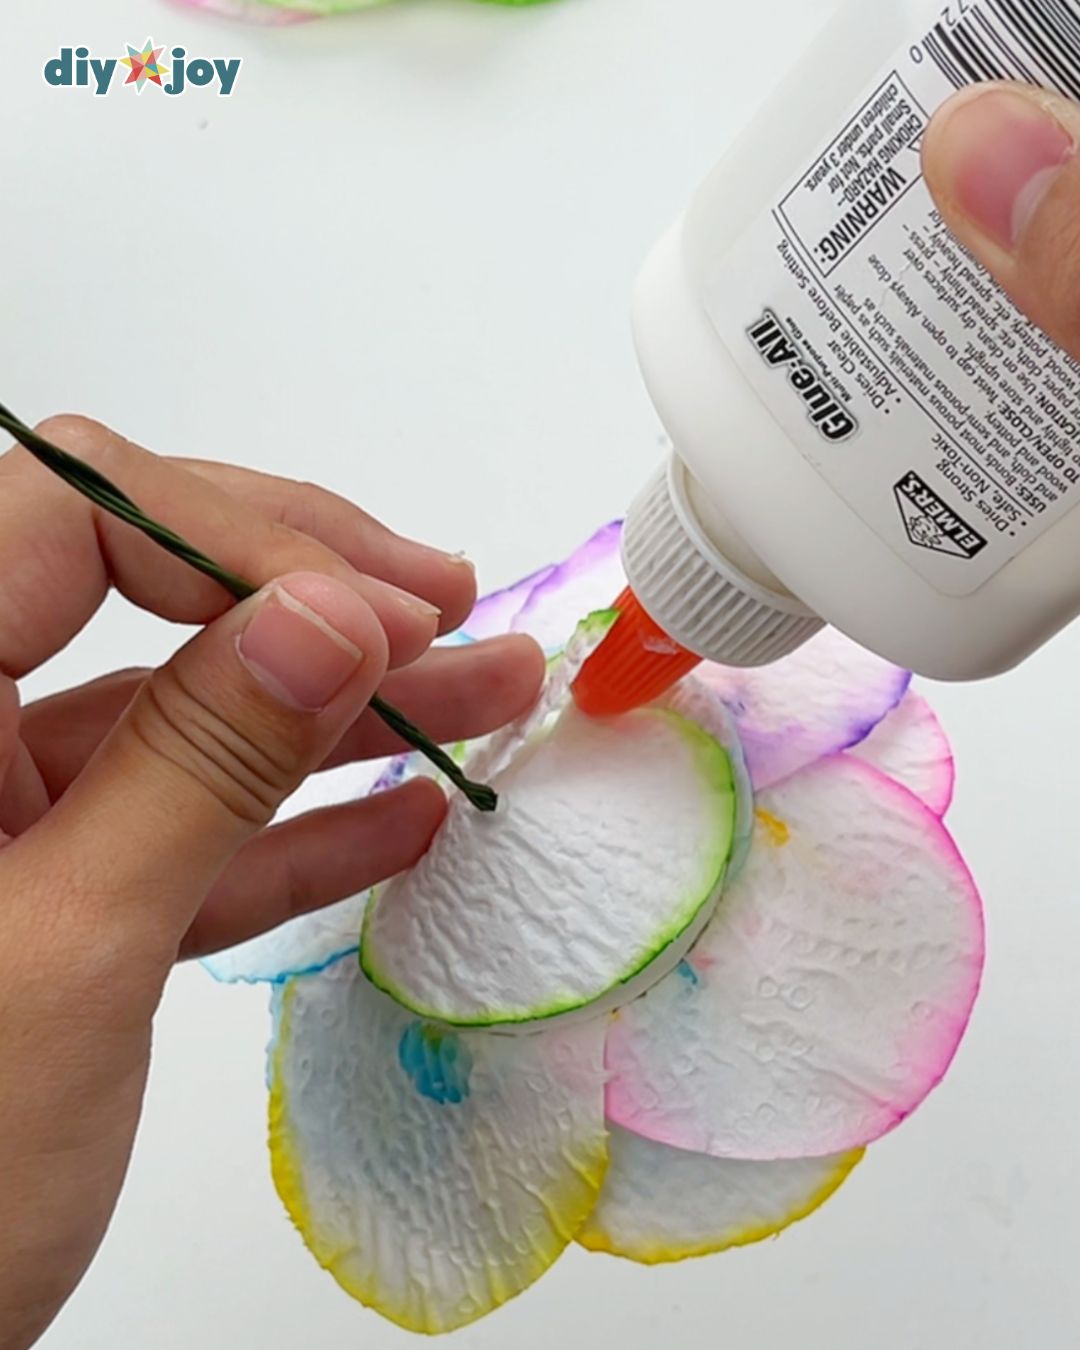
Making the wire stem
Take two floral wires and bend them in half. Twist the wires together just like in the photo below.
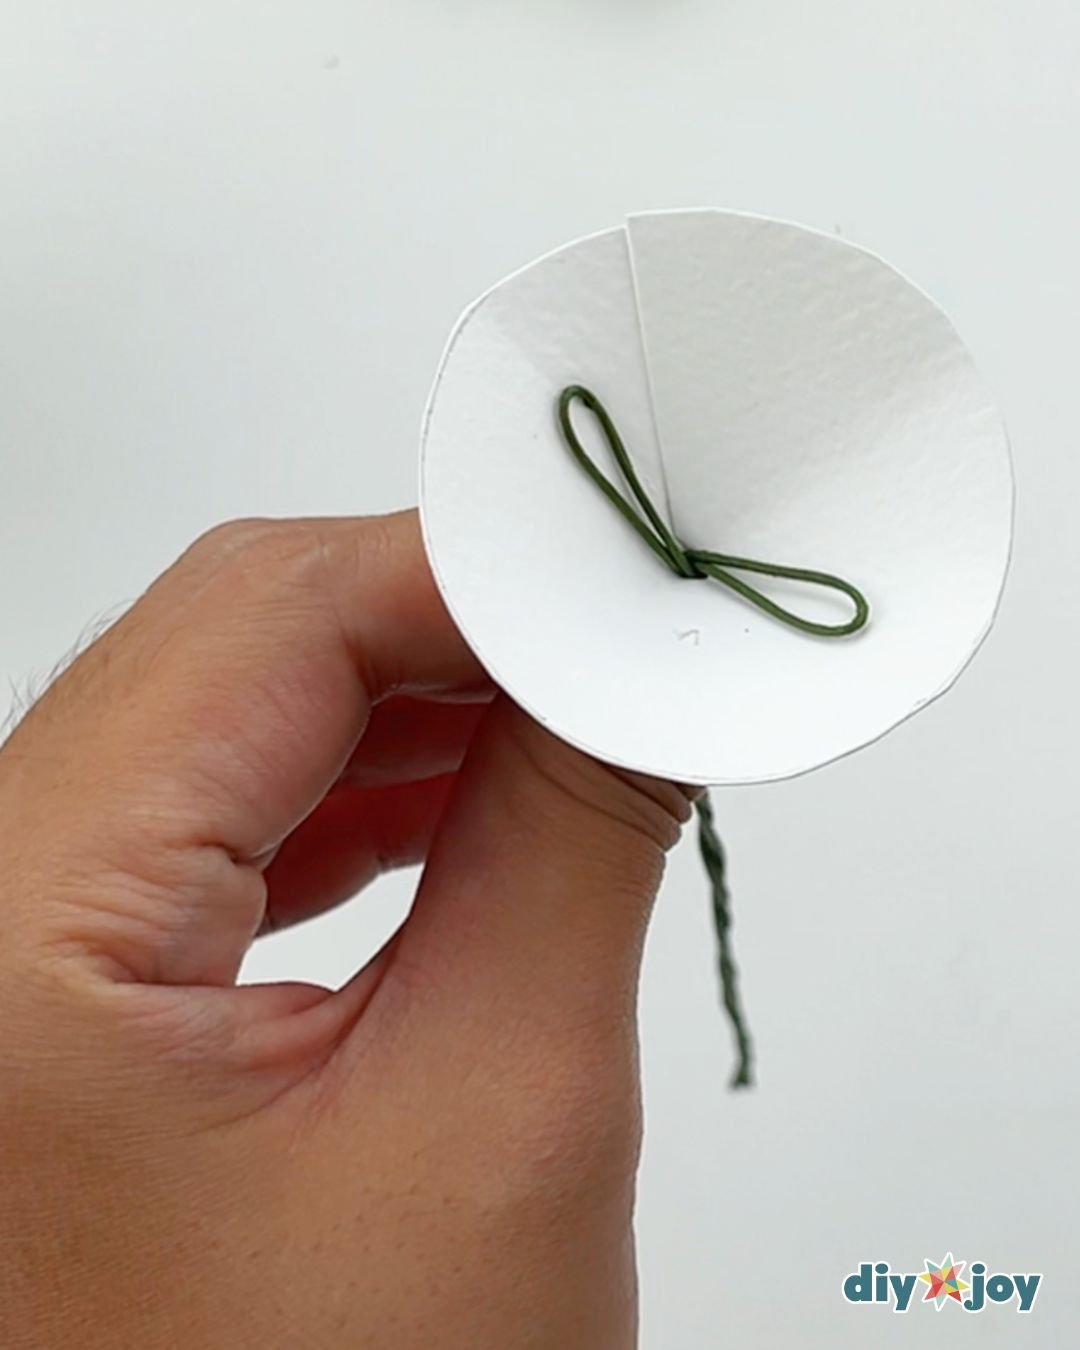
Making a cone shape
Take the circle and slide the wire to it’s center. Glue the opening of the circle together to form a cone shape.
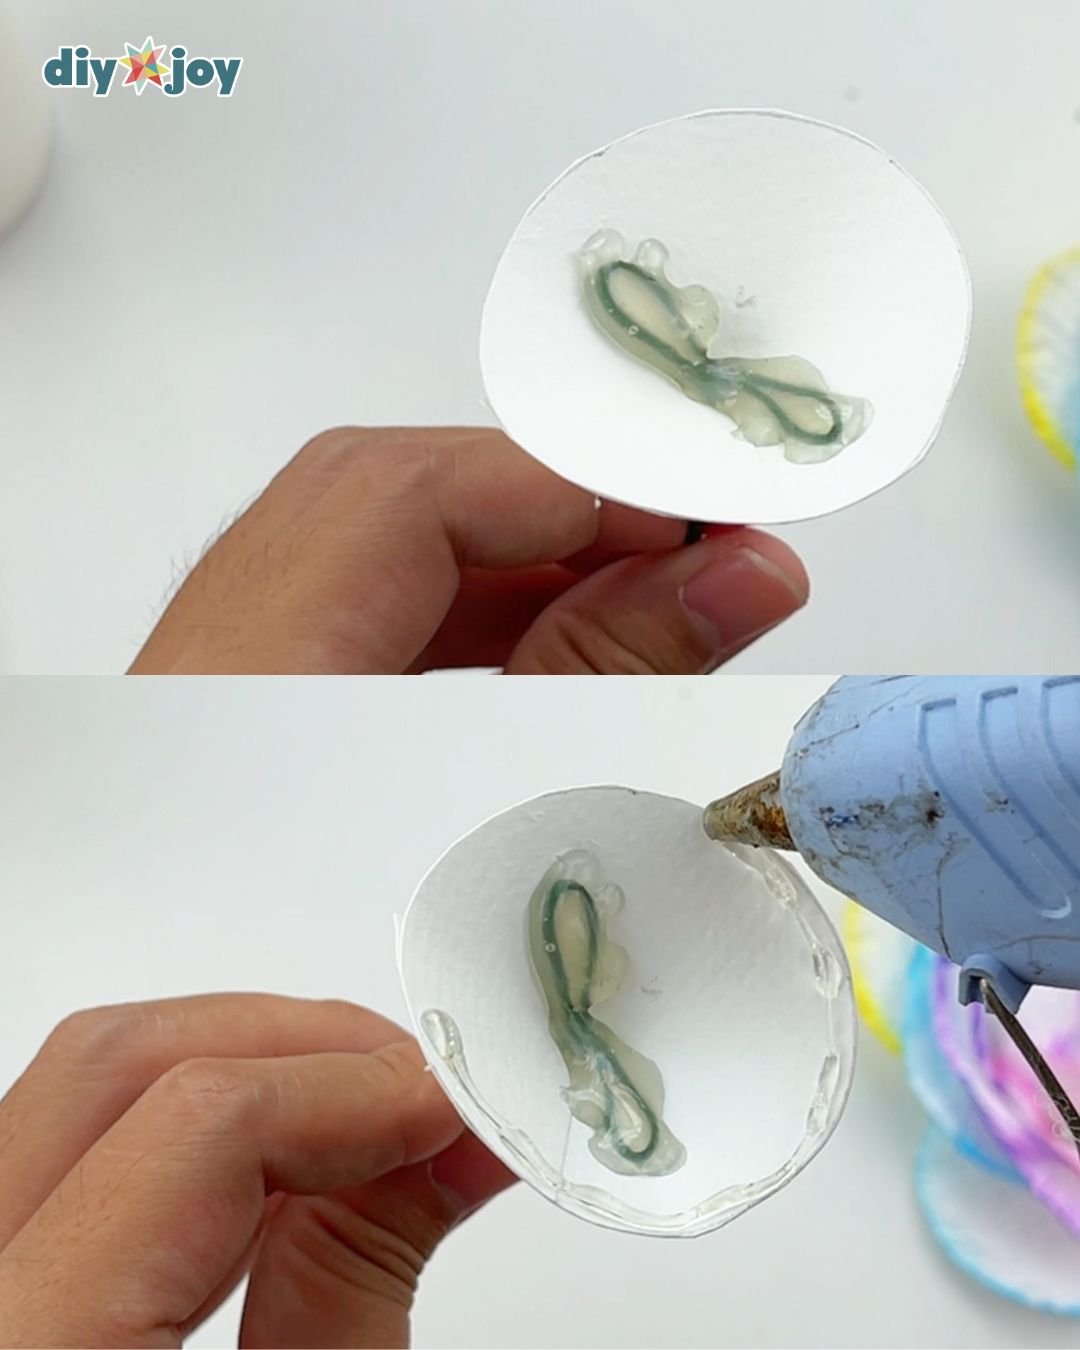
Applying glue
Apply a generous amount of glue to the wire, then let it dry. Once it’s dry, apply glue to the edge of the circle.
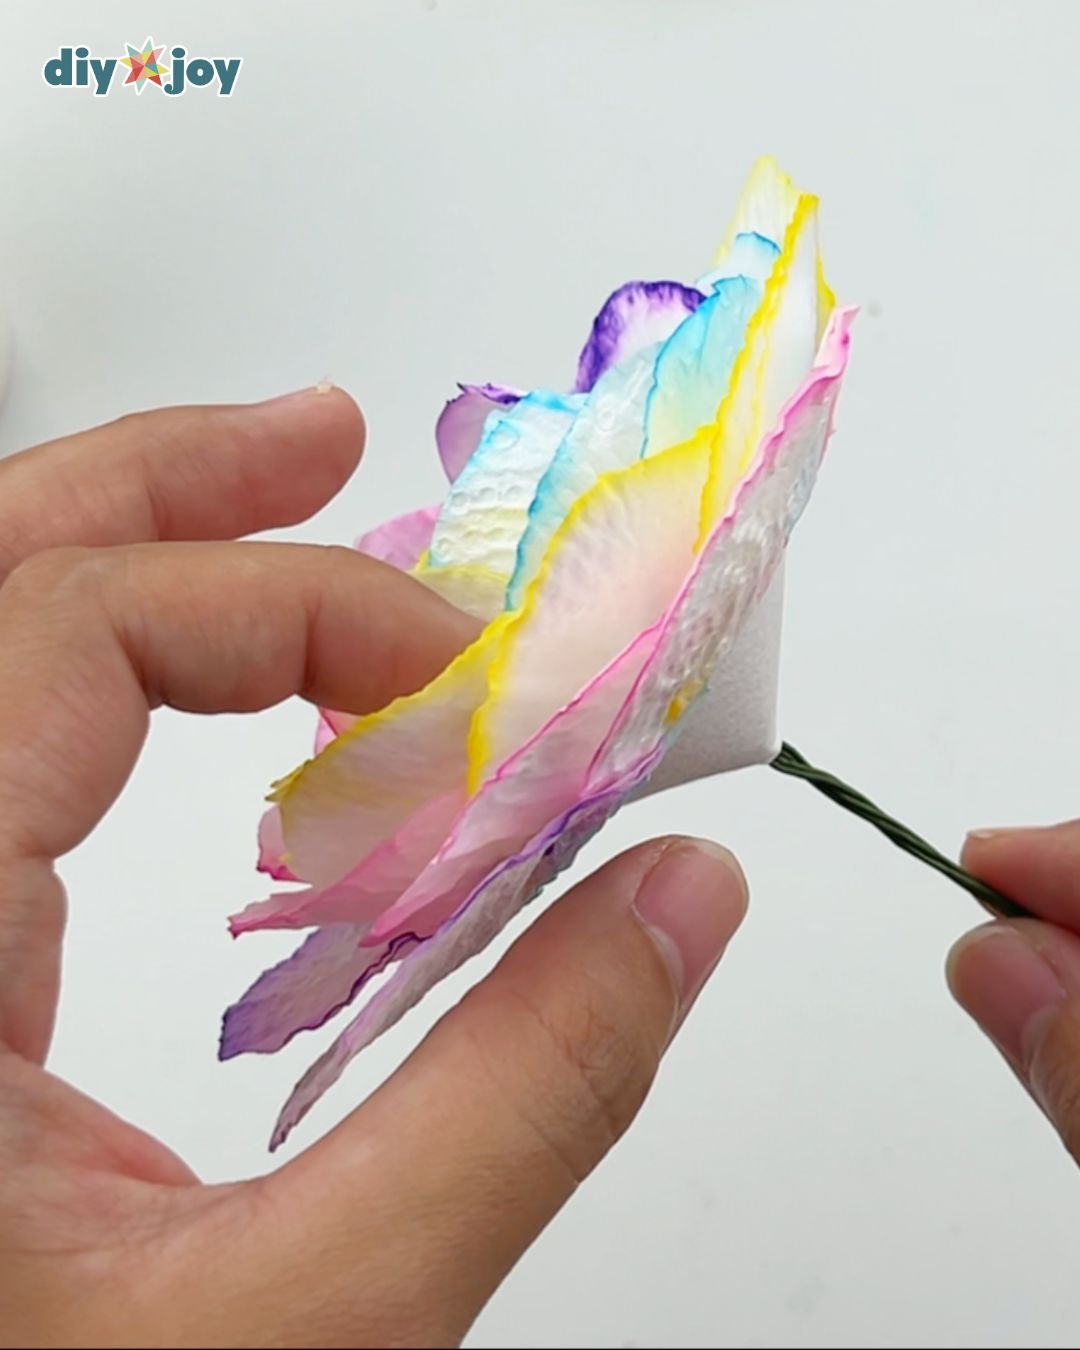
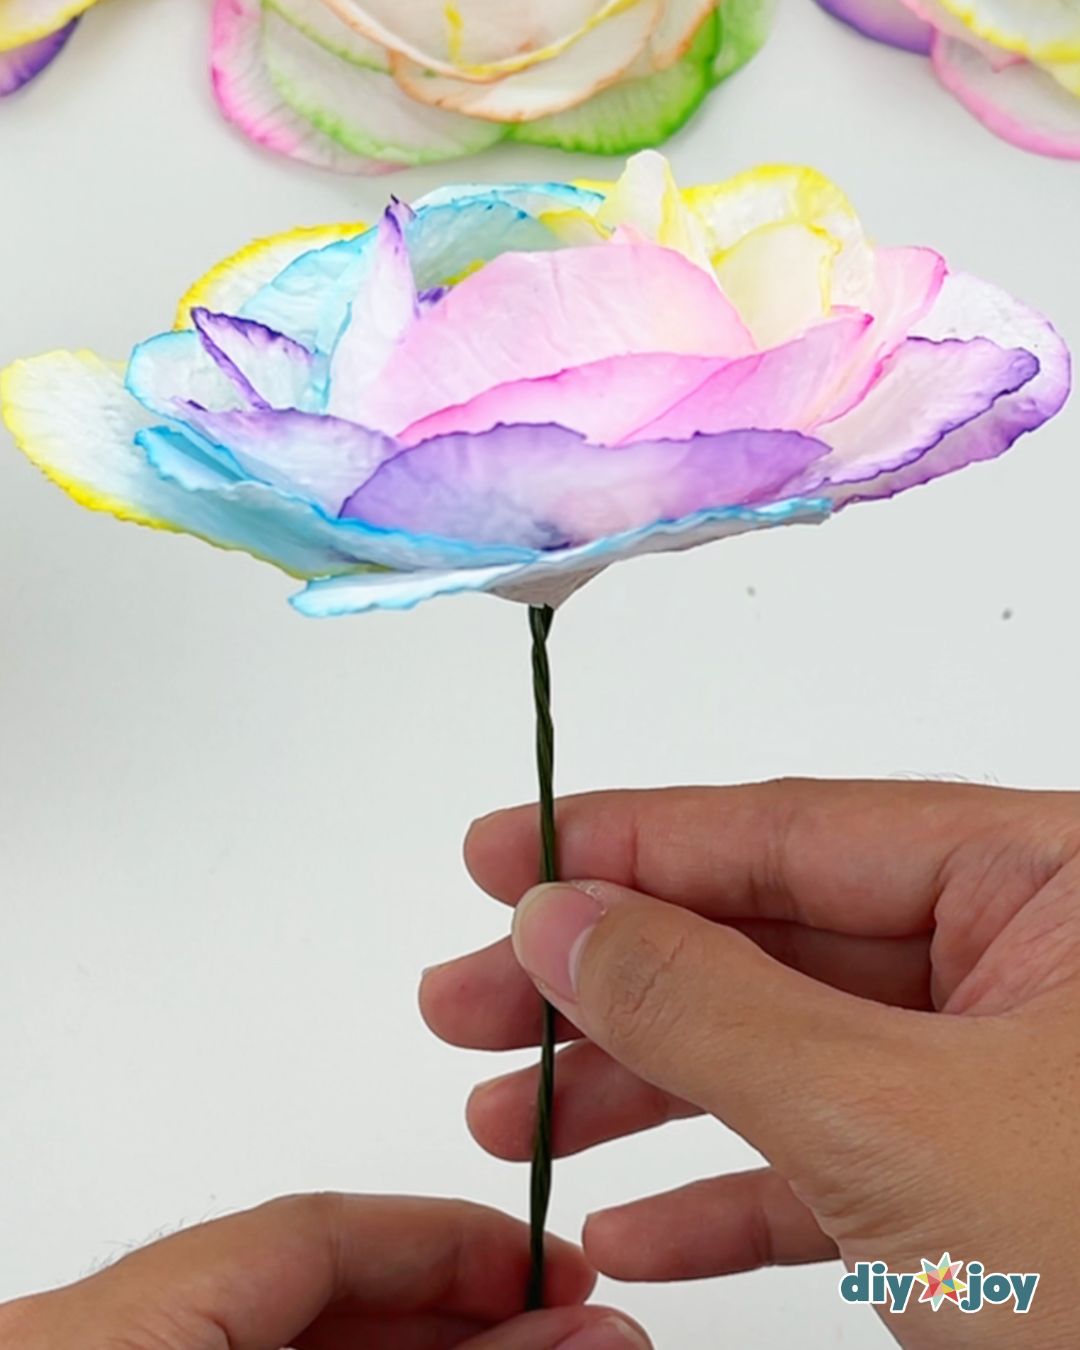
Attaching the flower
Immediately attach the base of the flower to the cone shape.
Covering the cone shape
Take the other extra circle and cut it the same way you did the cardboard circle, then glue it onto the cone shape.
Adding leaves (optional)
Make some leaves with crepe paper and glue them to the stem.


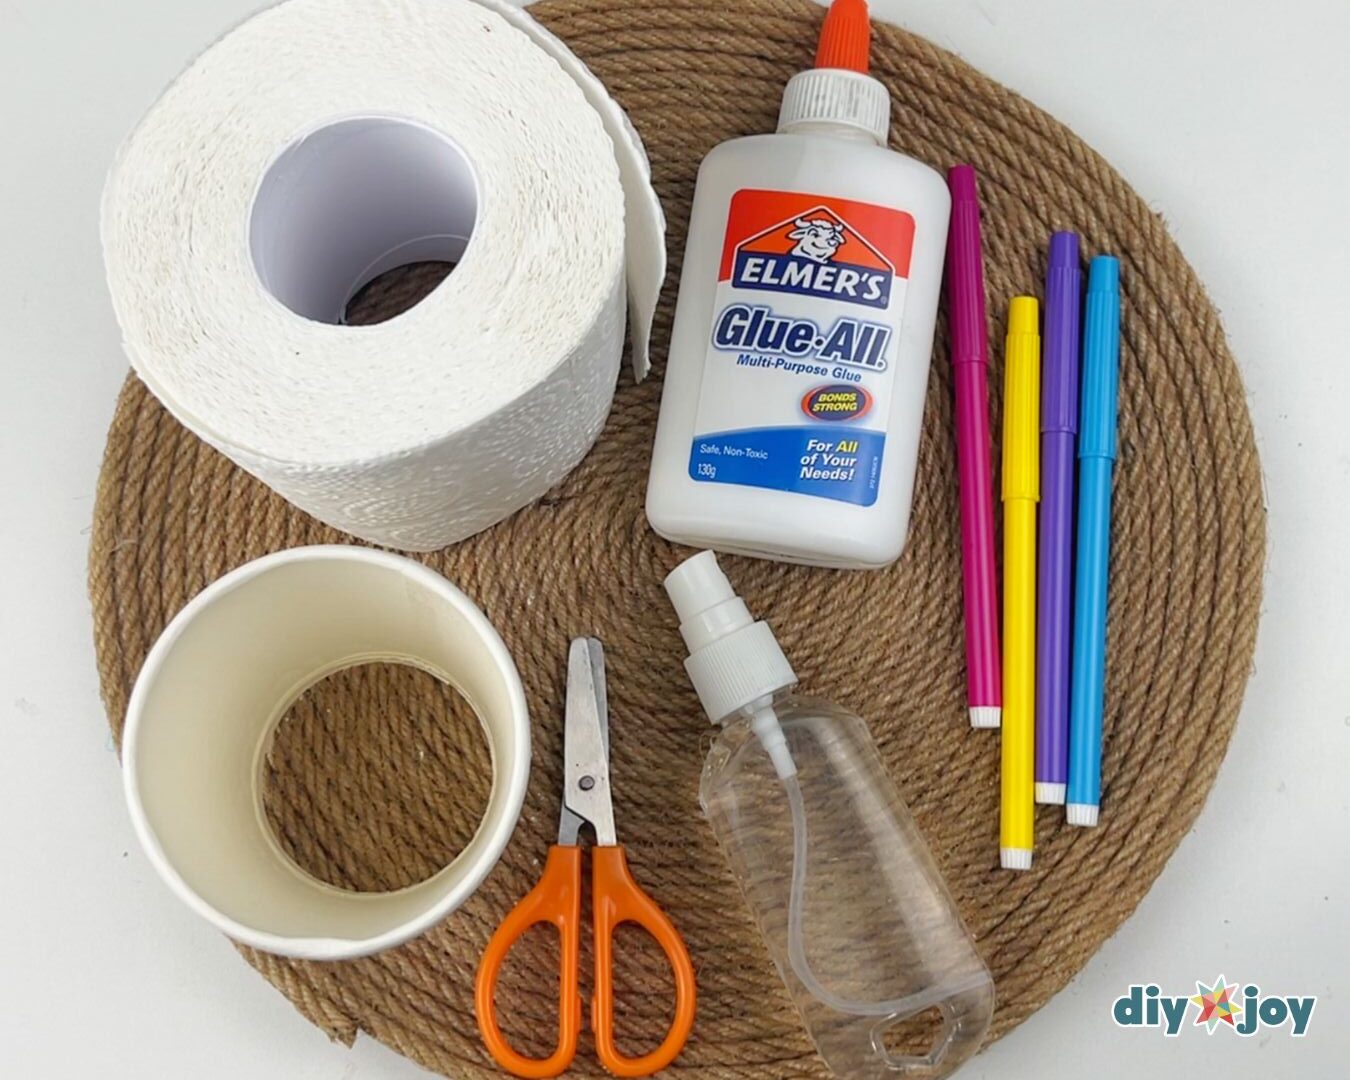
Tools
- glue gun
- scissors
Materials
- toilet paper
- glue
- glue stick
- water based markers
- spray bottle
- cardboard
- floral wire
- small paper cup
![]()
Crafting Tip
Make sure that the circles are completely dry. Make them as flat as you can.
Don’t be afraid to explore different colors. Have fun and get creative!
Creative Ideas and Variation
- Table decor. Place it in a clear box and add decorations to the sides.
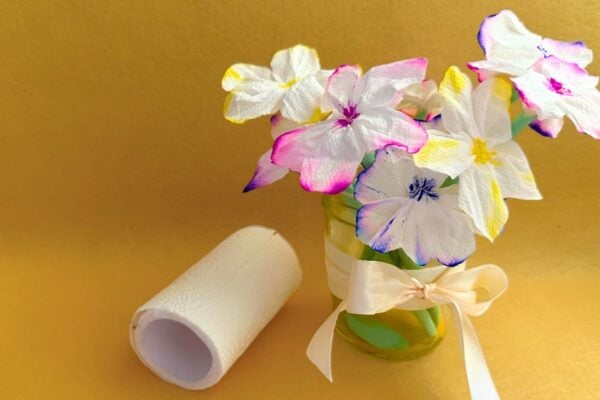
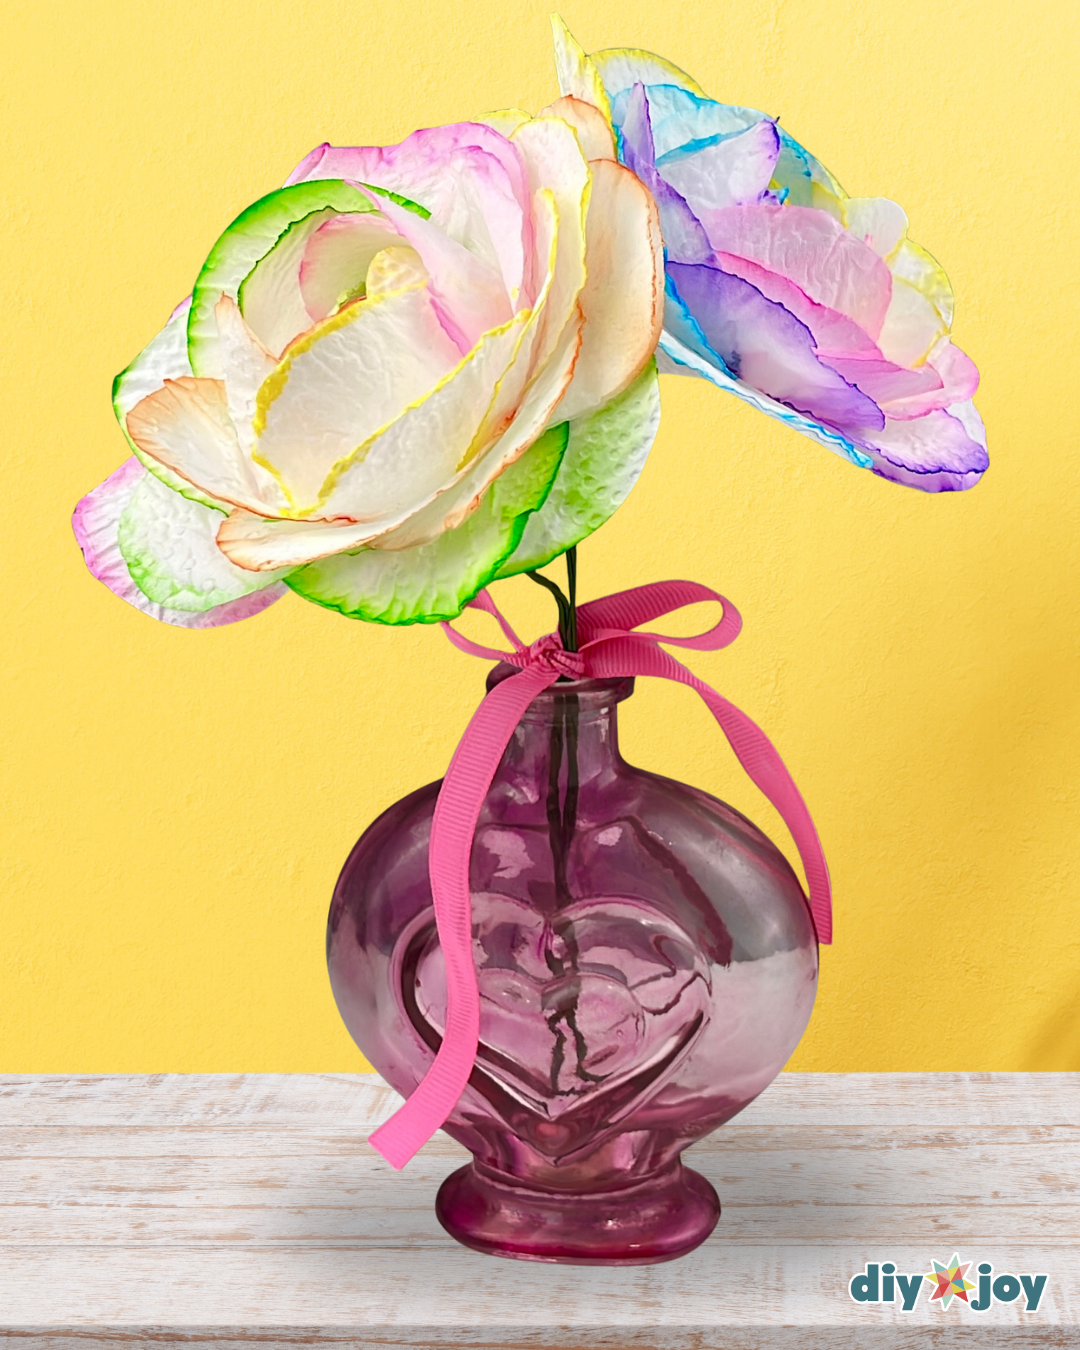
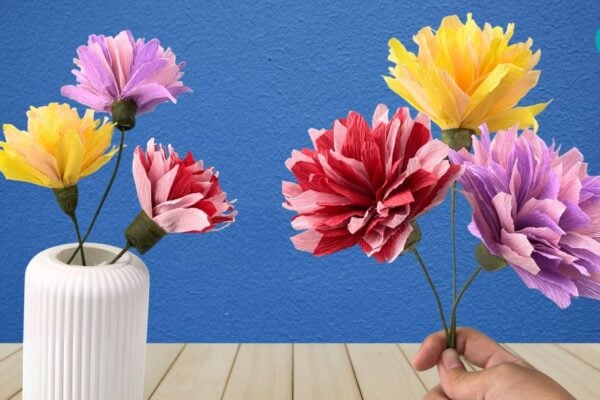
- Floral arrangement. Make flowers in different colors and sizes and place them on a vase for a beautiful floral arrangement.
- Flower wreath. Make several pieces and glue them on a wreath for a home decor.
More Paper Flower Crafts
Paper Flowers
Paper Flowers
Paper Flowers
Toilet Paper Flower Tutorial | YouTube Video