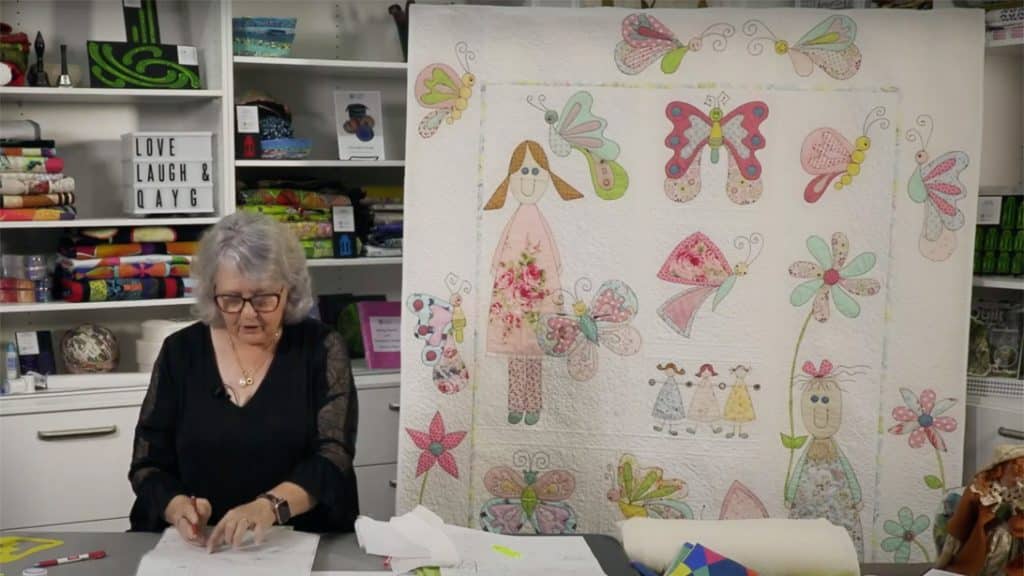
Butterflies are a great practice tool for quilting patterns. Here, Pauline Rogers from Pauline’s Quilters World shares her original butterfly kissed quilt that is great for beginners to practice and quilt on.
Materials:
- Background fabric
- Batting fabric
- 2-inch sacher tool
- 1/2- inch sacher tool
- Roxanne glue bastion
- Mesh transfer mat
- Fabric marking pencil
- Eraser
- 2b lead pencil
- 12 ½ inch ruler
- Cloth iron
- Rotary cutter
Directions:
Prepare all the needed materials.

Decide on the size of the quilt you want to make.
Measure and cut out the background and batting fabric. The unique part of this quilt-as-you-go project is that we first start quilting the background and batting fabric block. Hence, prep and sew to attach.
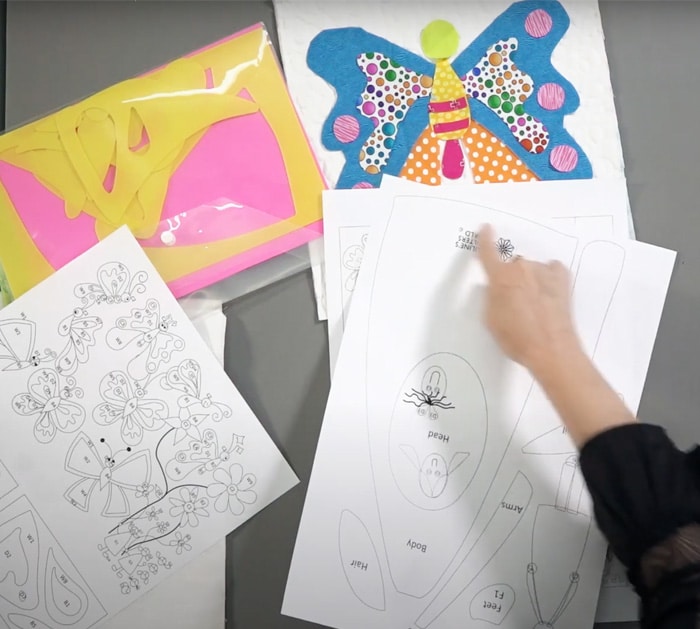
Prepare the pattern, which can be purchased at: www.pqw.com.au/product/bkqp.
Layout the different parts of the butterfly template reference sheet. Neatly iron out the three layers of block fabric, the background, batting, and front fabrics. Quilt as you go. Using a fabric marking pencil, trace out the different butterfly template parts on your chosen fabrics. Then, cut them out using a rotary cutter.
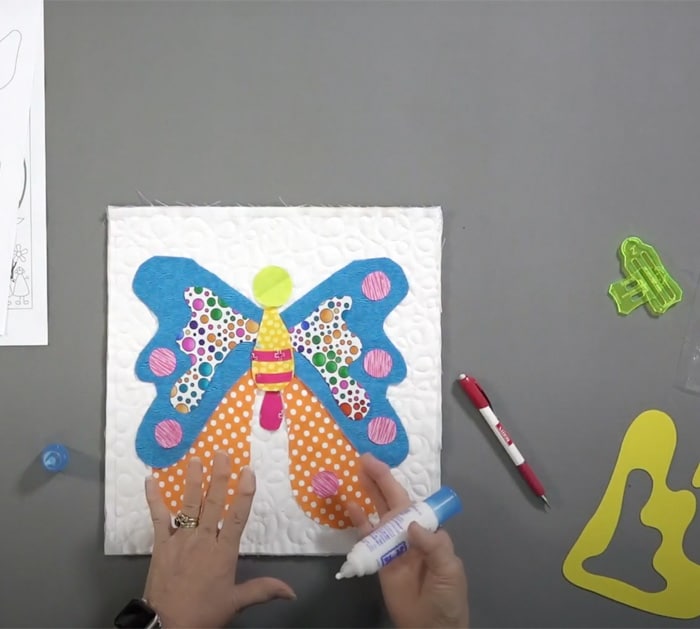
Once all the fabric pieces are ready, layer them out on the front fabric and glue them in place. When the pieces are glued in place, stitch them in place.
For the sashing strip, measure and cut out the strip. Then, fold both ends to meet in the center, iron, and feed it through the sacher tools. Put the pin in place and iron out the rest of the strip.
Next, cut out a batting strip the size of the center of the sashing strip. Insert the batting into the sashing strip, iron, and stitch.

The sashing strip will be the connecting point between the butterfly quilt and the rest of the quilt.


