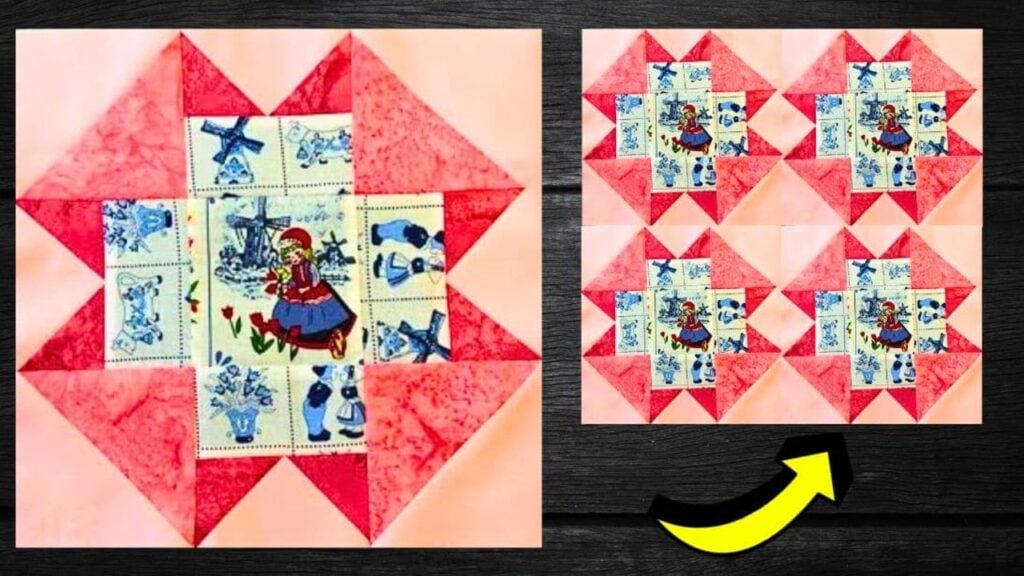
This easy quilt block is the perfect project for beginners to practice their skills on, it’s a very simple and neat block that you can finish in just a few minutes. This lovely block is made out of only 2 colors, so it’s perfect for those who prefer a minimalist approach to quilts, but what’s even better is that this quilt block requires no pattern at all!
RELATED: How to Make a Quilt with 5 Squares
Just watch this video tutorial by The Quilted Kitchen on YouTube to learn how to make this quilt block easily even if you’re a beginner. This quilt block is probably one of my favorites and I can never get tired of making this block and incorporating it into my quilt projects. I’ve already tried this a couple of times changing the colors and themes each time to fit the occasion or season, and they also turn out lovely!
Materials for Folded Corners Quilt Block:
- Background fabric
- Solid color fabric, for the folded corners
- Low-volume print fabric, for the center triangles
- Low-volume print fabric, for the center block
- Marking pen, pencil, or chalk
- Ruler
- Scissors or rotary cutter and a cutting mat
- Needle and thread
- Iron, for pressing
- Sewing machine
How to Make Folded Corners Quilt Block:
Step 1
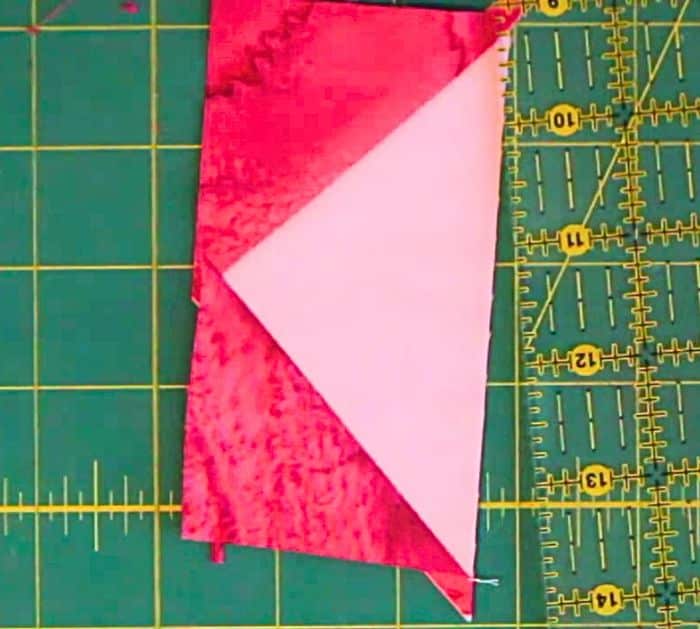
Cut the fabrics to size as instructed in the video, then get a background triangle and a print triangle, and lay them together with their right sides facing. Stitch them with ¼ inch seam allowance, then press it open, and cut off the nubs. Proceed to piece together the remaining fabric triangles for the half-square triangle.
Step 2
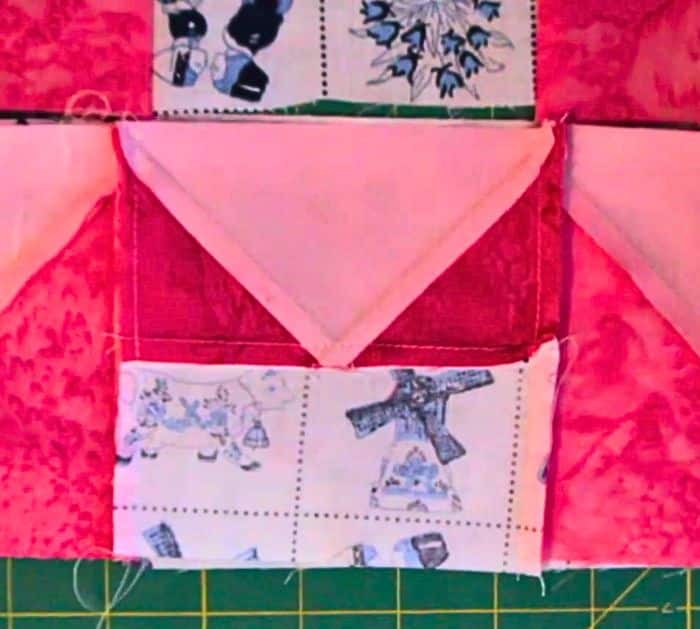
Now for the flying geese, get a background triangle and 2 print triangles, then lay the print triangles on top of the background with their right sides facing and edges matching, and stitch them along the sides with ¼ inch seam allowance.
[social_warfare]
Step 3
Press their seams open, then cut off the nubs, and stitch the remaining flying geese pieces. Lay the large square at the center, then place the low-volume print rectangles on all sides of the square, and place the flying-geese units on each side of the rectangles.
Step 4
Finally, fill the empty corners with the half-square triangles, then make sure all of the print fabrics are facing toward the center and the background fabric outward. Start stitching them per row, then the rows to each other, and press the seams as you go.
*All these images are credited to The Quilted Kitchen via YouTube. Give her channel a visit and subscribe for more!
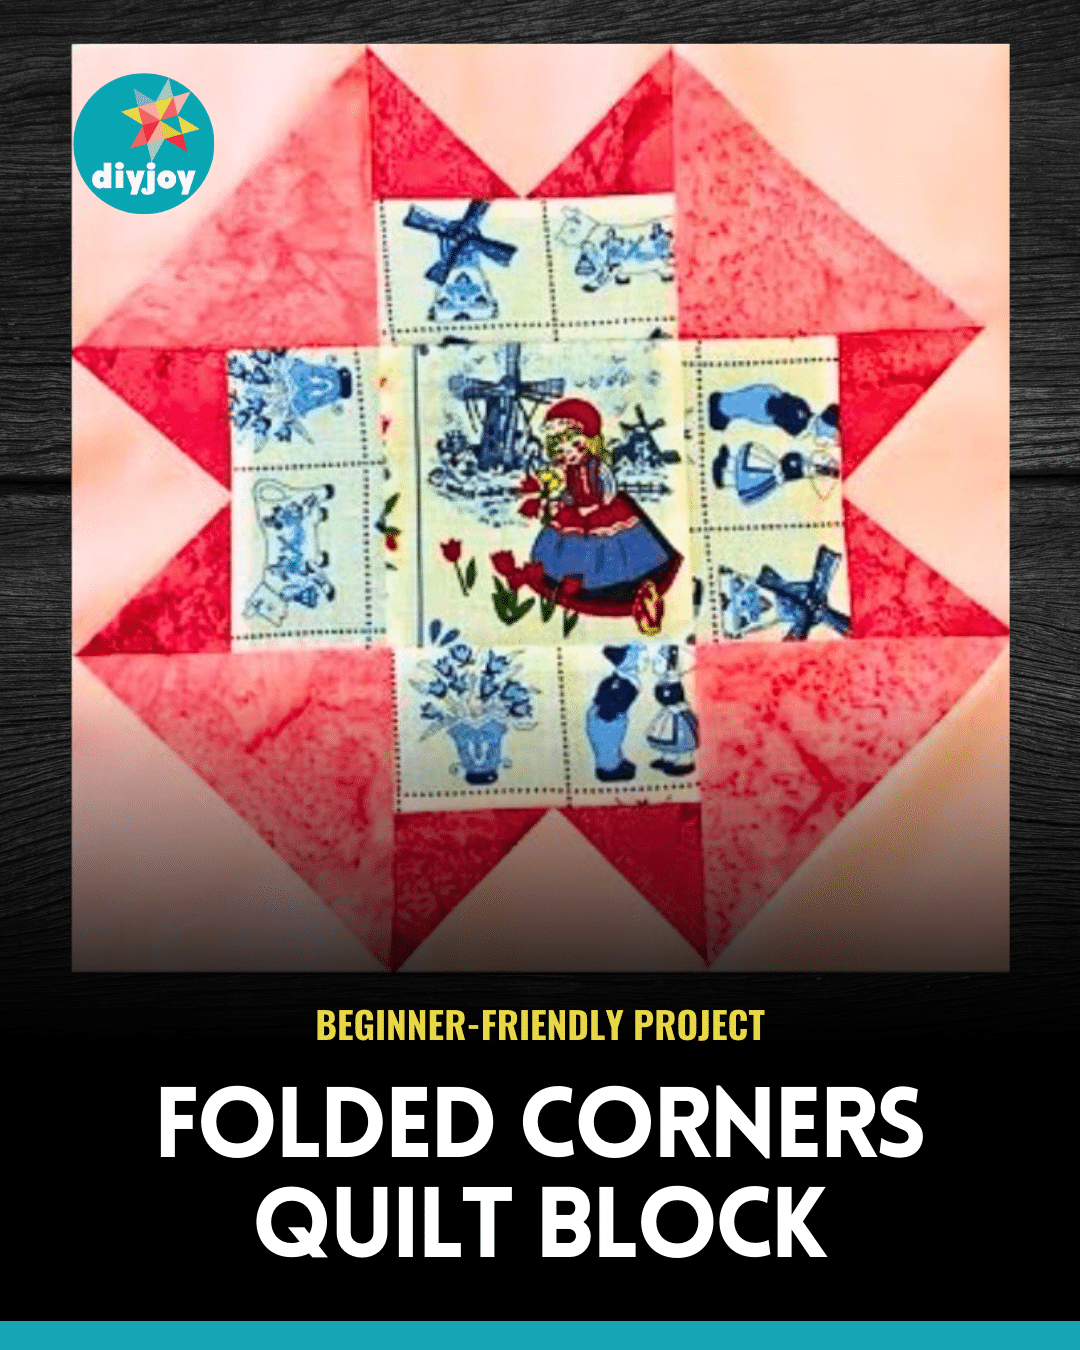
Beginner-Friendly Folded Corners Quilt Block Tutorial


