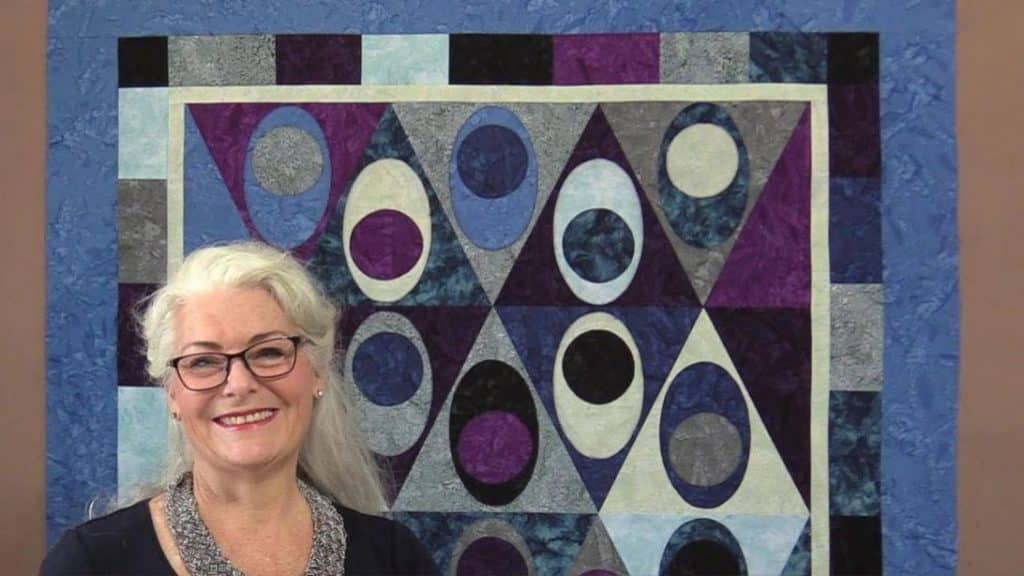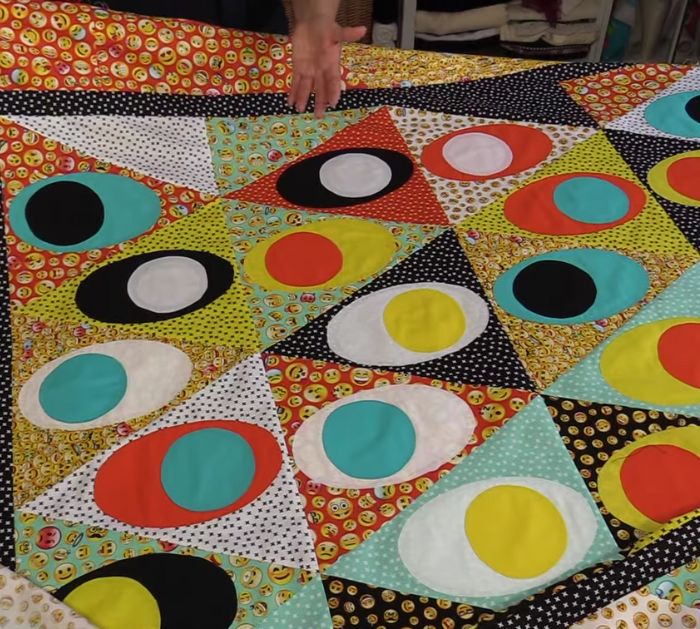
This fun quilting project by SewVeryEasy on YouTube is so fun and easy to make. The finished product looks absolutely pretty and impressive! No one will think that it only took a few simple steps to finish this quilt because it looks super detailed and complicated at first glance.
Materials:
- 10 different color of strips
- iron on adhesive fusible paper
- Scissors or rotary cutter and a cutting mat
- Marking pen
- Needle and thread
- Sewing machine
- Pattern (click the link or click here to download and print the pattern)
Directions:
Step 1
Divide the fabrics into 2 piles with 5 fabrics each, and lay one stack of fabric with their right side facing up, then the other facing down. Next, trace the triangles on top of each stack according to the pattern, then cut them together, and arrange the stack of triangles so that they are all facing up. Use the leftover strips to create the eggs and the yolks, then lay one stack right side facing up, and the other stack facing down. Trace the egg patterns on the adhesive paper, then cut them out, place the cutout egg patterns on top of the leftover fabric, press to fuse then cut out. Repeat this process to the rest of the fabric.

[social_warfare]
Step 2
Place the yolk on top of the egg making sure to remove the paper at the back to expose the glue side, then fuse each egg on a triangle fabric, and topstitch all of them together. Sew the eggs and triangles together in a row of 5, then place the half triangles on each side of the row to even it out and form a rectangle. Now, match up the rectangle rows, then sew them together, and add the borders around the whole quilt. Refer to the linked pattern guide for more detailed border instructions.

*All image credit belongs to SewVeryEasy via YouTube. Follow and subscribe to her channel for more!


