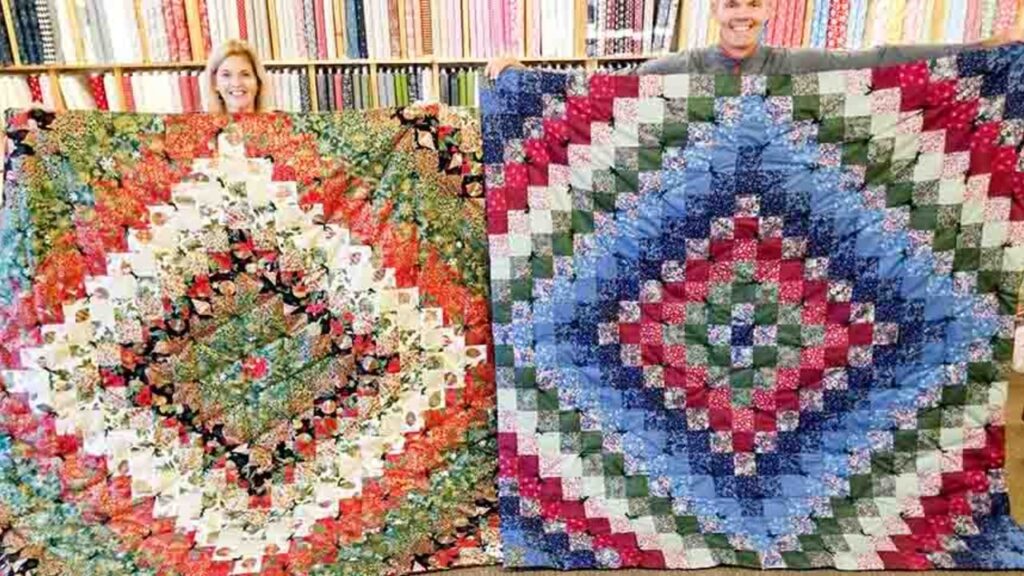
Are you looking for your next big quilting project? Then I’m sure you will love this “trip around the world” quilt from Jordan Fabrics on Youtube. When I say big, it really is big, and you will absolutely love the pattern and the result of this quilt project. So if you want to practice your skills or you just want to quilt a big project, start watching the video tutorial below to learn the step-by-step process.
Materials:
- 13 pcs. colorful fabrics (up to you how many you want to use)
- scissors
- ruler
- rotary cutter
- Needle
- Acrylic yarn
- batting
- backing fabric
Directions:
Step 1
Cut 2/3 ” yard for each print you would use. (Make sure to cut everything exactly the same.) Next, lay down three fabrics and cut everything into 4″ squares. Do this to the rest of the fabrics. After this, stack each fabric into its own stack and arrange them in a circular shape. Now, pick the first two pieces, sew them on one side, right sides facing each other, and leave them right into the machine. Grab a new one from the stack and the previous one and pair them up. Repeat this process and keep working your way around until you’ve sewn 11 pairs of squares. Next, go back to the beginning to add the third block to the row. To figure out which one to use, just observe what fabric squares were on top and then pick out the fabric next to them. Continue picking up in a counter-clockwise direction each time. For the next row, just continue picking up the fabric square in a counter-clockwise direction. (You should be able to see the diagonal lines or the pattern by the time you are in your 4th row.) Sew until you reach 11 rows with 11 in each row.

[social_warfare]
Step 2
Now, you’re going to sew the rows together. Take the first row and finger press all the seams to the right, then on the next row down, finger all the seams to the left. That way, when you stitch the rows together, they will be laying in opposite direction. After this step, you’ve now finished 1/4 of the entire quilt. Make three more that look exactly like the quilt you’ve just made. After you finished the other three, lay them down to determine the right placement. Next, to do a filling row, make a space between each of the laid-down quilts and find where the pieces come together. After connecting, pick up the fabric squares in order and sew them together. (You will have to do 4 filling rows.) After this, just sew the entire quilt together and then put 1 block in the center. (Up to you what color you like.)
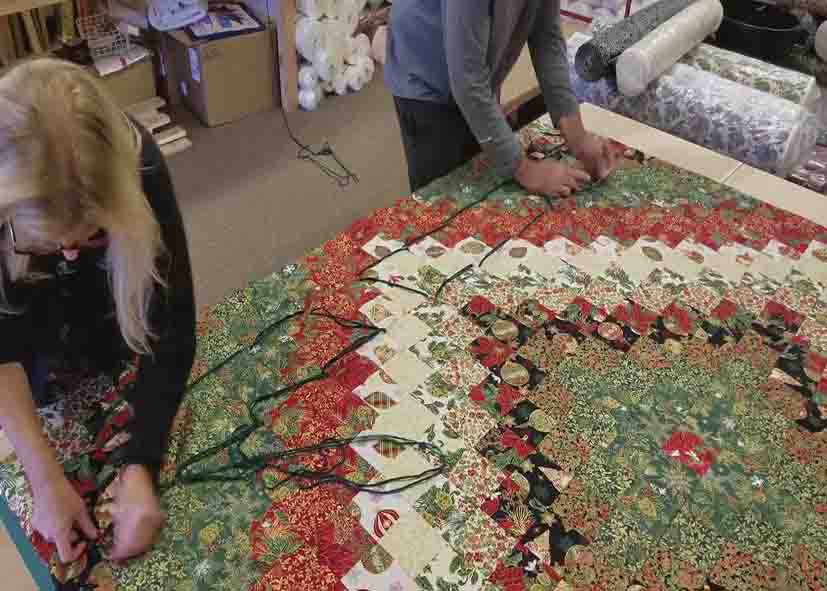
Step 3
Put the quilt (right side down) on top of the backing (right side up), and pin around three sides of the quilt. Sew around these three sides. Now, put the quilt which is front to back on top of the batting, then trim off the excess backing and batting. Whipstitch the batting to the quilt through the seam allowance all the way around through the three sides. After this, flip the quilt right side out. Get your needle and acrylic yarn and start hand tying the quilt. Put your ties in every other intersection. Go about 1/4″ from the intersection, hit the table, and go back up. Keep putting in stitches until your thread runs out (you can just keep it in one long string.) After this, clip the yarn and begin tying the quilt. Trim the yarns to about 1″, take fray check one drop on it on the knot and that will keep it from coming untied.
How To Make A “Trip Around The World” Quilt


