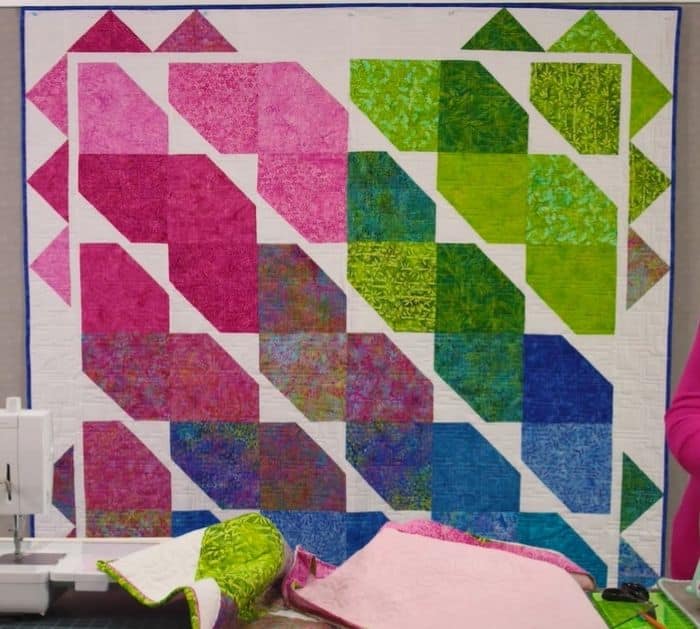
This is probably one of the easiest patterns you can make at home. If you are a beginner in quilting, this is for you! I am sure you’ll finish this project quickly as the steps are very clear. Let Missouri Star teach you how to make this beautiful trailing squares quilt through the video below.
Materials:
- 1 pack of 10″squares
- 1 3/4 yard for background
- 4 3/4 yards for backing
- 3/4 yard for binding
[social_warfare buttons=”facebook,pinterest,twitter,whatsapp”]
Instructions:
Step 1:
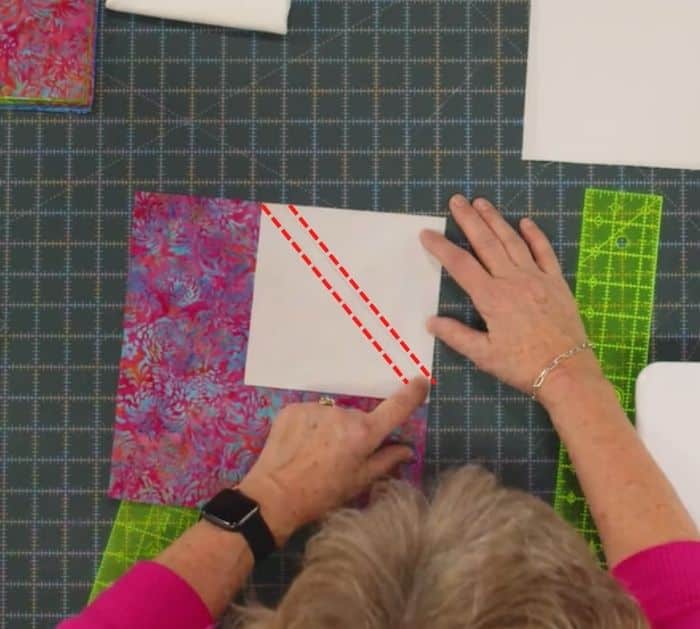
Take your background fabric and cut it into 6-inch strips. Sub-cut into 6-inch squares. Get one, and draw a line from corner to corner. Move the ruler half an inch to the right side and draw another line. Do it for all of the squares.
Step 2:
Get one of the background squares, and place it on the corner of a 10″ square. Make sure the second line is on the outside part. Sew on the lines. Cut between the two lines. Press the bigger square open. Trim the smaller one into 5 inches and press it open. Repeat 41 more times to make a total of 42.

Step 3:
Sew the 5″ half-square triangles into pairs to make a bigger triangle. These are for the outer border. You need two triangles for the top and three on the sides – same on the bottom. The space between the triangles on the side is 5″ by 15″ and 5″ by 23 1/2″ across the top.
Step 4:
You need 6 of the blocks for each row. When you put them together, the small triangle of the first block should be at the top right corner – for the second block, it should be at the bottom left corner. Repeat with the remaining 4 for the first row. For the next row, alternate it. Do it for the next rows to make the whole quilt. Sew the rows together. For the inner border, you need 1 1/2″ strips of background fabric. After that, sew the outer border.


