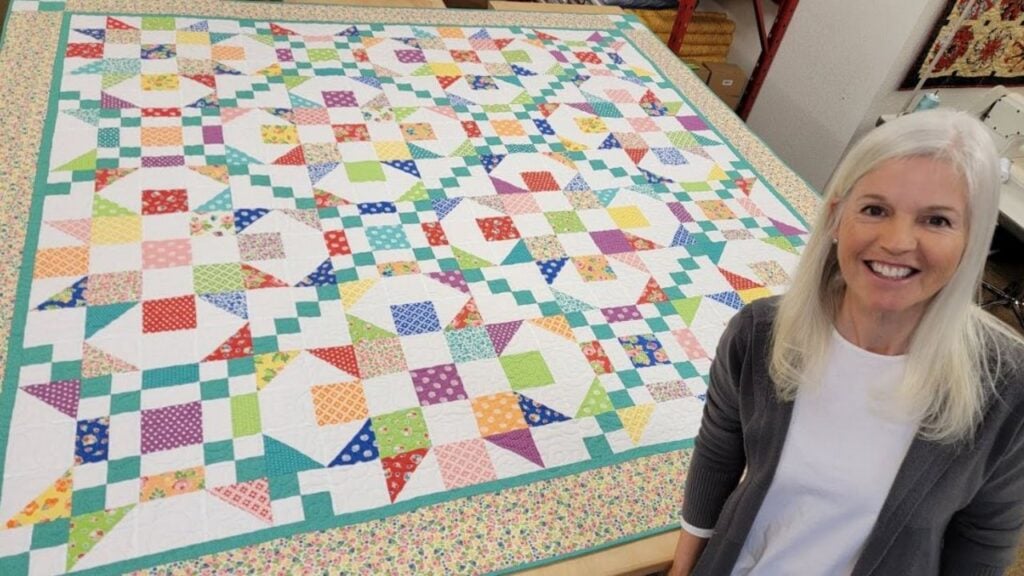
This fun and colorful quilt by Jordan Fabrics on YouTube is the best project to use your favorite layer cake or charm squares with! I enjoyed this quilt and every step that it took to piece it together, and making this has been one of the best highlights of my week. I would probably try this again with new sets of fabric and give it as a gift. You should try this, too, I’m sure you’ll enjoy it as much as I did.
Materials:
- Layer cake or charm squares
- Accent fabric
- Solid white background fabric
- Ruler
- Marking pen, pencil, or chalk
- Scissors or rotary cutter and a cutting mat
- Needle and thread
- Iron, for pressing
- Sewing machine
- Pattern (Click here to download the pattern)
Directions:
Step 1
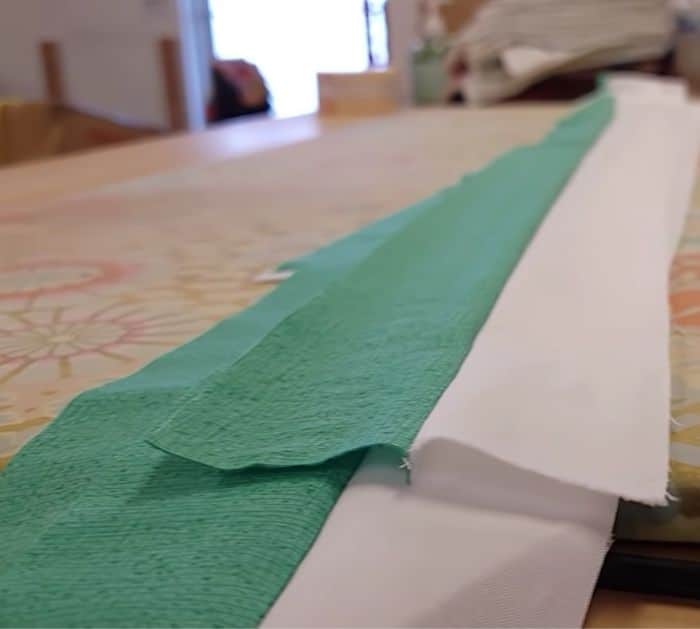
Cut to size, then take the biggest print and background squares, and draw a diagonal line on the wrong side of the background square from corner to corner. Pair 1 printed square and 1 background square layering them with their right sides together and edges matching, then stitch on each side of the marked line with a ¼ inch seam allowance and cut along the line, and then press them open with the seam going toward the darker fabric. Trim the fabric unit to size, then proceed to piece together the rest of the fabric pieces making sure to press them open, and then set them aside. Next, layer 1 accent and 1 background strip together with their right sides facing, and sew them right along the edge, then press it open with the seam going toward the darker fabric, and repeat with the rest of the strips.
[social_warfare]
Step 2
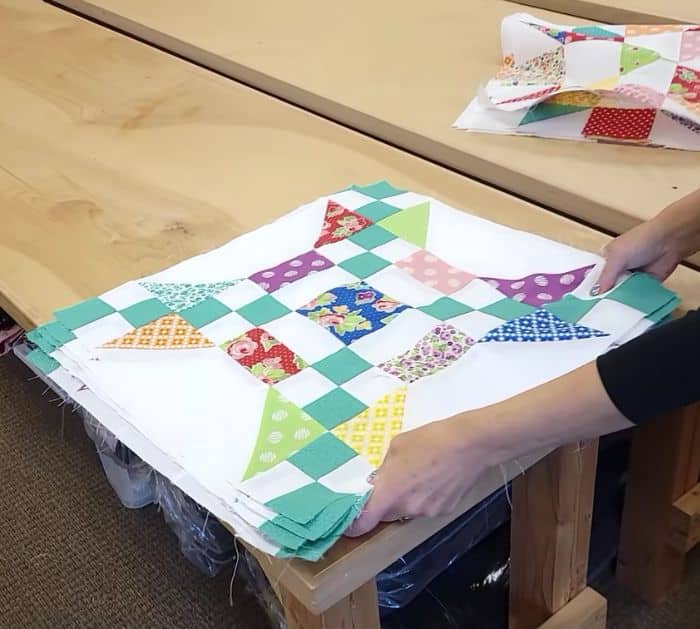
Lay 2 strip units together with their right sides facing and edges matching, then make sure that the accent and background fabric are opposite from each other as shown in the video and start cutting them together to size. Sew each strip unit cut to size and set them aside, then sew together the background and print rectangles along the long side, and press them open. Lay them out into a block as shown in the video, then sew them per row, and then sew the rows together making sure to alternate the seam allowances and press every now and then. Make more blocks using the same steps, then sew them together, and proceed to add the backing, border, and binding. Finish your quilt however you want and you’re done!
*All image credit belongs to Jordan Fabrics via YouTube. Follow and subscribe to her channel for more!
How to Make a Tidal Crossing Quilt


