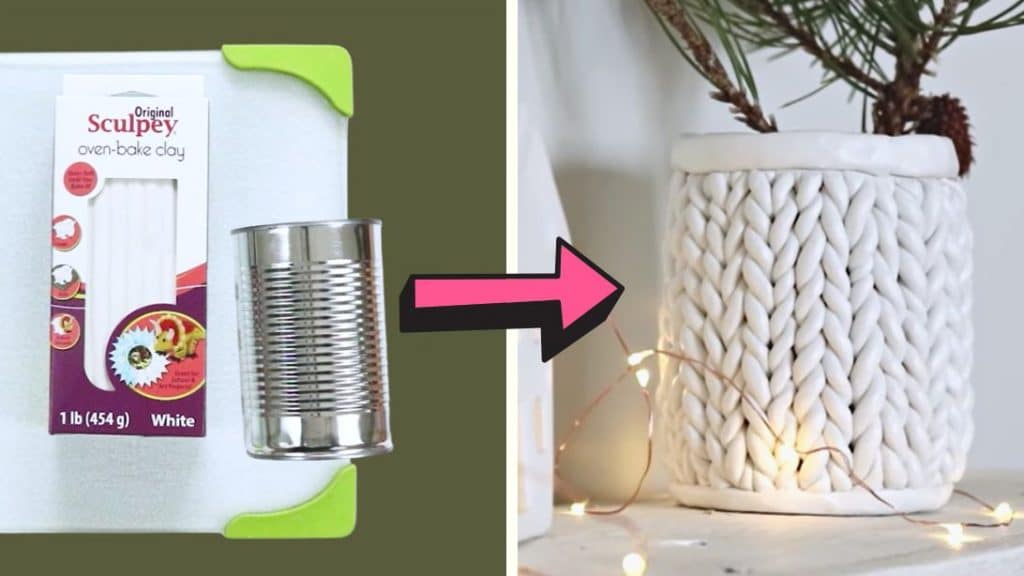
I always try to find ways to repurpose items instead of throwing them in the trash. Last week, I found this tutorial on how to make a chunky knit planter from a tin can by DIY Lily Ardor on Youtube. I was so in love with it that I just had to make one for my home. It turned out so beautiful – it’s minimal and perfect for my space. Watch the video below for full instructions.
Materials:
- polymer clay
- tin can
[social_warfare buttons=”facebook,pinterest,twitter,whatsapp”]
Instructions:
Step 1:
Take a piece of the polymer clay then roll it using your palm. Once done, divide it into equal parts.
Step 2:
Take a piece and roll it with your hands to create and make it even. Do it gently and do not put so much pressure on it while rolling back and forth. You’ll get the best results if you take your time and apply light pressure.
Step 3:
Fold it in half and check if it’s long enough for the surface. Keep in mind it will stretch about one to two inches once you twist it to create your knit effect.
Step 4:
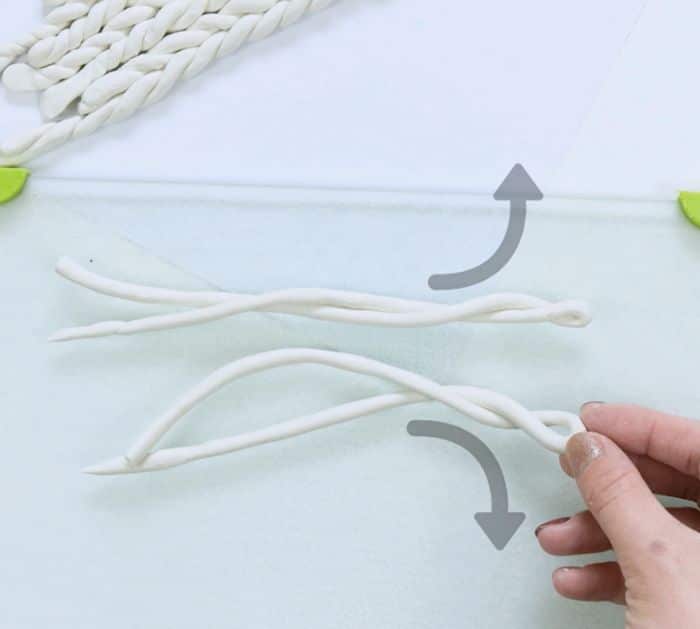
It’s best to work with a set of two clay strands at a time. Simply twist your clay strands in opposite directions. Once you’ve done that, lay them next to each other and lightly secure them by applying pressure. It should look like a clay braid. Keep attaching your braids very lightly.
Step 5:
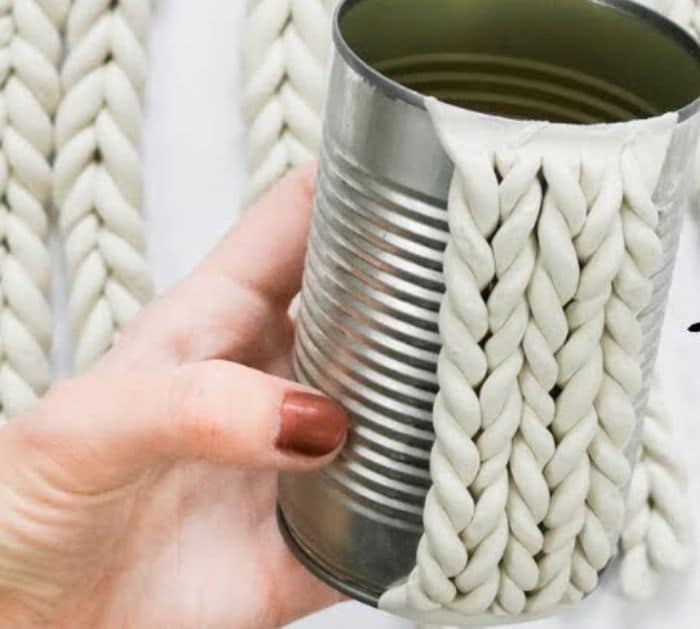
Once you feel you made enough to cover your tin can, take your braids and attach them by simply applying pressure on the top and bottom until the excess clay breaks off. The polymer clay should adhere to the tin can very well. No glue is needed. You can do one braid at a time or work on multiples.
Step 6:
Once you’ve covered the whole surface, roll out an additional strand of clay and add it to the top and bottom to cover squished edges. Lightly apply pressure all around.

