Have you ever had problems preparing your layers for quilting? Worry no more; this tutorial from Wendi Gratz on Youtube will teach you how to properly layer your quilt sandwich. It’s a simple and straightforward tutorial that will have you finishing preparations before the actual quilting in no time. Watch the video tutorial below to learn each step.
Materials:
- your quilt project
- safety pins
- painter’s tape
Directions:
Step 1
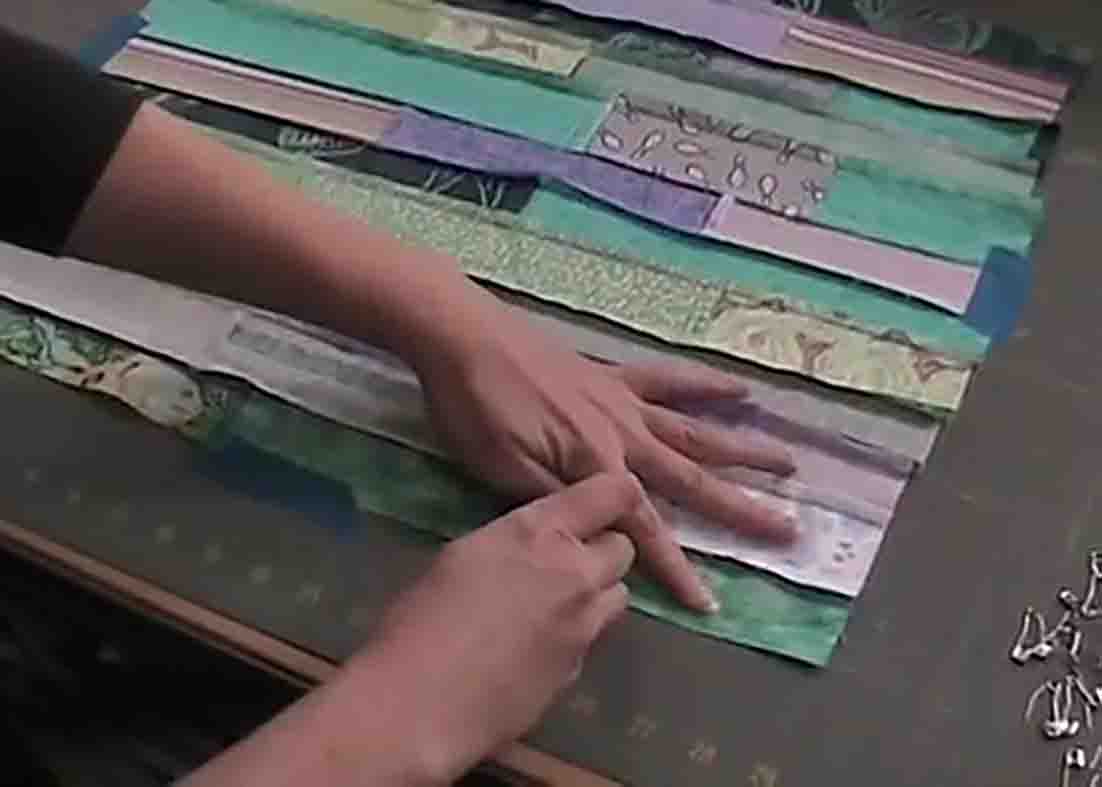
First, lay your backing fabric, face down, on your working space. Secure it in place all the way around with some painter’s tape. After securing your backing, lay the batting on top, smooth it out, and then lay the top. (Make sure your backing and batting are bigger than your top.)
[social_warfare]
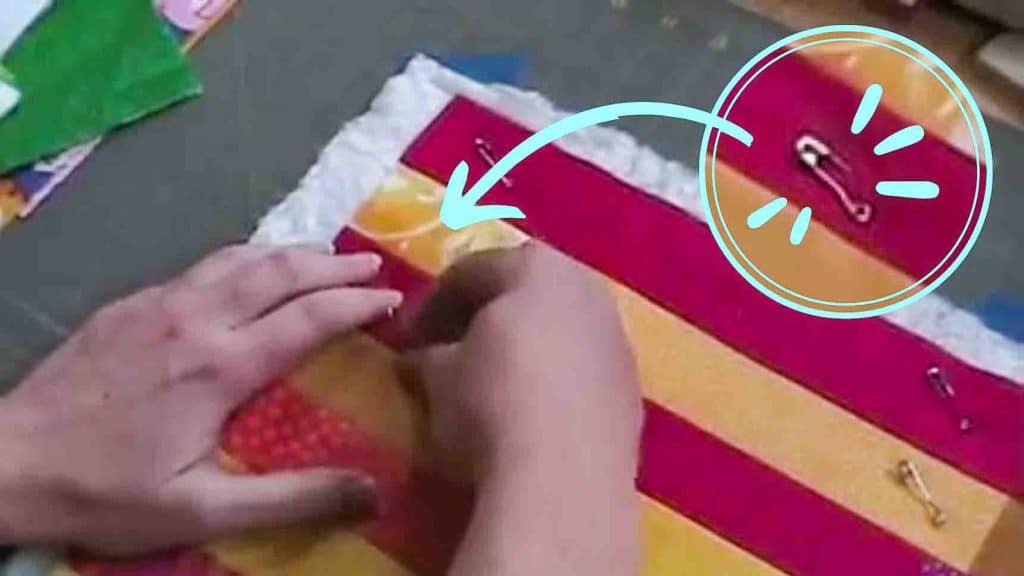
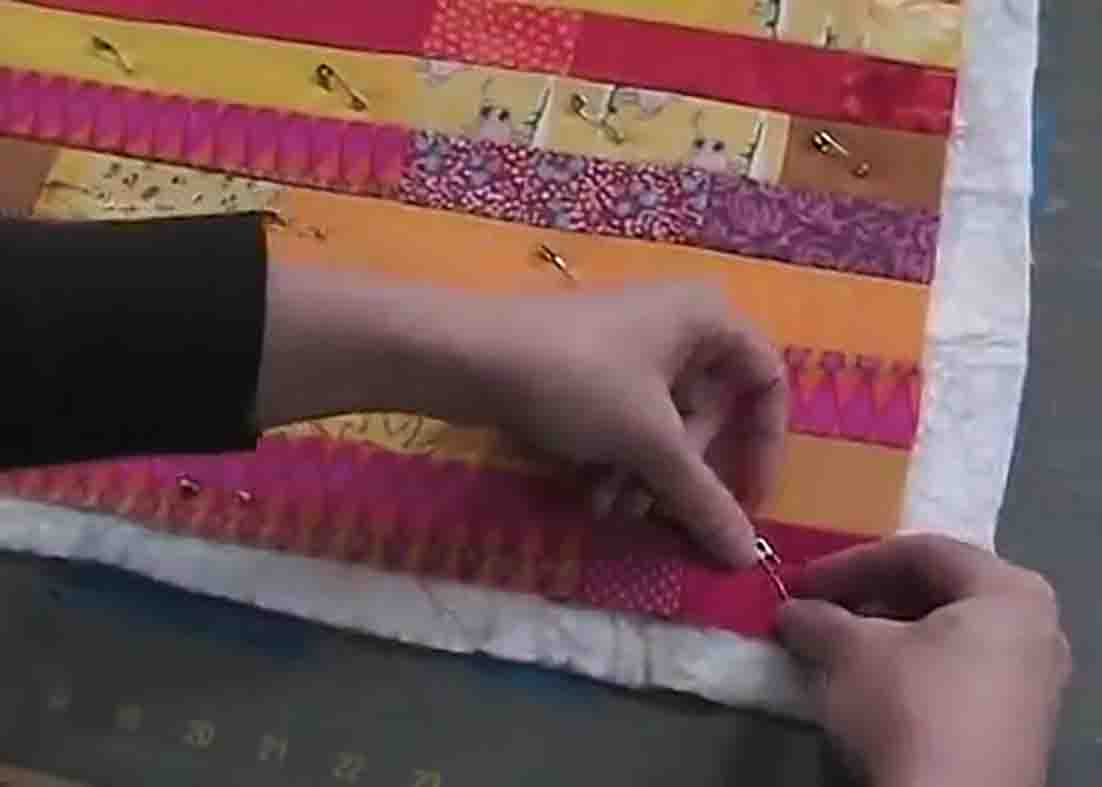
Step 2
Now, using your safety pins, pin down the quilt layers in place, starting in the middle, and working your way out to the edges. While pinning, be very careful not to stretch anything. You can pin more than you need to as long as your project will stay in place so you wouldn’t have any problem when you finally quilt it. After pinning, go ahead and peel out all the tape on the backing fabric. Now, your project is ready for quilting.
How To Layer A Quilt Sandwich


