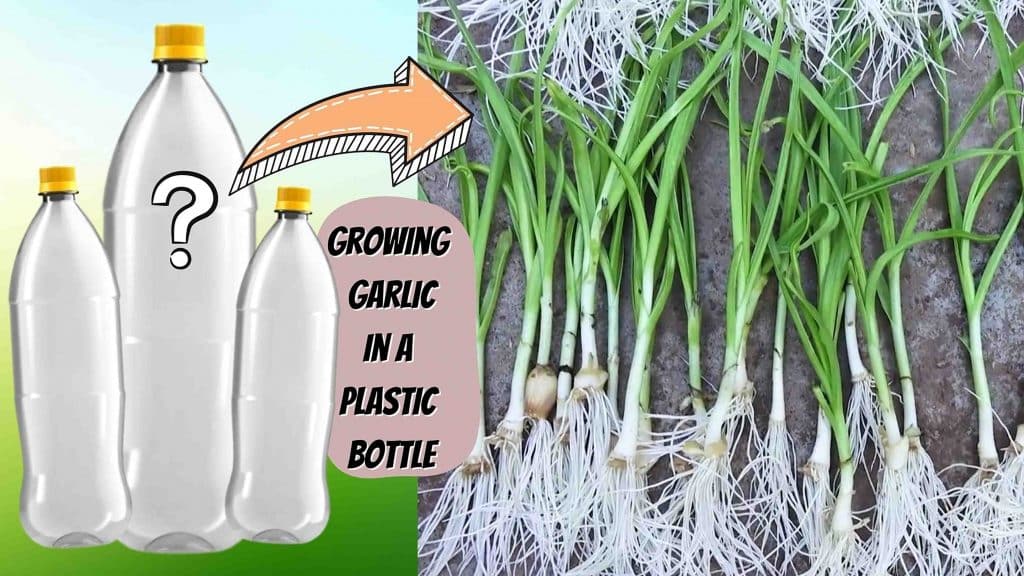
Start growing your garlic today in your very own backyard! This easy guide from Terrace Garden on Youtube shows us how to grow garlic out of plastic bottles. As a big fan of garlic flavors, this tutorial helped me a lot in setting up my own garlic farm at home. Watch this tutorial below and say goodbye to shopping for garlic in the supermarket!
Materials:
- 4 plastic bottles
- garlic (pieces depend on you)
- cutter
- scissors
For re-planting:
- planting pots
- gardening soil
- rice husks
Directions:
Step 1
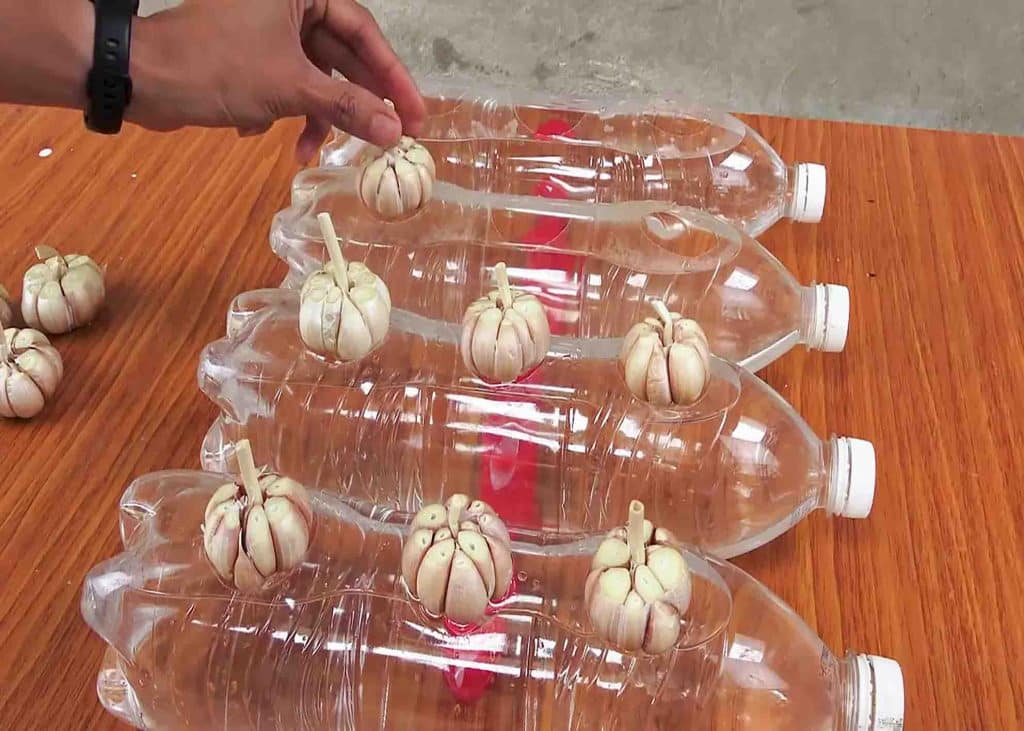
Remove the labels on each of the plastic bottles. Using a marker, draw three medium aligning circles vertically on the bottles. Cut out the circles with a cutter (You can use scissors to clean the cut-out parts.) Next, peel all the garlic. Using a cutter, slice the top part of the garlic, exposing the inside. This is where the greens will sprout. After this, fill up the plastic bottles with water. Place each garlic on the cut-out part of the bottles, positioning it with the sliced part facing up.
[social_warfare]
(Observation week)
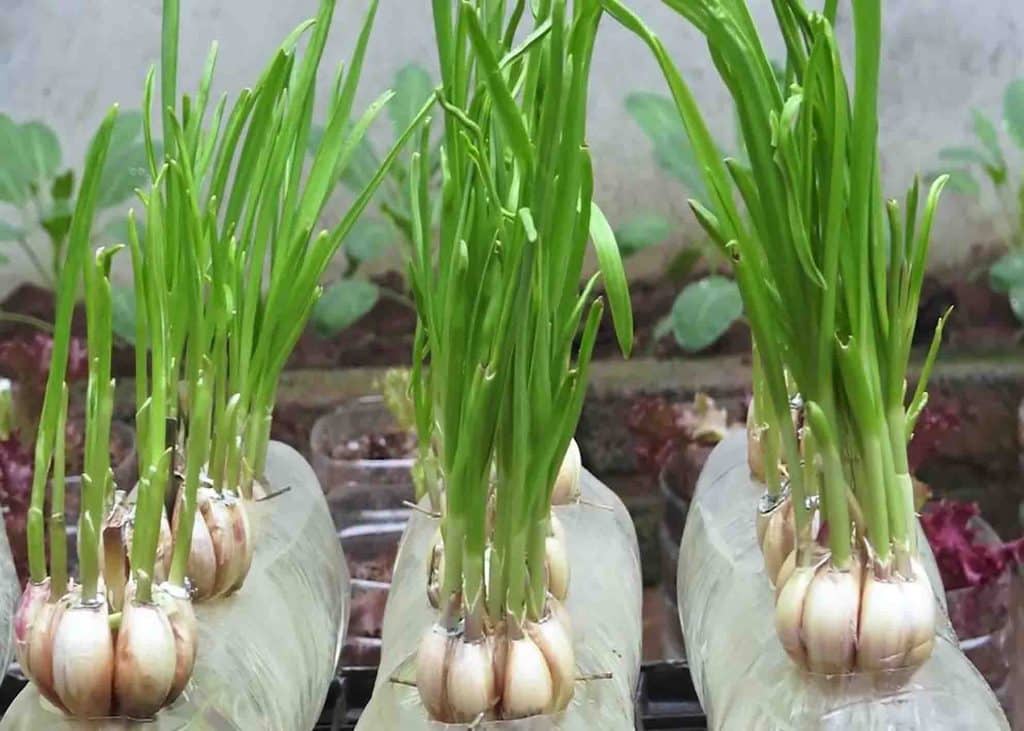
You will notice that the garlic started to grow roots just after a day. After two days, the roots are noticeably longer. On the third day, the leaves of the garlic or the garlic scapes started to sprout. Six days passed, and the greens are now bigger and longer.
Step 2
After a week, or up until the greens are ready to be re-planted, you can now separate them from the cloves of the garlic. Prepare the planting pots with soil and rice husks and transfer the greens into them. Place 6-8 greens into one pot. (This depends on how big your pot is. Do not overcrowd when you have a small pot.) After re-planting, sprinkle some more rice husks into the pots. Spray enough water.
