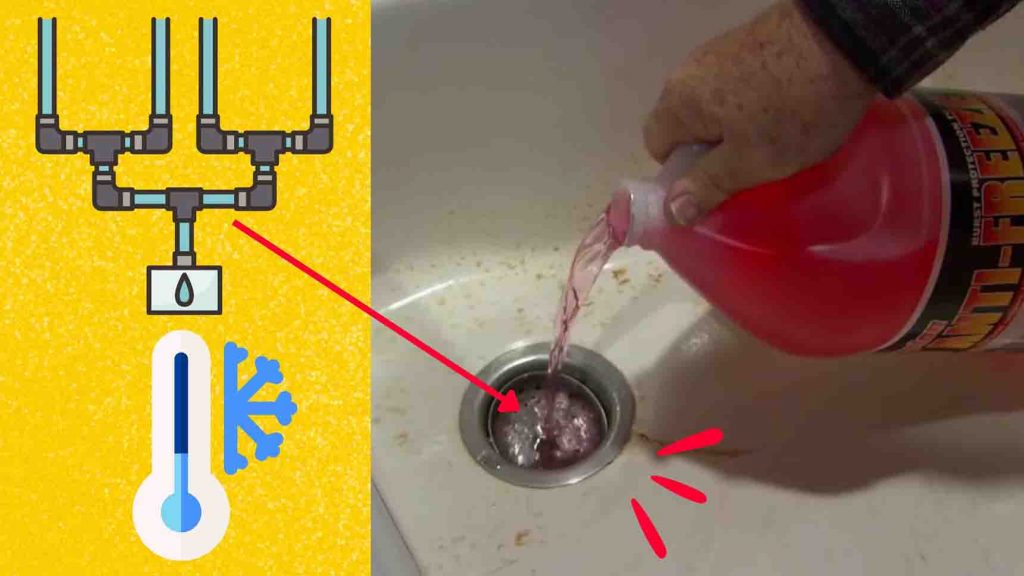
The Winter season is finally here; avoid frozen pipes around your house with this tutorial from This Old House on Youtube. This tutorial will teach you how to properly drain your pipes and get them ready for the Winter. Watch the video tutorial below to learn the step-by-step instructions.
Materials:
- hose
- compressor
- propylene glycol
Directions:
Step 1
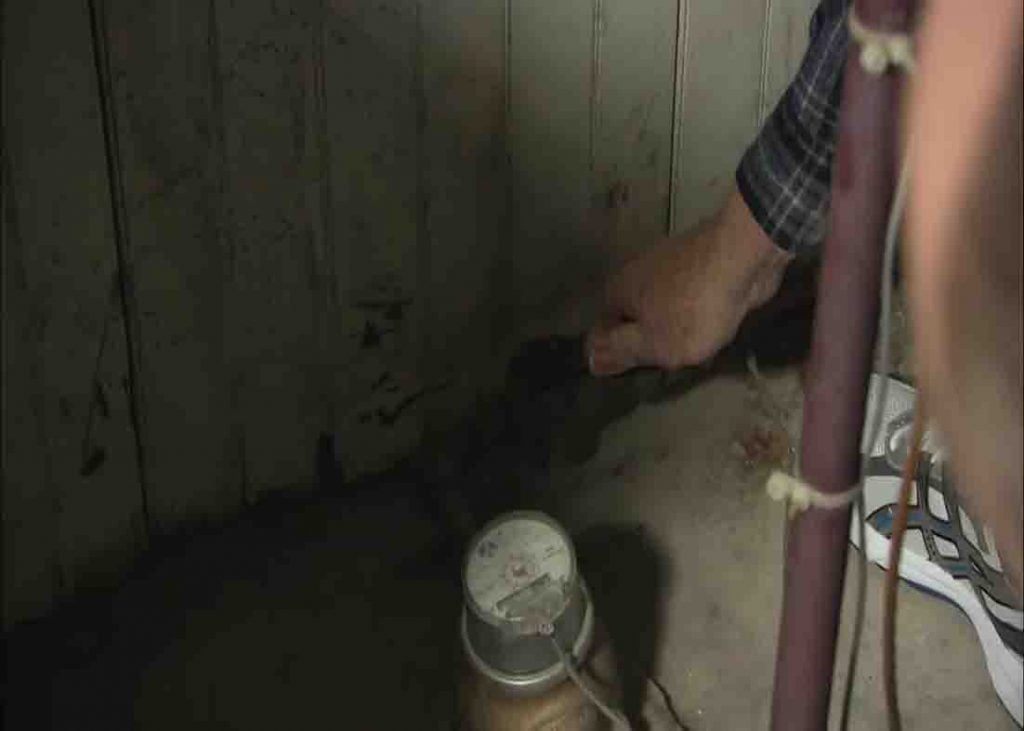
To start, locate and shut off the main valve coming in from the street. You can always identify the valve because it’s right near the water meter. After shutting it off, look for a low-point valve that you can drain down both the hot and cold piping. When you have located it, put your hose on, open the valve, and drain the water. Next, go to the main house, open all the faucets, flush the toilets, and work your way down (if you have a 2-story house.) Now, to make sure you got all the water drained, connect the air fitting that’s in the valve to a compressor, blow out the piping lines, then close out all the faucets and flushes.
[social_warfare]
Step 2
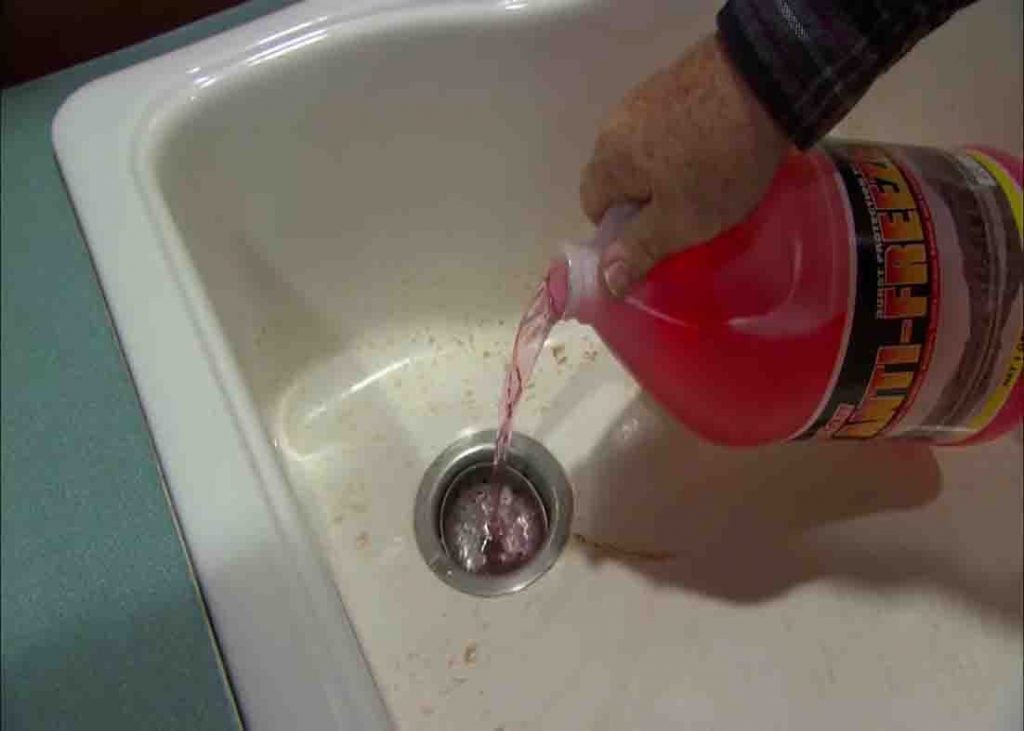
Set the compressor to 70-pound pressure, then go back to the main house and open the hot side of the faucet first, put the dishwasher on top, and run the washing machine in both hot and cold. Now, open up the shutoff valve of the toilet tank briefly to get the last of the water out of the line. After blowing out all the water from the hot and cold piping, get some propylene glycol, and pour a little bit into every single sink, including toilet tanks.
