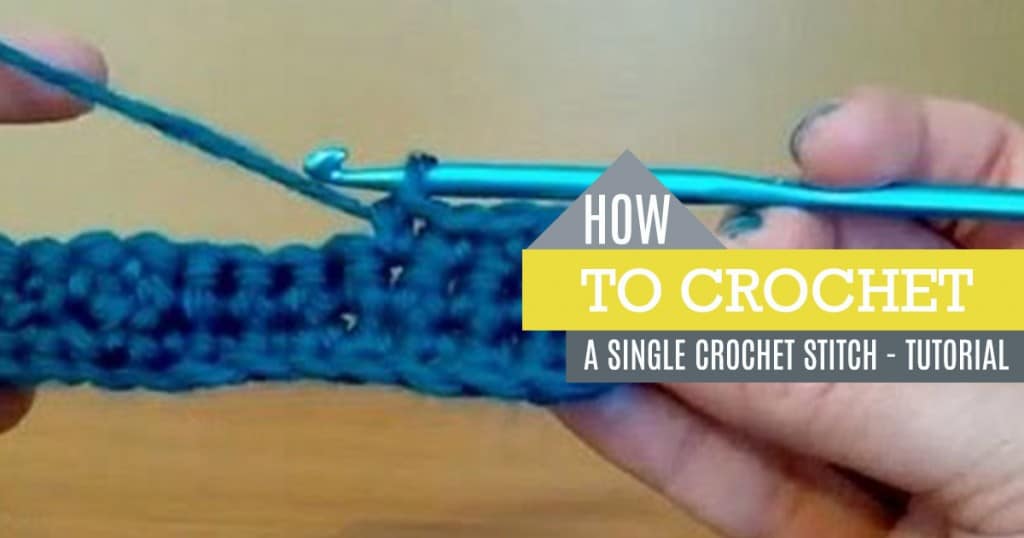
Are you finding it hard to crochet even a single stitch? While it might seem intimidating at first, all it takes is patience and a lot of practice. And with all creative possibilities you can get out of crocheting, its definitely worth a try. Just follow the simple steps in the video by I am Kristin and be amazed at how simple this hobby can be.
How To Single Crochet Stitch
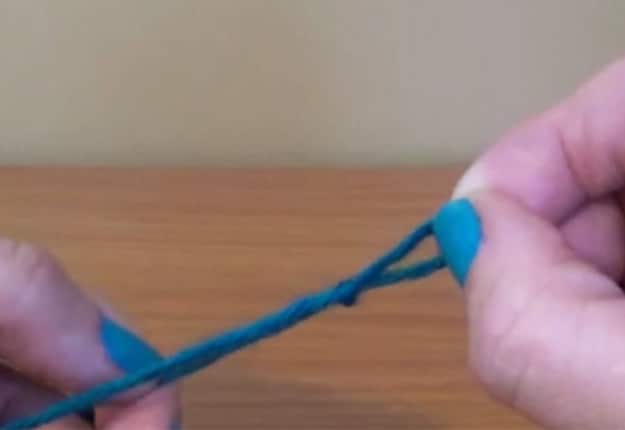
1. Let’s start with the yarn and make a circle using your thumb and place the yarn through creating a slip-knot.
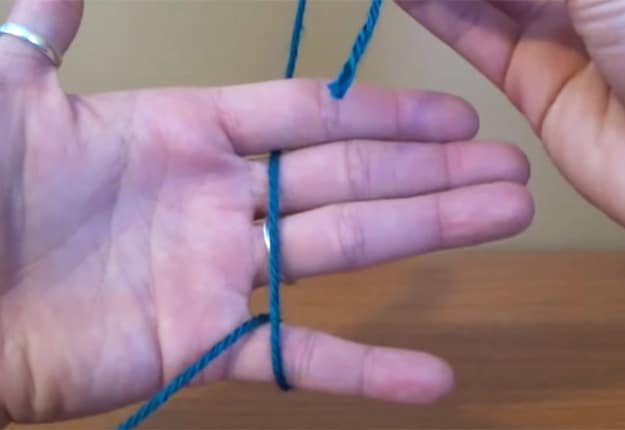
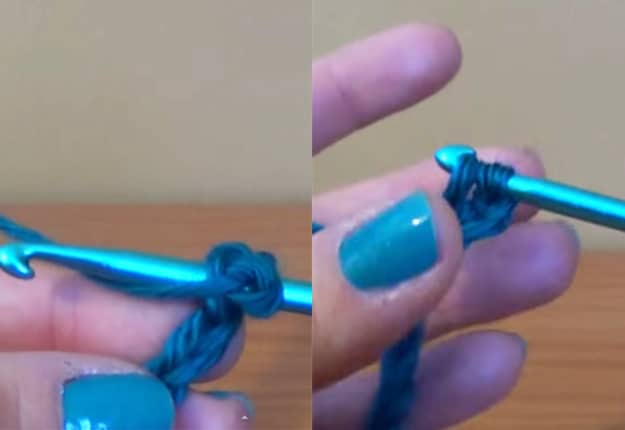
2. Hold the yarn by wrapping around your pinkie going behind your pointer finger similar to the picture shown below.
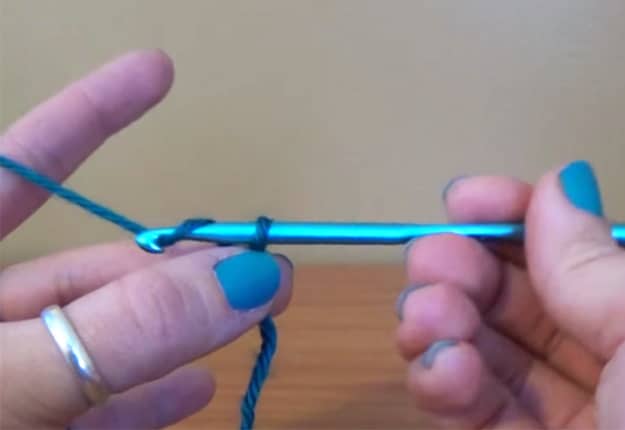
3. Insert the hook on the circle of the yarn and hook from back to front and grab it with hook.
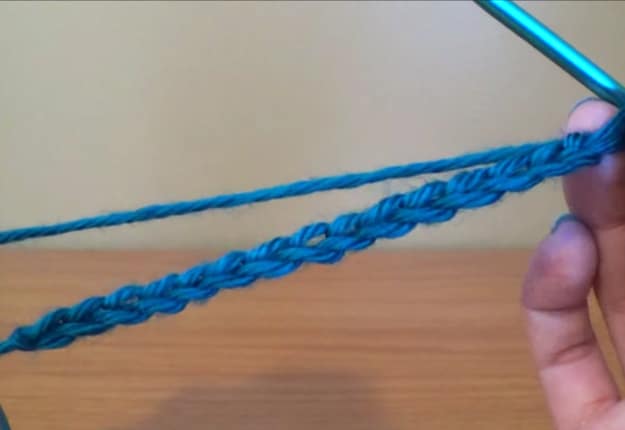
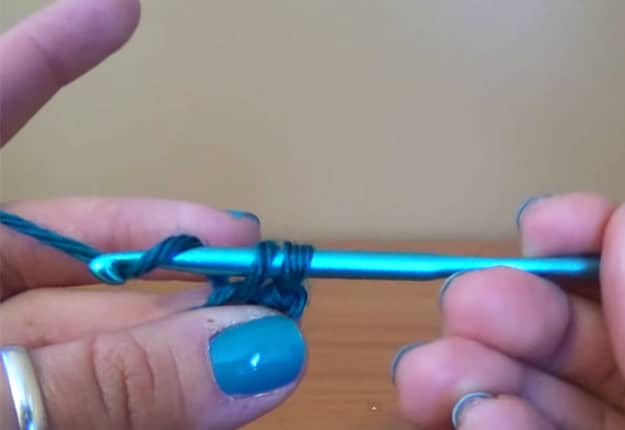
4. repeat step 3 to create a chain of 15.
5. After creating the chain. insert hook to the hole of the second to the last chain you’ve created and grab the yarn through. you have now 2 loops on the hook.
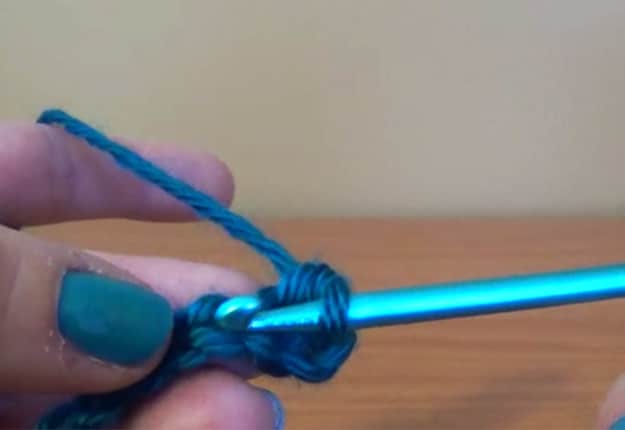
6. Tug the yarn again and pull it straight through the 2 loops.
7. Look for the next available hole, insert the hook and grab the yarn though creating 2 loops wrapped around the hook similar to that one at step 5. repeat this until we’re done on the first row or up until you reach the last hole
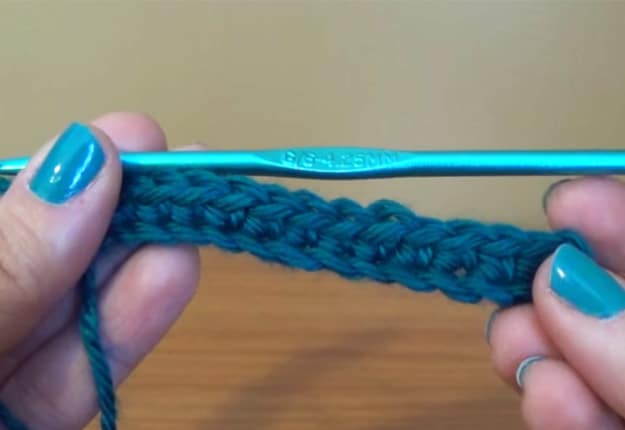
once you reach the end of the first row. It should now look similar to this.
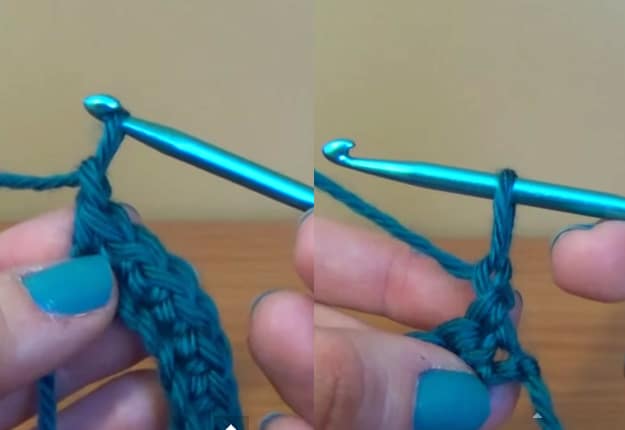
8. Now at the end of the row, make one chain stitch, then flip it over similar to the photo on the right below , leaving the hook in the chain.
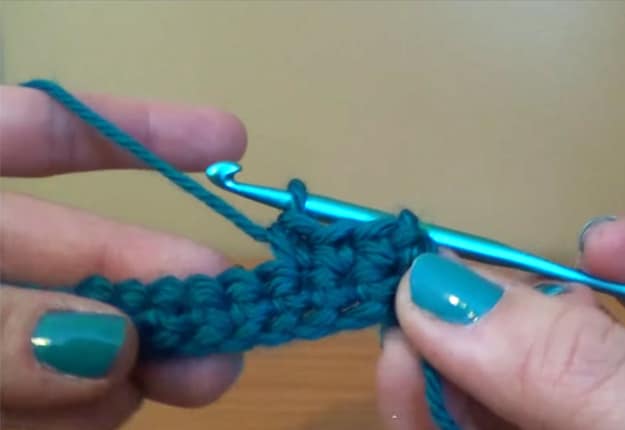
9.The next thing we’re gonna do this just simply start a new row again . Do this by repeating steps 5, 6 and 7 until you reach the end of the row.
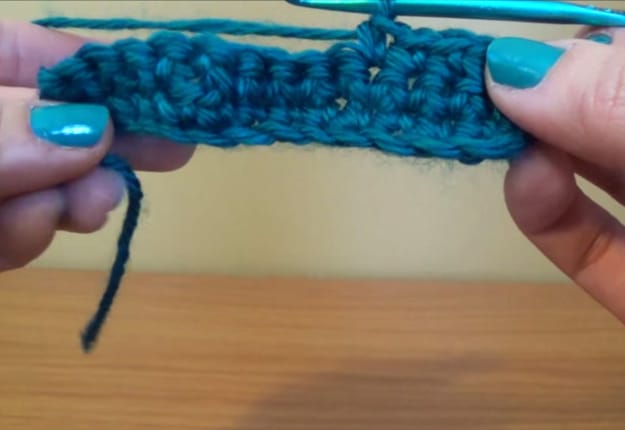
10. We now have our multiple rows of single crochet stitch. Depending on the size that you want out of it, you may continue repeating the steps until you reach your desired length and size of your crochet.

