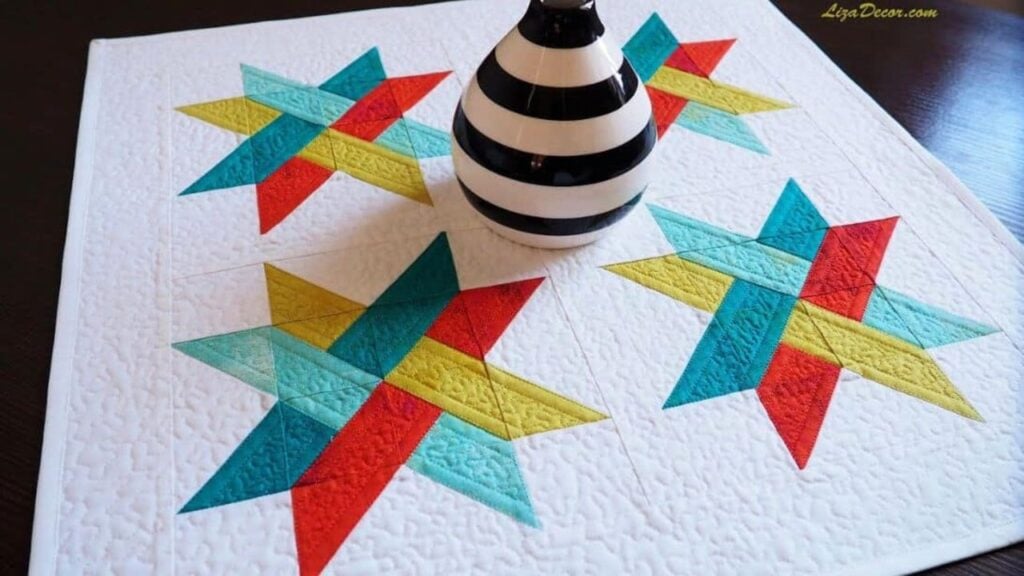
Searching for your next sewing project? Here’s a half square and flying geese patchwork centerpiece mat by Liza Decor! I thought it was a complicated pattern, but it turned out it was not. It was actually easy to make! I love how it turned out – perfect for my dining table. Read on or watch the video below for full instructions.
Materials
First square:
- 1 piece of 3.75″ yellow square (A)
- 1 piece of 3.75″ blue square (B)
- 1 piece of 3.25″ light blue square (C)
Second square:
- 1 piece of 3.75″ light blue square (D)
- 1 piece of 3.75″ blue square (E)
- 1 piece of 3.25″ red squares (F)
Third square:
- 1 piece of 3.75″ light blue square (G)
- 1 piece of 3.75″ red square (H)
- 1 piece of 3.25″ yellow square (I)
Fourth square:
- 1 piece of 3.75″ yellow square (J)
- 1 piece of 3.75″ red square (K)
- 1 piece of 3.25″ blue square (L)
Flying geese:
- 4 pieces of 5.5″ white square
- 4 pieces of 3″ squares for each color (yellow, blue, light blue, and red)
For the corners:
- 16 pieces of 2.5″ squares
[social_warfare buttons=”facebook,pinterest,twitter,whatsapp”]
Instructions
Step 1:
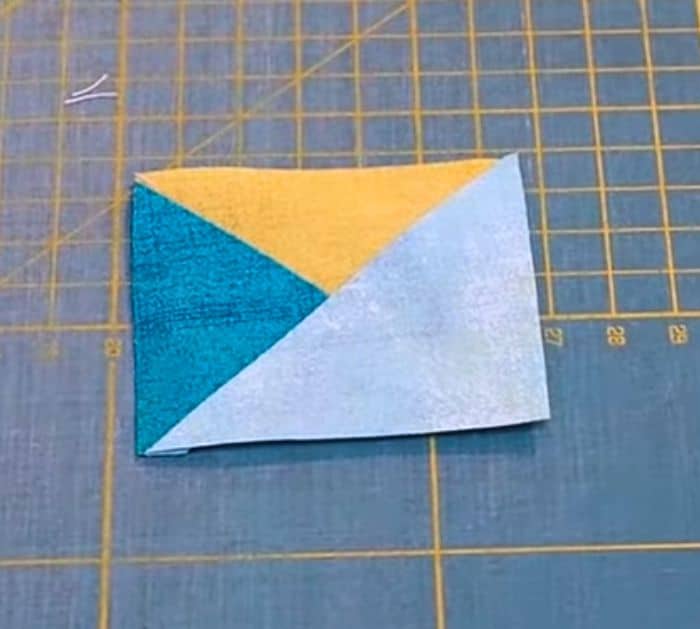
Make the first square on the bottom left. Get fabrics A and B and make them into half-square triangles. Place them on top of each other, draw a diagonal line from corner to corner, then sew 1/4″ away from the line on both sides. Cut directly on the line and press them open.
Step 2:
Place two C squares on top of the half-square triangles, right sides together, and draw a diagonal line from corner to corner. Make sure the line will go across the two fabrics. Sew 1/4 away on both sides, then cut directly on the line. Trim them into 2.5″ squares.
Step 3:
Repeat steps 1 and 2 for the other squares.
Step 4:
Get one 5.5″ white square and 2 3″ yellow squares. Place the yellow squares on two opposite corners, then draw a diagonal line from the first corner to the other. Sew 1/4″ away from the line on both sides. Cut directly on the line. Press the yellow triangles open. Next, place a red square on each of the white corners, then draw a straight line. Sew 1/4″ away from the line on both sides. Cut directly on the line. Now you have four flying geese pieces. Do the same for the remaining colors.
Step 5:
Arrange the squares and flying geese rectangles just like in the photo below and fill the corners with 2.5″ squares. Sew them together in a block. Repeat the whole process for other blocks.

Half Square and Flying Geese Patchwork Centerpiece Mat


