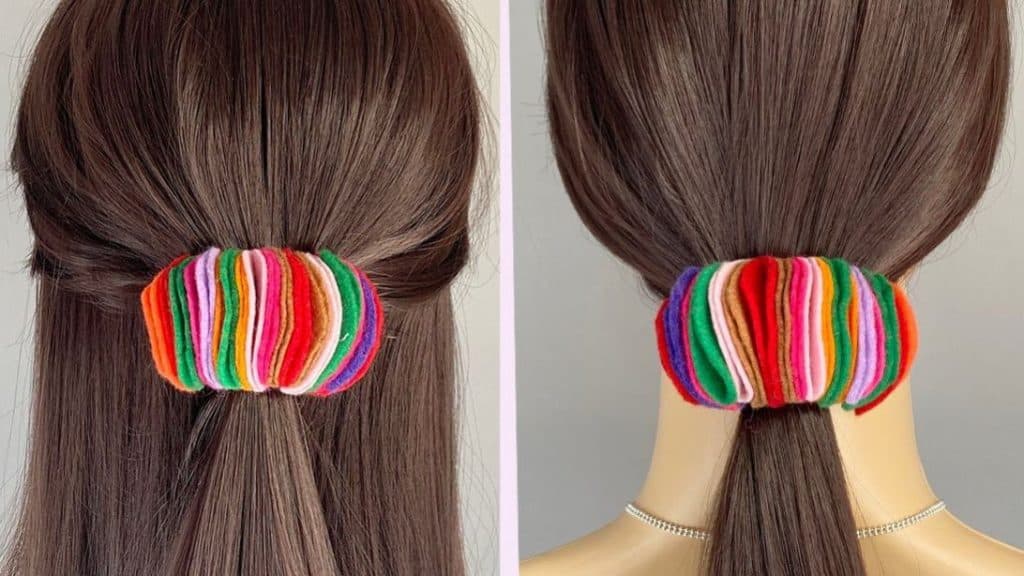
Recently, I have been loving simple and quick projects that I can make with fabric scraps. I have done a lot of hair accessories, from headbands to hair clips. This time, I looked for ideas on the internet where I can use felt scraps from my past crafts. Then I saw this DIY hair tie by Red Blossom Designs on Youtube. I instantly knew that I wanted to make it. I made tons of these and will be giving them as gifts. Want to learn how to create these? Watch the video below for the step-by-step instructions.
Materials:
- felt fabric scraps
- ruler
- paper
- scissors
- marker
- thread
- needle
- yarn darners
- hair tie
- hot glue
[social_warfare buttons=”Facebook,Pinterest,Twitter,WhatsApp”]
Instructions:
Step 1:
Get a square piece of paper and fold it in half twice. Then fold it diagonally to make a triangular shape. Measure 1 inch from the tip of the paper and mark. Adjust the angle several times and mark. Connect all marks to create a curved line, then cut. Now, you have a circle. Use this as a template.
Step 2:
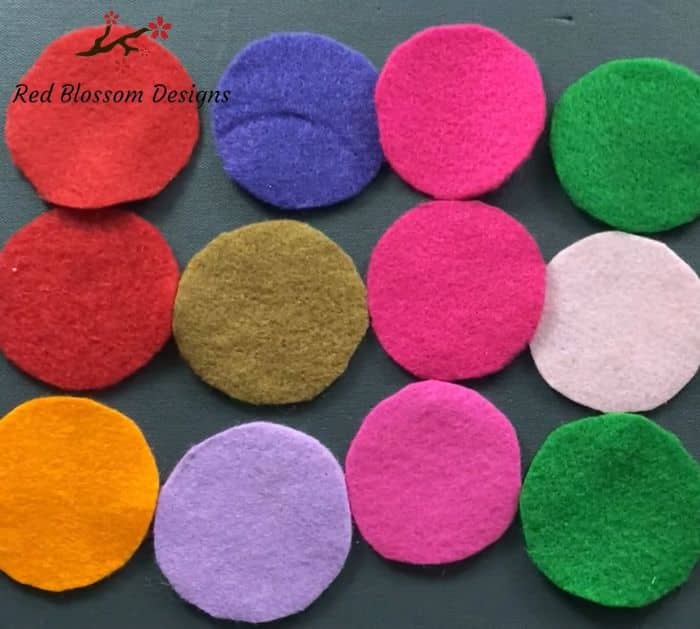
Trace the template to your felt scrap and cut using scissors. Make 18 pieces of this in different colors of felt paper.
Step 3:
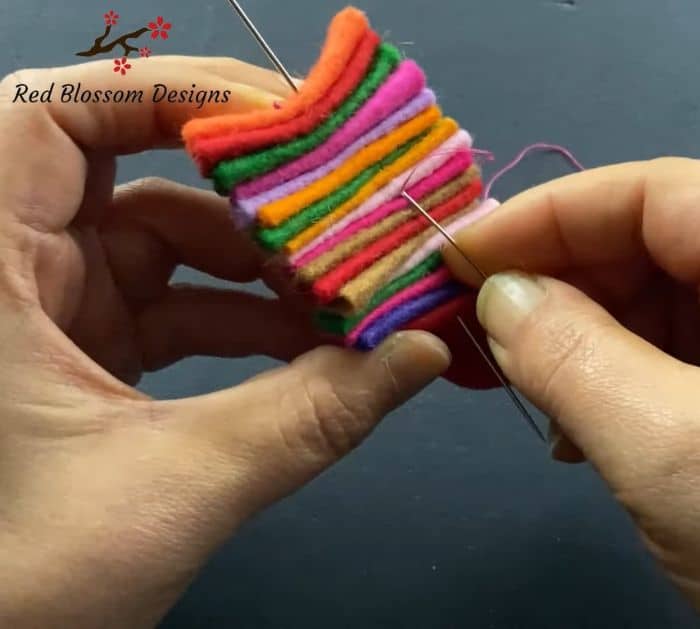
Get a yarn darner. Fold each of the circles in half and insert the yarn darner in the middle of the folded section. Once done, insert a needle with thread just beside the yarn darner then secure with a knot.
Step 4:
Cut two rectangular strips of felt paper. One should be wider than the other. Glue the thinner strip horizontally to the hair tie. Get the wider strip and wrap it around the horizontal strip. Glue the stack of felt with hot glue.
If you love this simple and lovely hair tutorial, visit and follow Red Blossom Designs on Youtube. She has tons of amazing projects from sewing to DIY decor pieces.


