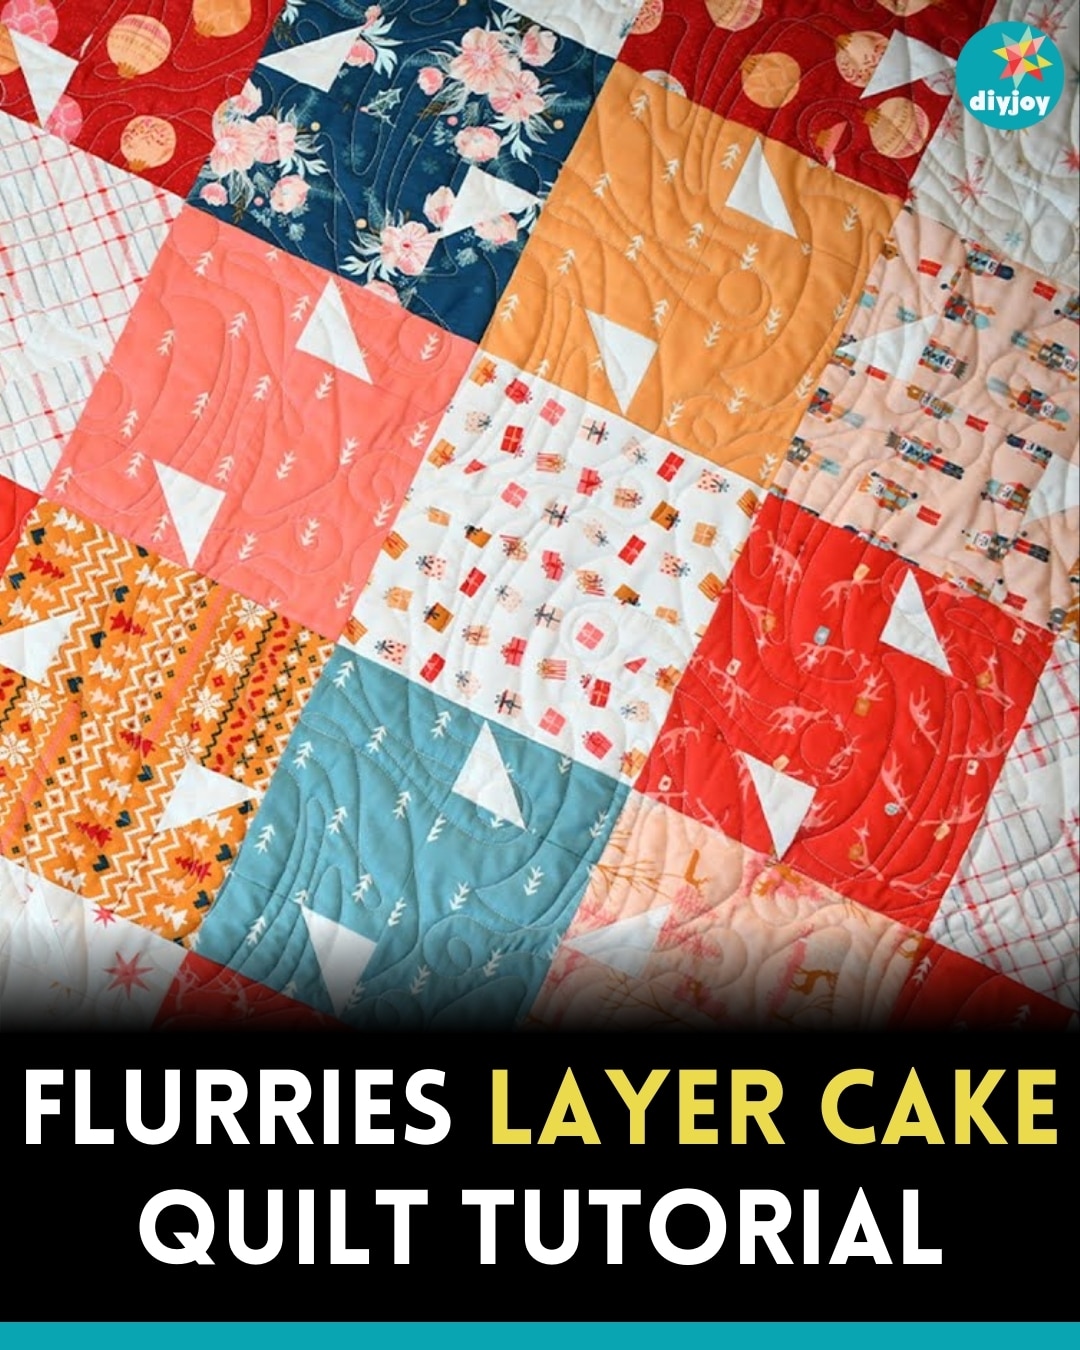
Are you looking for your next quilt project? Try making this flurries layer cake quilt from Moonkin Stitchery on YouTube! This gorgeous quilt is the perfect weekend quilt to pass the time or if you need something for a personalized quilt. It’s quick and easy and only needs layer cakes and a yardage background to make.
RELATED: Prince’s Pond Layer Cake Quilt Pattern
This pattern is one of my go-to patterns whenever I have gorgeous layer cakes stashed. I love how simple it is to make, perfect for beginners, yet it looks so pretty. So, if you’re looking for a layer cake project, I highly recommend this one—you won’t regret it. Learn how to make it by watching the video tutorial below for the step by step instructions.
Materials:
- layer cake (10″ squares)
- 1/4 yard of background fabric
Directions:
Step 1
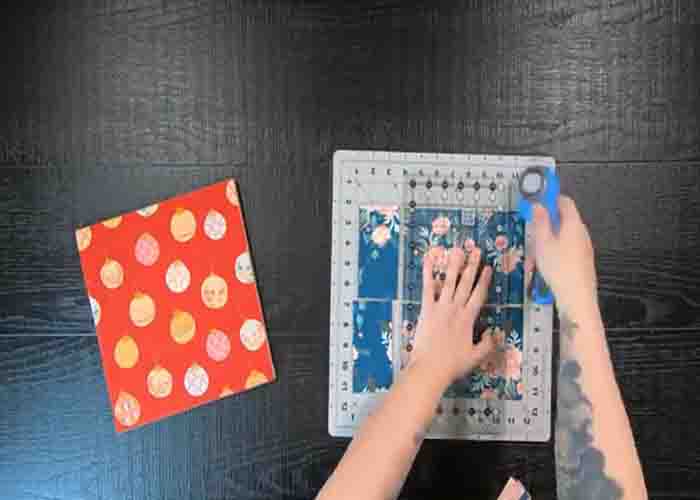
Subcut your background yardage into eight four 2 1/2″ squares. Then, with a 42-count layer cake, subcut two 2 1/2″ x 4 1/2″ rectangles and two 4 1/2″ x 6 1/2″ rectangles. Repeat these to all your 42-count 10″ squares. Once you have everything cut, take one 2 1/2″ x 4 1/2″ rectangle and one background 2 1/2″ square. On the wrong side of your background square, draw a line from corner to corner, then place the background square right sides together on the rectangle on the left side. Sew directly on that line. After sewing, cut a 1/4″ away from that line using a rotary cutter. Repeat these steps until you have made two matching print units.
Step 2
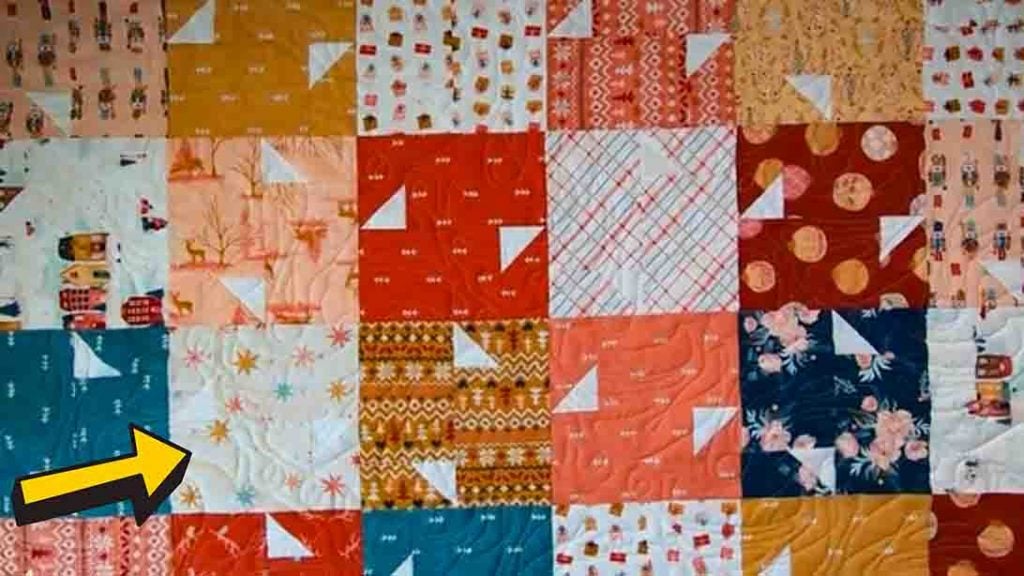
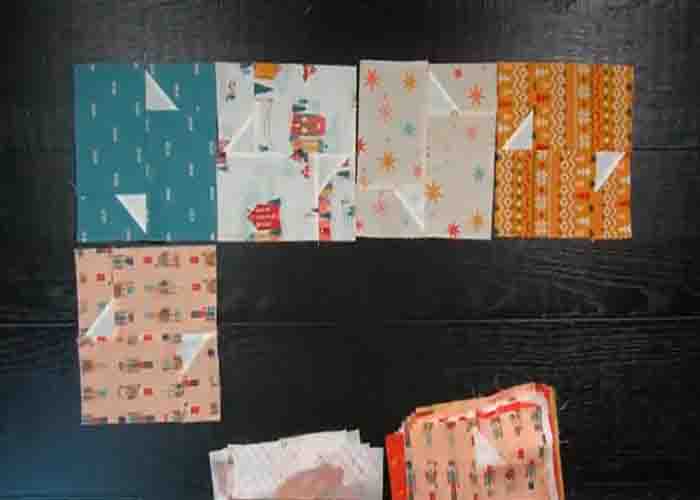
Once you have those two units, take two 4 1/2″ x 6 1/2″ rectangles in the same print. Then, sew the 2 1/2″ x 4 1/2″ rectangles to the larger rectangle followed by your rectangle units to form an 8 1/2″ square. Repeat these steps until you have a total of 42 quilt blocks. Once you have all your blocks, lay them out side by side in a 6 x 7 layout, rotating every other block 90 degrees. Sew the blocks together to make rows, then sew those rows together to finish the quilt top.
Flurries Layer Cake Quilt Tutorial