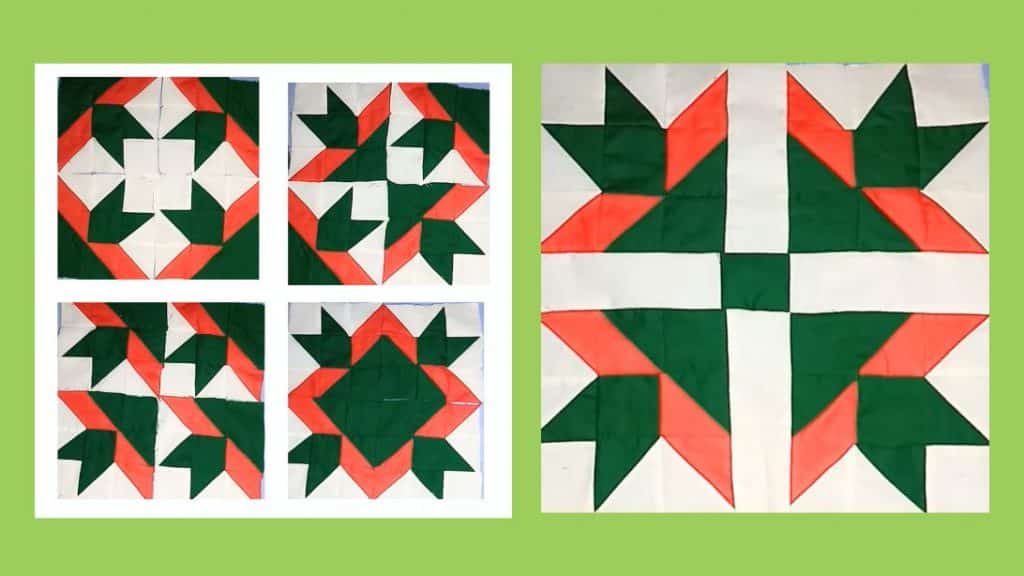
I super enjoy trying out flower patterns. Last weekend, I made this flower patchwork quilt block by Cut & Sew, and I was so happy with how it turned out. You can turn it into different designs just like in the photo above. But my favorite will still be the one with the sashing! Read on or watch the video below for full instructions.
Materials
Red fabric
- 8 pieces of 2 1/4″ squares
Green fabric
- 8 pieces of 2 1/4″ squares
- 8 pieces of 2″ squares
White fabric
- 8 pieces of 2 1/4″ squares
- 4 pieces of 2″ squares
For sashing
- 4 pieces of 2″ white strips
- 1 piece of 2″ green square
[social_warfare buttons=”facebook,pinterest,twitter,whatsapp”]
Instructions
Step 1:
Place white 2 1/4″ squares on top of one green and one red 2 1/4″ square. Place the remaining 2 1/4″ squares on top of each other. Fold each one in half diagonally and cut. Sew each set on the long side of the triangles. Once done, open and press them flat.
Step 2:
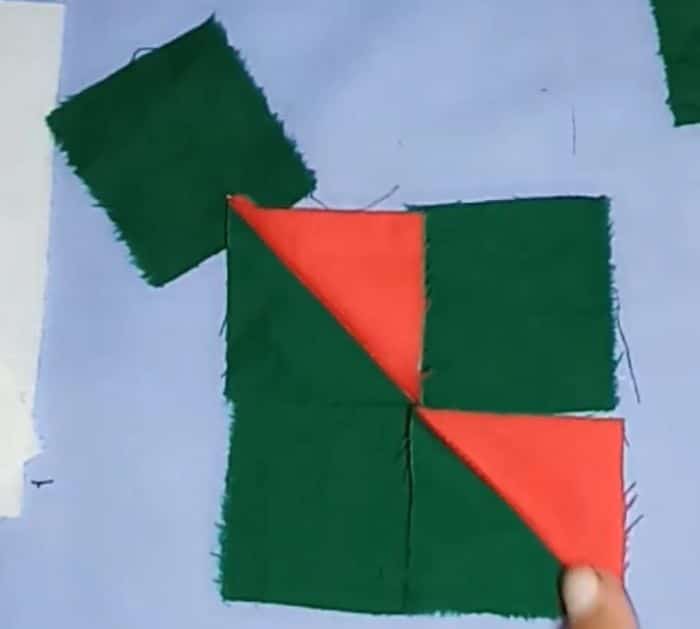
Get two pieces of 2″ green squares and place them beside the half-square triangles just like in the photo below. Sew them in a four-patch, then press them open.

Step 3:
Arrange the blocks just like in the photo below. Sew them in pairs first. Next, sew the remaining white square on the right corner. Once done, sew the rows into a block. Press the block and trim if needed.

Step 4:
Repeat steps 1 to 3 three more times to make a total of four blocks for the flower.
Step 5:
Arrange the four blocks to create a pattern. You can arrange it with the white squares on the corner to make a flower. For another pattern, you can also rotate two opposite corners or every block so the flowers are pointing inward.
If you want to add sashing, place the white strips between each block and then the green square in the middle. Sew them together and press them flat.


