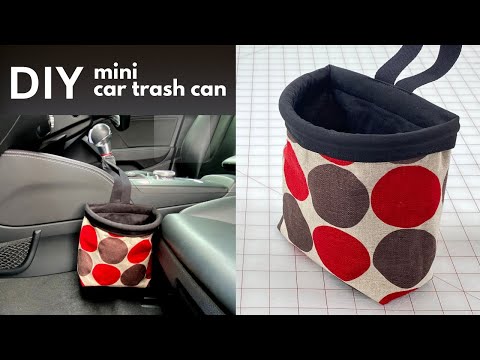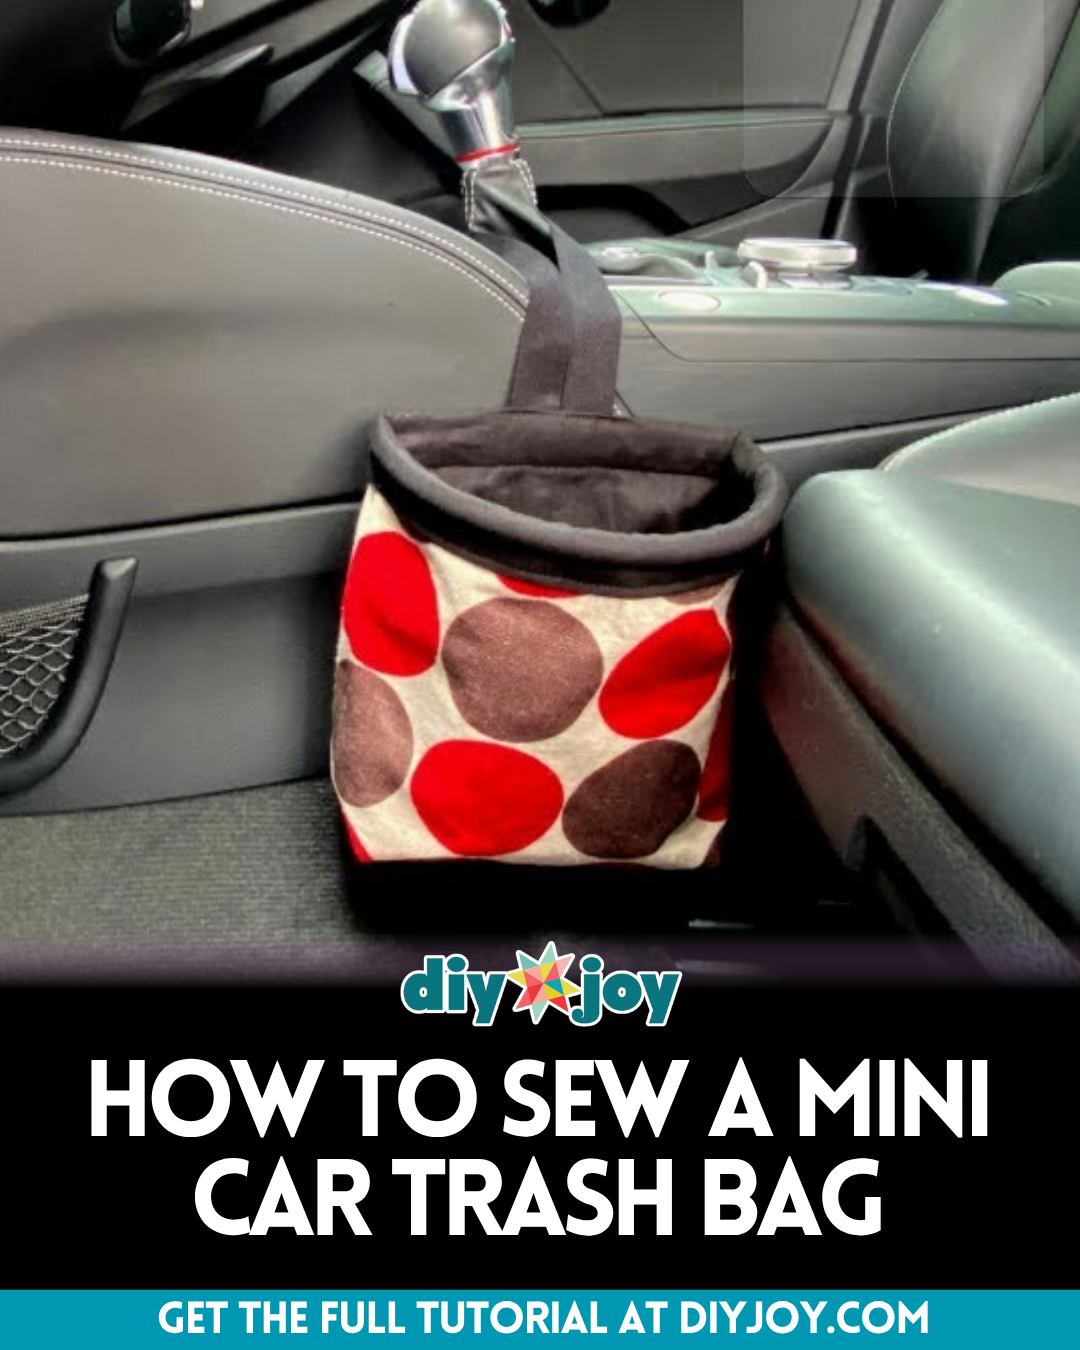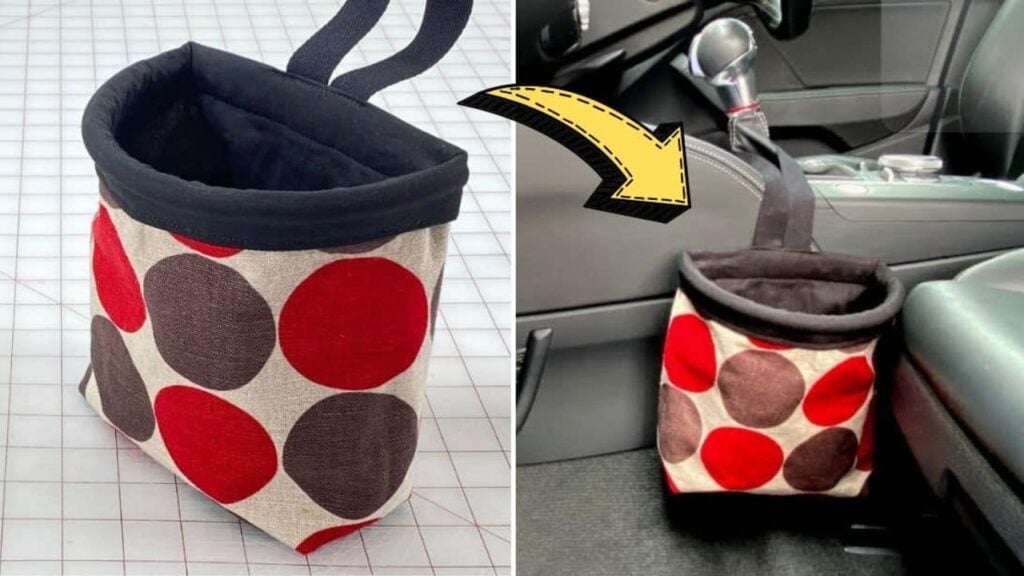
This useful and smart sewing project by Notches Sewing on YouTube is simple and easy to do and even beginners can do it on the first try! Learn how to make this by following the written instructions down below and then watch the video tutorial as well for more details. Now, you can keep your car tidy and avoid random trash inside your car by keeping them in one place, or rather, one bag.
Materials:
- Main fabric
- Lining fabric
- Medium-weight non-woven fusible interfacing
- ¾ inch wide twill tape
- Ruler
- Marking pencil or chalk
- Scissors or rotary cutter and a cutting mat
- Fabric clips
- Iron, for pressing
- Sewing machine
- Pattern (Click here to download the pattern)
Directions:
Step 1
Print and cut the pattern out, then lay the lining and main fabrics together before placing the pattern on top, and then proceed to cut the fabric making sure to snip the notches as well. If you want your trash bag to be stiffer, then you can cut a piece of interfacing fabric as well, and then fuse the main fabric onto the glue side of the interfacing using your iron, recut the notches if needed. Cut the twill tape into 18 inches long and set it aside, then fold the main fabric across in half, clip the sides together in place, and fold the lining fabric as well.
Step 2
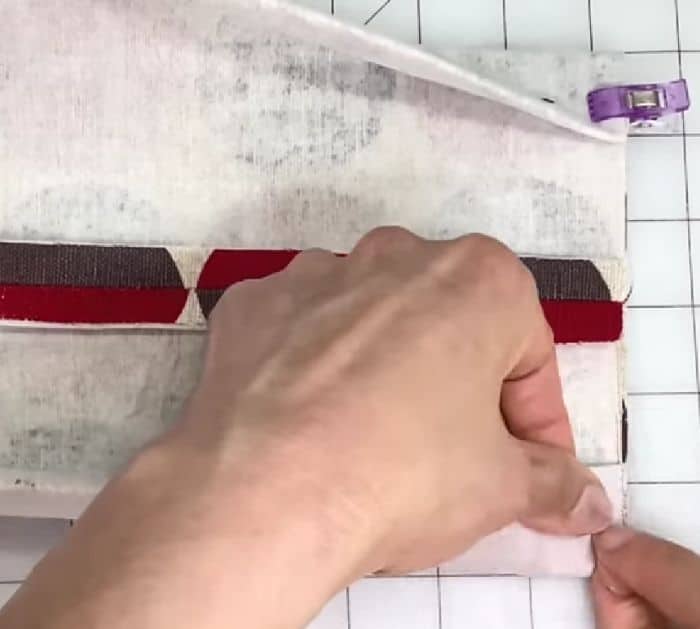
Stitch the sides together with a ½ inch seam allowance, then open the fabric sideways so that the seams are centered, and press the seams open. Center the seams on the notch at the center of each side, then match the other notches as well, and fold the sides over clipping them in place as shown in the video. Repeat the same process with the lining fabric, then sew them across with a ½ inch seam allowance, and leave an opening on the lining fabric.
[social_warfare]
Step 3
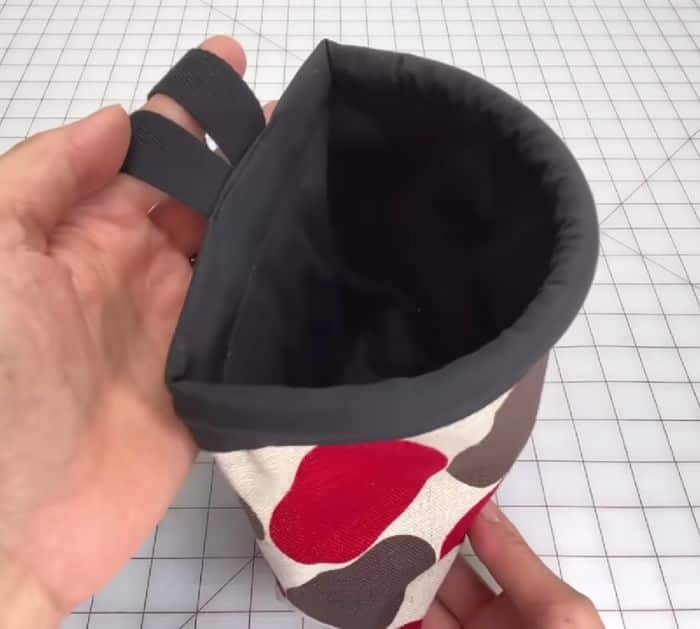
Place the handle on the open side of the main fabric, then clip it in place, and stitch. Turn the lining fabric right side out, then insert it on the main fabric matching their seams nicely, and clip them together in place. Sew around the top edges, then pull out the lining fabric, and press them nicely in the middle. Turn the bag right side out through the opening, then sew it close, and tuck the lining inside the main fabric nicely. Press along the edges, then mark lines as shown in the video, fold the top down, and stitch.
*All image credit belongs to Notches Sewing via YouTube. Follow and subscribe to her channel for more!
Easy-To-Sew Mini Car Trash Bag