
Never lose your keys again and always keep them in one place by making this cute key holder that also comes with a cover! It’s super easy to make, even beginners might find this tutorial simple. You also don’t need a sewing machine for this project because you can make this by hand, plus, you can also use fabric scraps. Thanks to Fusia Craft on YouTube for this amazing sewing project.
Materials:
- Outer fabric
- Lining fabric
- Old socks
- Rope, thread, or string
- Keyring
- Beads
- Scissors
- Fabric pins
- Needle and thread
- Paper
- Marking pen or pencil
Directions:
Step 1
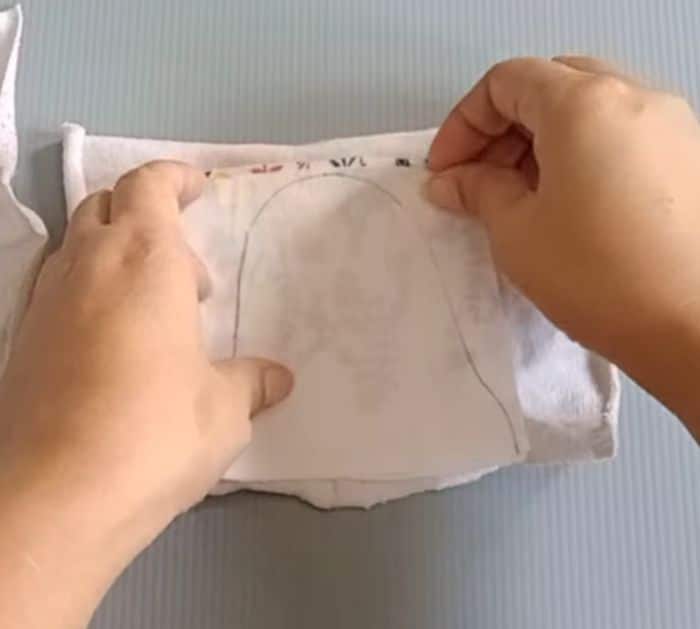
Cut a square paper with a 10x10cm or about 5×5 inches size, then fold it in half, and draw the pattern of your key cover starting from the upper fold. Cut the pattern out, then open the paper, and set it aside. Cut 2 pieces each of 5×5-inch square from the lining and outer fabric, then cut off each end of 2 socks leaving only the center part, cut them through in half, and open the socks. Pair each lining to the outer fabric matching the edges and with their right sides facing, then place the pattern on top and trace the shape on each pair, remove the pattern, and place each pair on top of each sock fabric.
[social_warfare]
Step 2
Pin the fabrics together in place, then trim off the excess sock fabric, and start sewing them together making sure to leave a small gap on one side for turning later. Once done sewing each piece, notch the corners, then turn them right side out through the gap you left, and poke the corners nicely. Tuck the seams of the gap, then blindstitch it close, lay the 2 pieces together on top of each other with their right sides facing and edges matching, and pin them in place. Sew them together around the sides leaving the bottom open and also leaving a bit of gap at the center of the top part, then turn it right side out, and hand press the fabric nicely. Loop the thread or string, then insert the keyring before inserting the raw edges of the thread or string through the small hole at the top, insert the beads and push them down to lock the thread or string in place, and knot the end.

*All these images are credited to Fusia Craft via YouTube. Give her channel a visit and subscribe for more!
Easy-To-Sew DIY Fabric Key Cover/Holder


