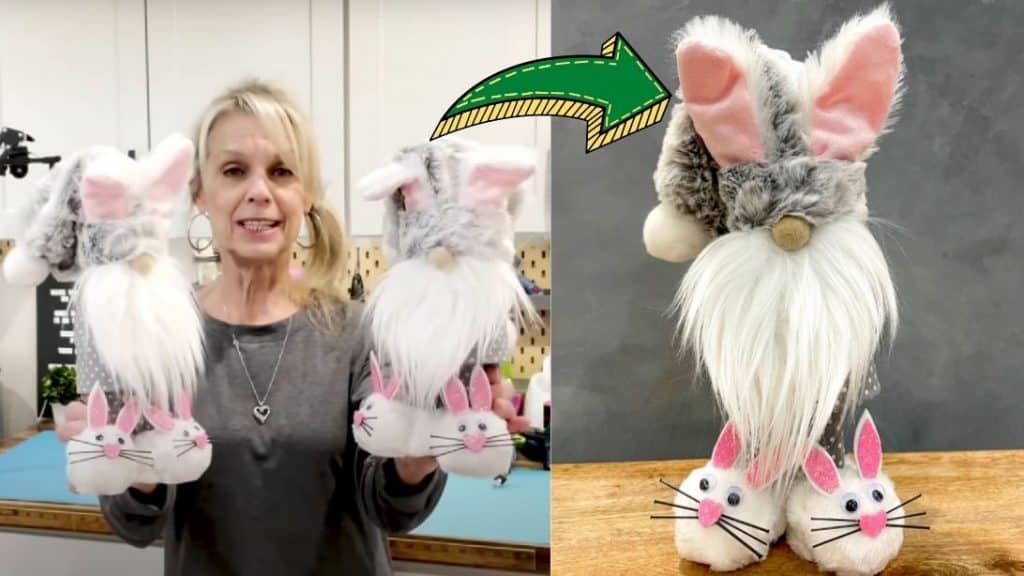
Try making this adorable Easter bunny gnome with matching bunny slippers and add it to your Easter-themed decoration! This DIY tutorial by Patti J. Good is already made easy to follow and fail-proof, so don’t worry if you’re a beginner in crafts. If you want to learn how to make it, proceed to read the full instructions below and watch the video tutorial as well. Then, go to the nearest Dollar store and start making your own Easter bunny gnome.
Materials:
- Pattern (click on the link to download the pattern for free)
- Bunny from Dollar Tree with long ears
- Sock for the body
- Ping pong balls
- 1 pair of Dollar Tree baby shower shoes
- 4 pieces of cork
- 2 pieces of wooden dowels, 5½ inches long and ¼ inch thick
- Cotton fabric for the pajamas
- Furry fabric for bunny shoes
- 2 little pom-poms for bunny shoe tails
- 2 larger pom-poms for bunny hat and tail
- Felt ball for the nose
- Foam sheets for ears and sole of shoes
- Weighted beads
- Packing tape
- String
- Broom bristles for whiskers
- Eyes for bunny shoes
- Hot glue gun and glue sticks
- Ice pick
- Cone styrofoam for the body
- Fabric for the hat
- White pipe cleaners
- Faux Fur
Directions:
Step 1
After printing the pattern, cut them out accordingly, then start to build the shoes of the gnome first. Fill the pair of shoes with weighted beads, then tape it off to not spill, place the shoes on top of a black foam sheet, trace and cut for the sole. Trace the circle pattern on top of two ping pong balls, then poke the outline with an ice pick, and cut it around with scissors. Fill them with weighted beads as well, then tape around on both sides, and attach the soles to the shoes. Take the ping pong balls and insert them in front of the shoes, tape them around, then set them aside. Sew right around the edge of 1 round fuzzy white material, then pull the thread lightly to form a ball, insert it in the front of the shoe, pull tightly, then tie and knot, and snip off the excess thread. Dab some hot glue around the edges, then repeat the process to the other shoe. Grab the rectangle fuzzy piece, glue down one long side, fold it over, and set them aside to dry.
[social_warfare]
Step 2
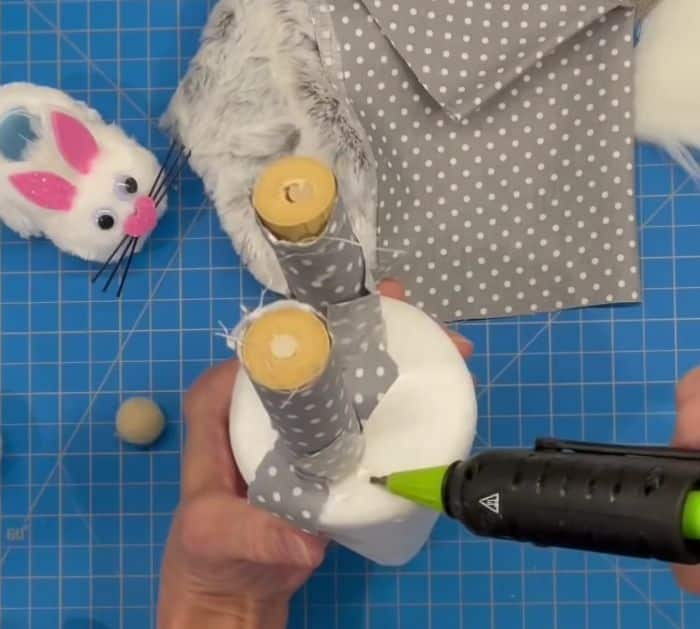
Get the ear pattern and cut it out on the white foam sheet, then cut the inner ear on the pink foam sheet, and cut 2 small hearts as well. Grab the folded rectangle fabric and turn it right side out, turn the edges in, and glue it shut. Wrap them around the shoes and then set them aside. Assemble the ears, then take the broom bristles and cut them into 1½ inches each, glue 3 pieces on each side of the small heart to create whiskers. Attach the ears on the shoes, add the eyes below the ears, then attach the heart nose as well. Cut the faux fur for the bead and set it aside. To build the legs, insert two corks on a stick, then grab the fabric piece for the leg, glue the edge and fold it in, then dab some glue on the other edge, place the cork and roll it around the fabric. Create 4 slits on the top, then insert the sticks at the bottom of the cone styrofoam, and glue the slits on the bottom of the cone to secure it.

Step 3
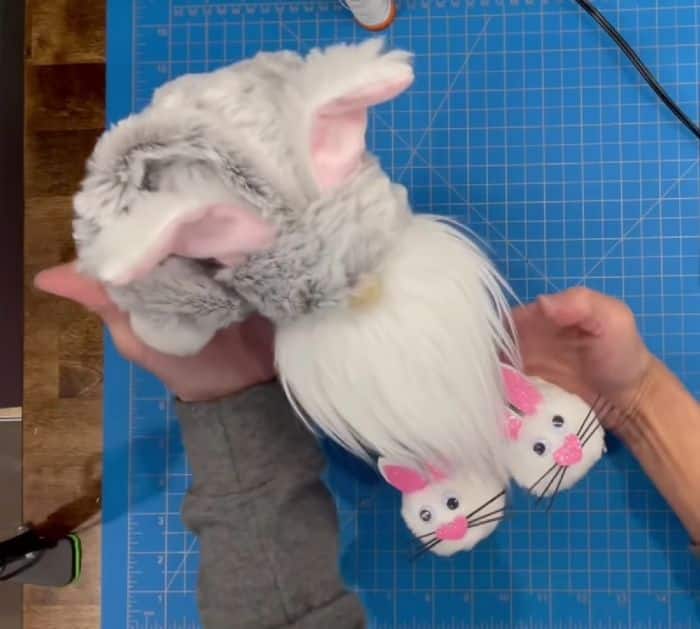
Insert the sock on the cone then glue at the bottom, pull the top and trim it off, tie a string around it, and knot. Grab the fabric for the gnome’s shirt, glue on one side, fold it in half, glue the seam edges around, flip them right side out, then wear it onto the cone, tie the top with a rubber band as well. To build the hat, glue the edges of the fabric together, fold it in half, turn the cuff up about 2½ inches and secure it with hot glue, tie the top bit together with a string, turn to its right side out, add pompom at the top of the hat, then fold the cuff upward. Cut the ears of the bunny, insert some pipe cleaner on them, then secure them with hot glue. Attach the beard underneath the edge of the hat, then insert the hat on the body, and glue it around to secure. Attach the nose in between the hat and beard, then tuck and glue the bunny ears in the cuff of the hat, glue a pompom at the back for the tail, then attach the shoes on both legs and secure them with hot glue.

*All these images are credited to Patti J. Good via YouTube. Give her channel a visit and subscribe for more!


