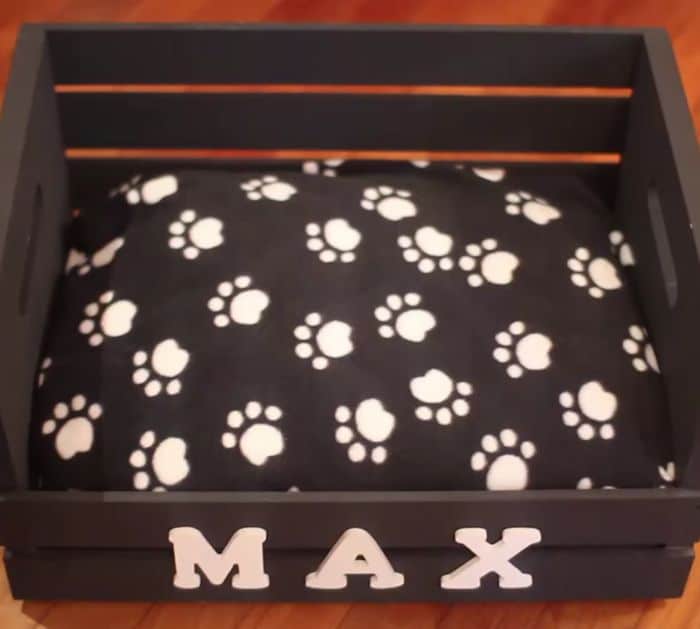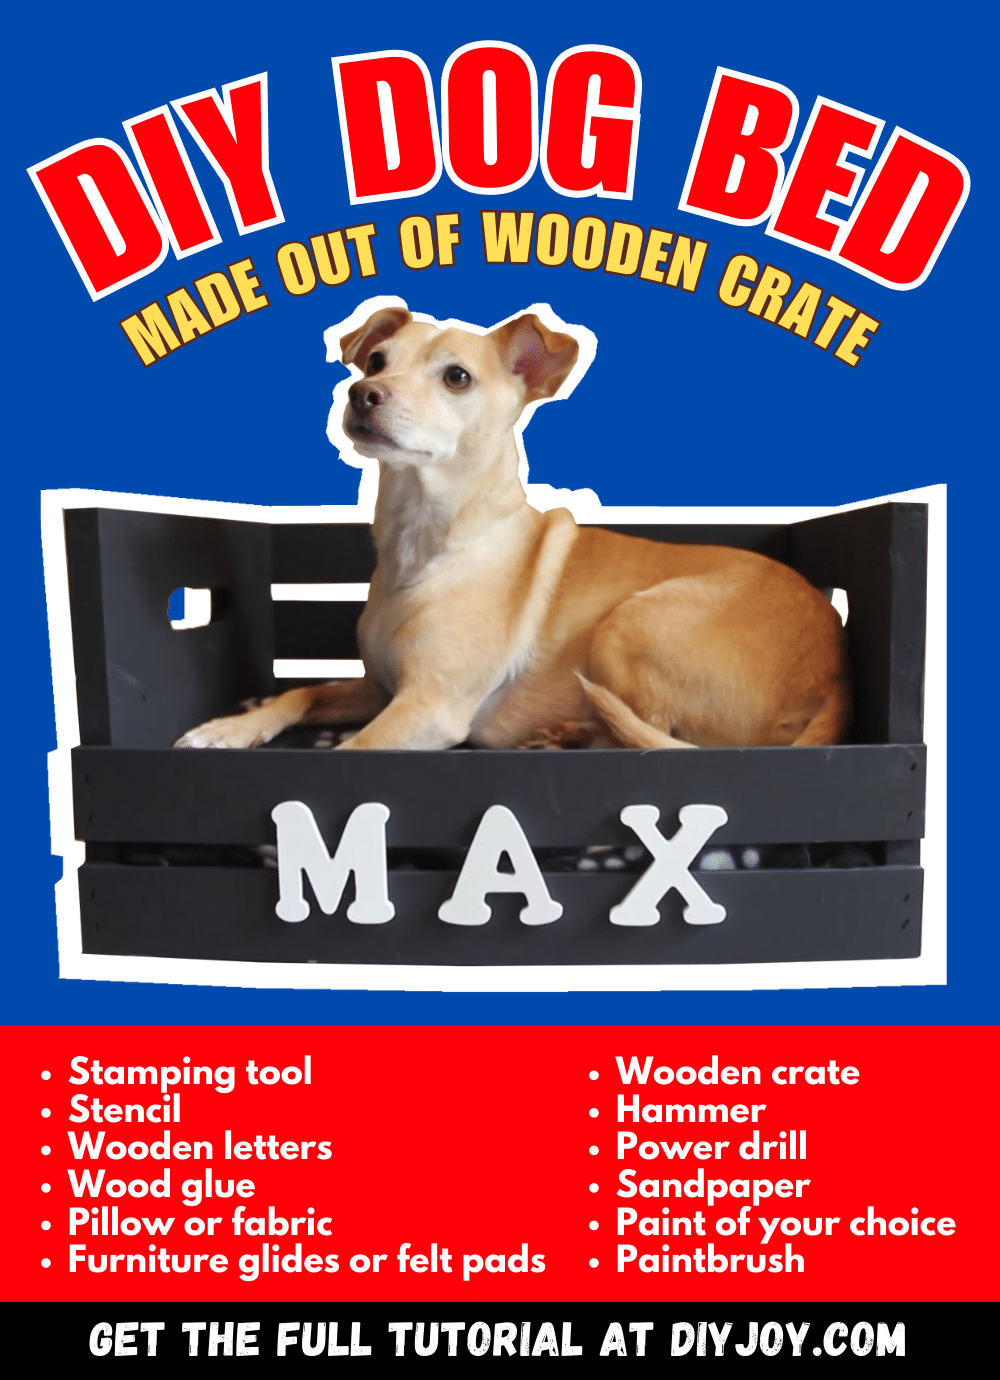
If you want to give your dog a new bed and are out of ideas, then you might love this DIY project by HGTV Handmade on YouTube! In this video tutorial, you will learn how to build a small dog bed for your furbaby using a wooden crate, plus, you can personalize it by adding your pet’s name on the crate, and you can choose whatever color you want, too.
Materials:
- Wooden crate
- Hammer
- Power drill
- Sandpaper
- Paint of your choice
- Paintbrush
- Stamping tool
- Stencil
- Wooden letters
- Wood glue
- Pillow or folded comfy fabric
- Furniture glides or felt pads, optional
Directions:
Step 1
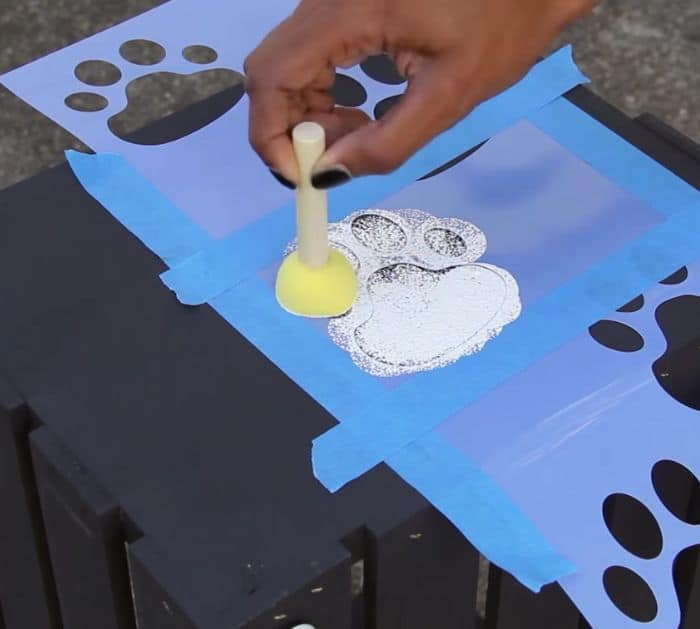
knock off the top two pieces of the crate using a hammer, then carefully remove all of the staple nails, and sand the whole crate to smoothen the surface. Once done preparing the crate, start adding a fresh coat of paint to the color of your choice, then allow it to dry completely before proceeding to the next step, and lay down your stencil on the painted crate holding it in place with painter’s tape to prevent it from moving or shifting. Grab a stamping tool, then dab paint on the stencil to get the shape on it nicely and neatly, and let it dry completely.

[social_warfare]
Step 2
Next, measure the width of the front of the crate and find the center, then place the painter’s tape to serve as a guide and to keep the letters straight as shown in the video. Pick up a letter, then brush the back with wood glue, and place it back down the crate. Repeat the same process with the rest of the letters, then gently remove the tape, and allow the glue to dry completely. Lastly, you can attach furniture glides at each corner of the crate or glue some felt pads instead, this will help prevent the crate from scratching or damaging your floor. Place either a pillow or folded comfy fabric inside and you’re done!

*All image credit belongs to HGTV Handmade via YouTube. Follow and subscribe to their channel for more!


