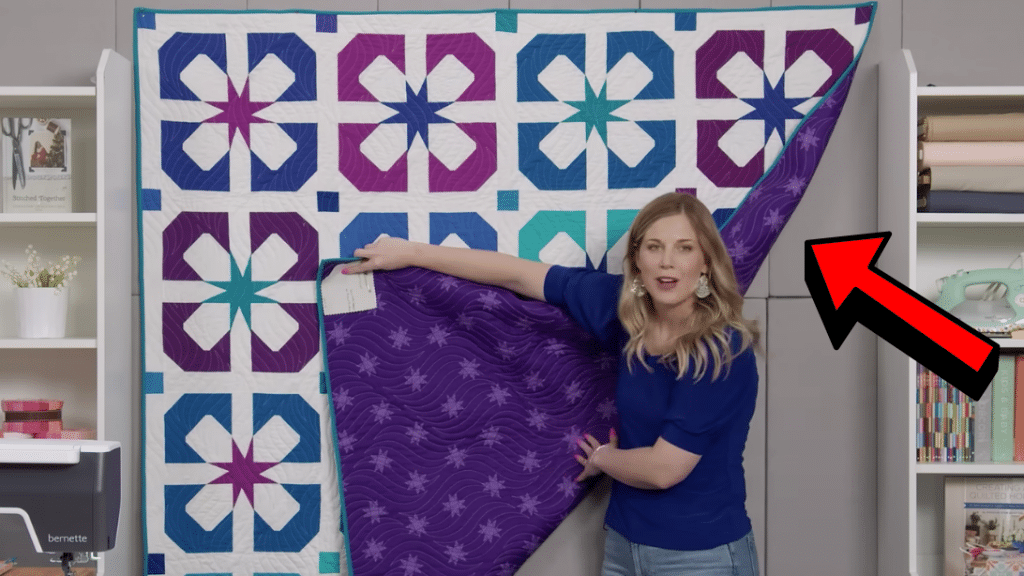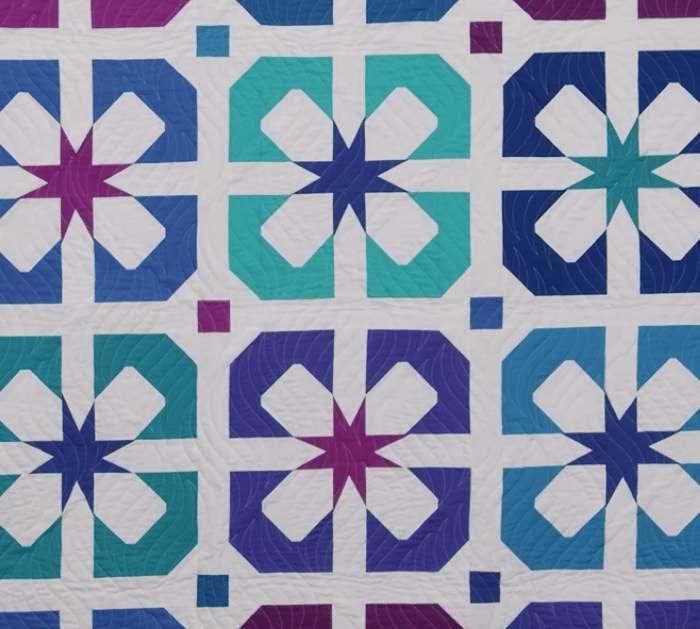
This quilt block immediately caught my attention when I saw it online, I loved the shape and pattern of this quilt, and I also find the combination of colors very beautiful. The pattern of this quilt is so interesting and I really wanted to give it a try, and I initially thought it would be kind of tricky until I watched the video tutorial.
RELATED: Easy Circle Quilt Block Tutorial for Beginners
The technique used in this quilt project is super easy and beginner-friendly, and I’m sure that you can get it on your first try even if you’re a newbie. Now, once you learn the basics of making this quilt, you can start making your own version with a combination of colors that you prefer. Learn how now with this video tutorial by Missouri Star on YouTube.
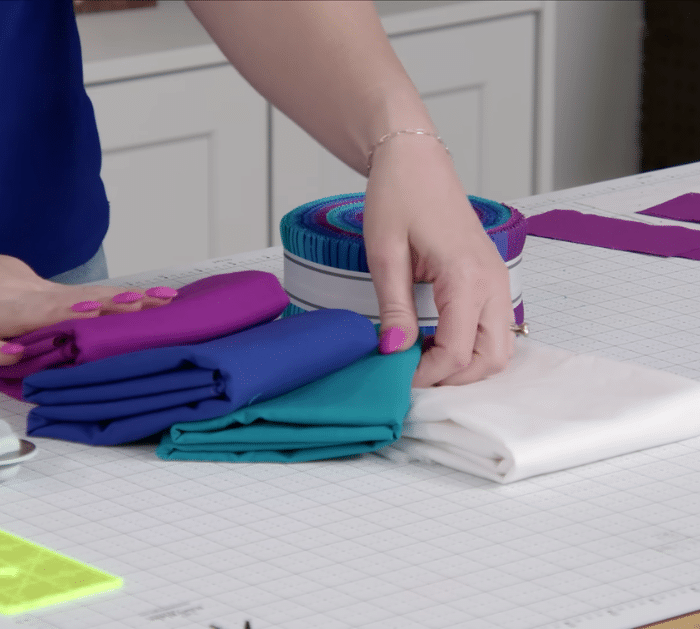
Materials for Sweet Violet Quilt Block:
- Purple fabric
- Blue fabric
- White fabric
- Marking pen, pencil, or chalk
- Ruler
- Scissors or rotary cutter and a cutting mat
- Needle and thread
- Iron, for pressing
- Sewing machine
How to Make a Sweet Violet Quilt Block:

Step 1
Cut the fabrics to size as instructed in the video, then get the large white square, and place a purple square on each corner with their right sides facing. Line the purple square diagonally from corner to corner, then stitch them along the drawn line, and trim off the excess layers.
Step 2
Press the corners open, then add the purple rectangles to the side and top, and press nicely. Get a small white square, then place it on the purple corner with their right sides facing, and stitch the square diagonally from corner to corner. Trim off the excess and press the block unit nicely, then make 3 more identical pieces, and set them aside.
Step 3
Get the white strip and fold it in half, pinch the center to mark the midpoint, then line up the blue strip slanted as demonstrated in the video, and stitch them in place. Trim off the excess layers, then repeat 4 more times to complete the sashing piece, and start arranging everything. Stitch them per row, then the rows to each other, and press as you go.

*All image credit belongs to Missouri Star via YouTube. Follow and subscribe to her channel for more!


